Laser Cutting & Engraving Wood
Laser cutters for MDF, plywood, pine, cherry, and other wood types!
Wood Engraving and Cutting with Laser Engraver
Diode Laser vs. Traditional Wood Engraving
| Category | Diode Laser Engraving | Traditional Wood Engraving |
|---|---|---|
| Precision & Detail | Ultra-fine resolution (0.06 mm); consistent photo-quality engraving | Depth and texture possible; fine detail limited by hand skill |
| Speed & Efficiency | Fast production; ideal for bulk orders or complex artwork | Time-intensive; better suited for one-off or artistic pieces |
| Ease of Use | Beginner-friendly software; learn basics in days | Steep learning curve; months to years of practice |
| Material Compatibility | Works on wood, leather, acrylic, slate, cork, metal (coated) | Primarily softwood and hardwood; limited to natural materials |
| Safety & Cleanliness | Low mess; requires safety goggles and proper ventilation | Wood dust and chips; rotary tools add noise and vibration |
| Customization | Precise and repeatable; perfect for logos, fonts, graphics | Hand-drawn charm; hard to reproduce identical results |
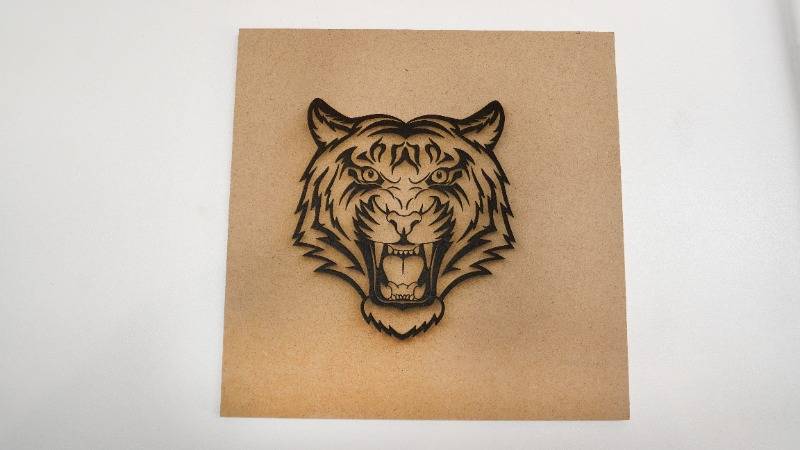
Woods You Can Engrave With a Diode Laser Engraver
A diode laser engraver can work with almost any type of wood, but not all woods give the same results. The grain pattern, density, natural oils, and even resin content can change the way an engraving looks. Some woods burn darker and deliver bold contrast, while others reveal subtle, lighter tones. Knowing how different woods behave helps you choose the right material for each project—whether you’re making rustic home décor, personalized gifts, or intricate craft pieces.
Here’s a quick comparison of the most popular woods for laser engraving:
| Wood Type | Engraving Quality | Cost & Availability | Best Uses | Notes & Tips |
|---|---|---|---|---|
| MDF | Consistent, even engraving with no visible grain | Very affordable, widely available | Signs, bulk production, prototypes | Produces more smoke; good ventilation needed |
| Basswood | Smooth, fine detail with dark contrast | Low-cost, easy to find | Models, ornaments, craft projects | Light weight; engraves quickly |
| Pine | Rustic look, quick engraving but can be uneven | Affordable and common | Farmhouse décor, plaques, rustic signs | Resin and knots may cause darker spots |
| Cherry Wood | Sharp, detailed engravings with warm tones | Mid-range price, available at lumber suppliers | High-end gifts, nameplates, decorative art | Grain darkens naturally over time |
| Maple | Crisp, detailed results with light background | Moderate price, common hardwood | Logos, fine artwork, cutting boards | Dense wood; requires slower engraving speeds |
| Oak | Strong contrast with visible grain texture | Affordable hardwood | Rustic décor, furniture accents | Heavy grain can affect fine detail |
| Walnut | Bold engravings with rich dark tones | Higher cost, but widely used | Elegant décor, professional gifts | High density; excellent natural contrast |
| Birch | Clean, light surface with clear detail | Affordable and common | Signs, ornaments, lightweight crafts | Engraves evenly; great for beginners |
| Bamboo | Smooth surface with uniform results | Affordable and eco-friendly | Cutting boards, kitchenware, modern décor | Technically a grass, but engraves like wood |
| Cedar | Easy engraving with pleasant aroma | Moderate cost, regionally available | Outdoor signs, rustic projects | Knotty grain may cause uneven patterns |
By experimenting with different woods and adjusting your laser settings, you can unlock a wide range of creative results with your diode laser engraver.
MDF
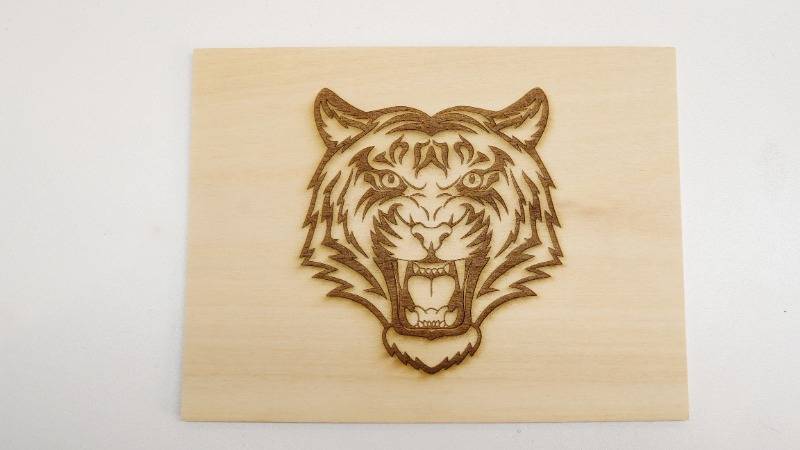
Basswood
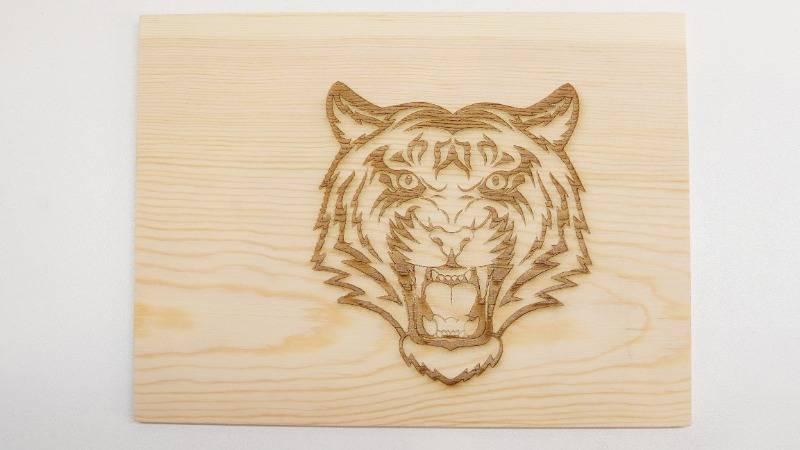
Pine
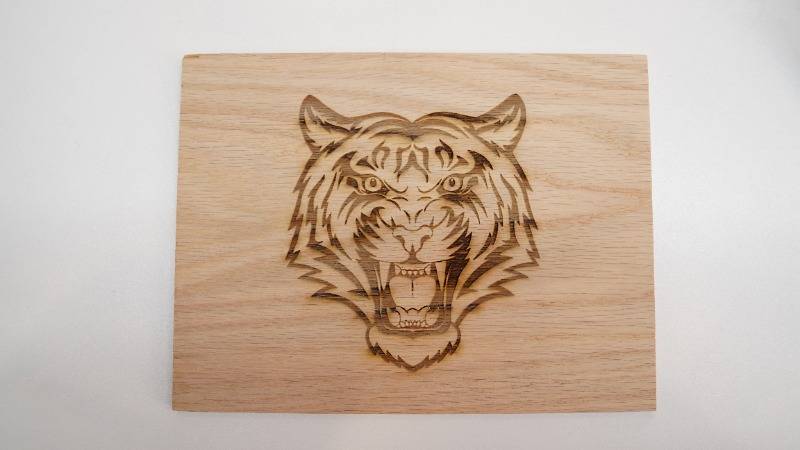
Cherry Wood
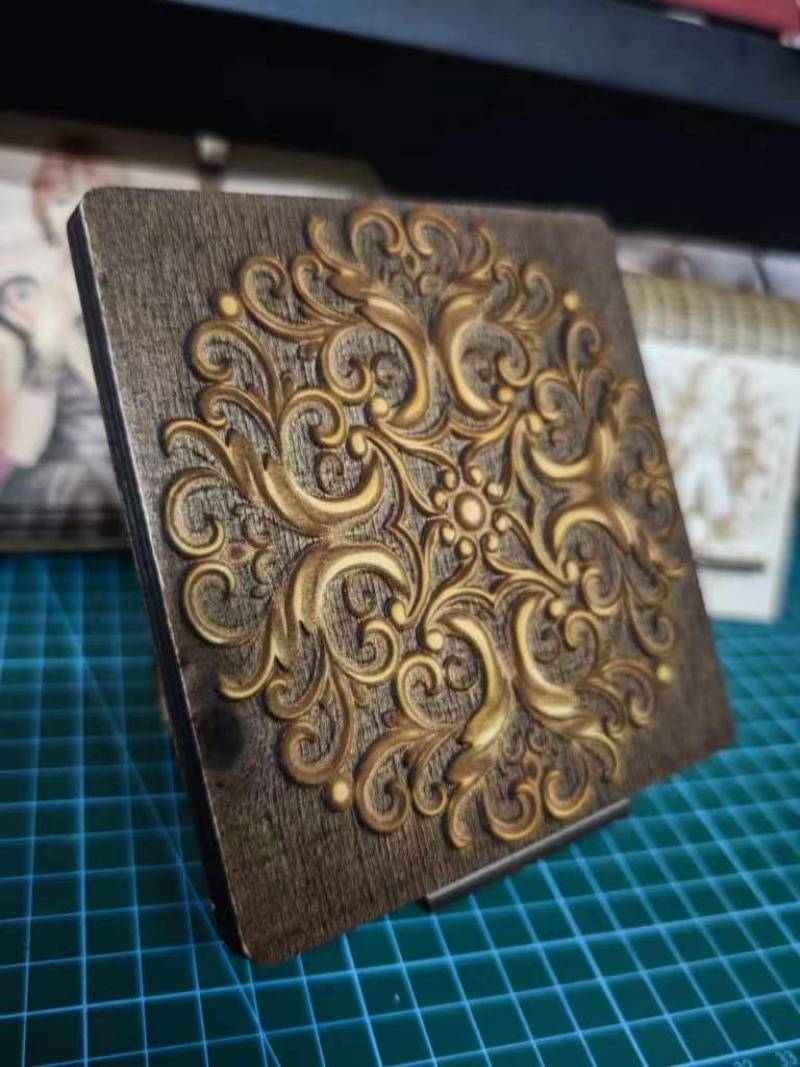
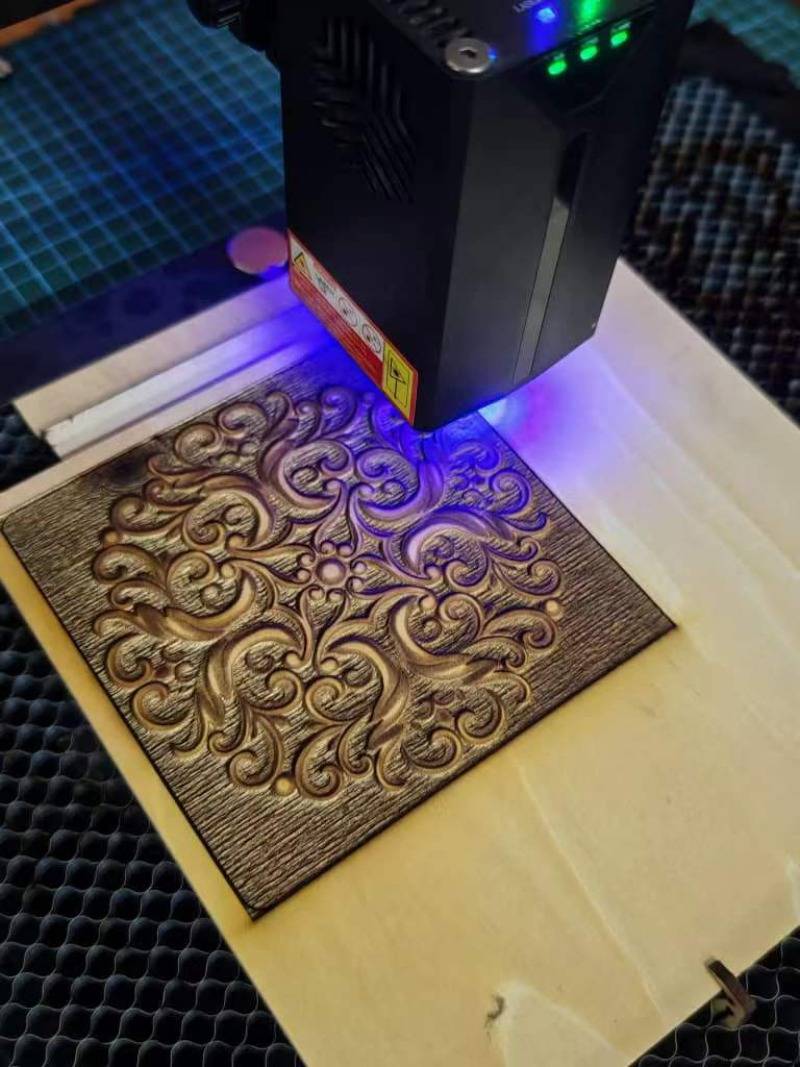
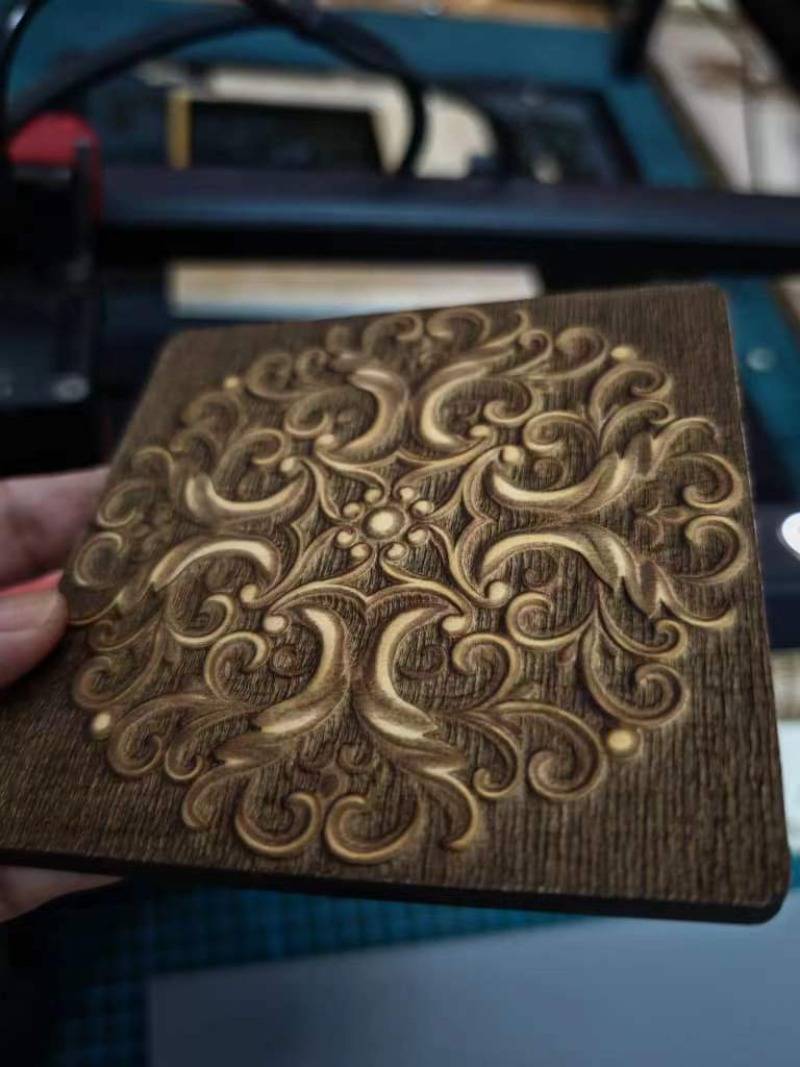
Wood Relief Engraving with a Diode Laser
Wood relief engraving using a diode laser is an exciting way to bring depth and texture to a wooden surface without traditional carving tools. Unlike manual techniques, a diode laser relies on a concentrated light beam that precisely removes layers of wood to shape patterns, designs, and textures. By adjusting the laser’s speed, power, and focus, makers can create varying depths, from shallow highlights to deeply sculpted features, giving the artwork a rich, three-dimensional quality.
Different types of wood respond uniquely to laser engraving. Hardwoods like cherry, maple, oak, and walnut provide sharp contrast and clear detail due to their dense grain, making them ideal for intricate designs. Softwoods such as pine, cedar, and basswood engrave more quickly and reveal subtle tonal variations, though knots or resin may create darker areas that can add rustic charm. MDF is a smooth, budget-friendly option that engraves evenly, producing consistent relief without worrying about grain direction. Understanding the properties of each wood helps artists select the right material for their desired effect.
Recommended Woods for Diode Laser Relief Engraving
| Wood Type | Engraving Depth | Detail & Clarity | Ease of Use | Best Uses |
|---|---|---|---|---|
| MDF | Medium | High | Easy | Bulk signs, prototypes, consistent reliefs |
| Basswood | Shallow to Medium | Very High | Very Easy | Craft models, ornaments, fine detailed relief |
| Pine | Medium | Medium | Easy | Rustic décor, plaques, artistic projects |
| Cherry Wood | Medium to Deep | Very High | Moderate | Gifts, nameplates, decorative art |
| Maple | Medium to Deep | Very High | Moderate | Logos, cutting boards, intricate designs |
| Oak | Medium | High | Moderate | Rustic décor, large panels, furniture accents |
| Walnut | Medium to Deep | High | Moderate | Elegant décor, professional-grade reliefs |
| Birch | Medium | High | Easy | Beginner-friendly projects, small ornaments |
| Cedar | Medium | Medium | Easy | Outdoor signs, rustic panels, scented pieces |
| Bamboo | Shallow to Medium | High | Easy | Eco-friendly décor, cutting boards, modern designs |
Tips for Choosing Wood for Relief Engraving
· For precision and fine detail, choose basswood, cherry, or maple.
· For rustic or textured designs, try pine, oak, or cedar.
· For budget-friendly bulk projects, MDF or birch works well.
· For high-contrast, elegant finishes, walnut or cherry are ideal.
Using this table alongside a diode laser ensures you can pick the best wood for your project, adjust settings confidently, and achieve consistent, professional-quality relief engravings every time.
What can you create?


Customized Wooden Signs
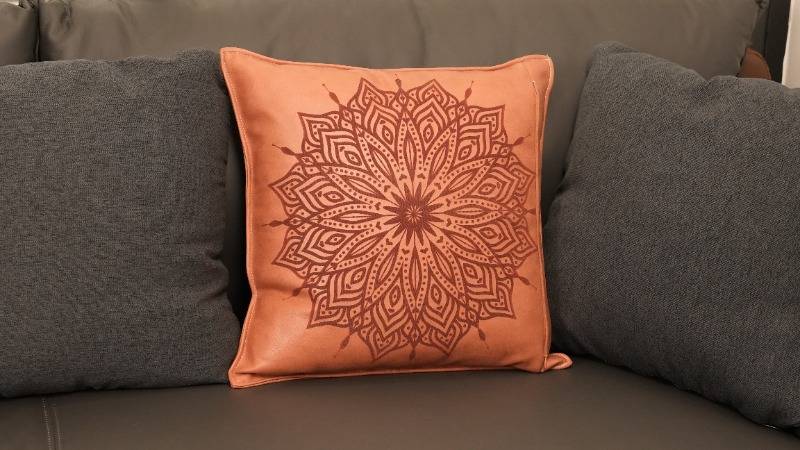
The laser engraver excels in creating personalized signage, from business logos to home decor, with crisp edges and detailed imagery.


Artistic Photo Engravings
Transforming photographs into wooden keepsakes, laser engravers capture the essence of memories with high fidelity.


Elegant Inlays
Ideal for musical instruments and fine furniture, laser engravers produce intricate inlays that enhance the item’s aesthetic appeal.


Rapid Prototyping
For designers, the laser engraver is an indispensable tool, enabling quick transitions from design to prototype with materials like MDF and plywood.


Personalized Gifts
The ability to customize items like phone cases and jewelry boxes makes the laser engraver perfect for creating unique, heartfelt presents.


Architectural Models
Precision cutting allows for the creation of complex architectural models, showcasing the laser engraver’s accuracy.


Educational Puzzles
Educational tools and puzzles benefit from the laser engraver’s ability to cut complex shapes, making learning more engaging.


Decorative Art Pieces
Artists use laser engravers to create intricate patterns and scenes on wood panels, pushing the boundaries of traditional art.


Functional Kitchenware
From cutting boards to coasters, laser engravers add a touch of personalization and sophistication to everyday items.
And More…
Engraving Made Simple!
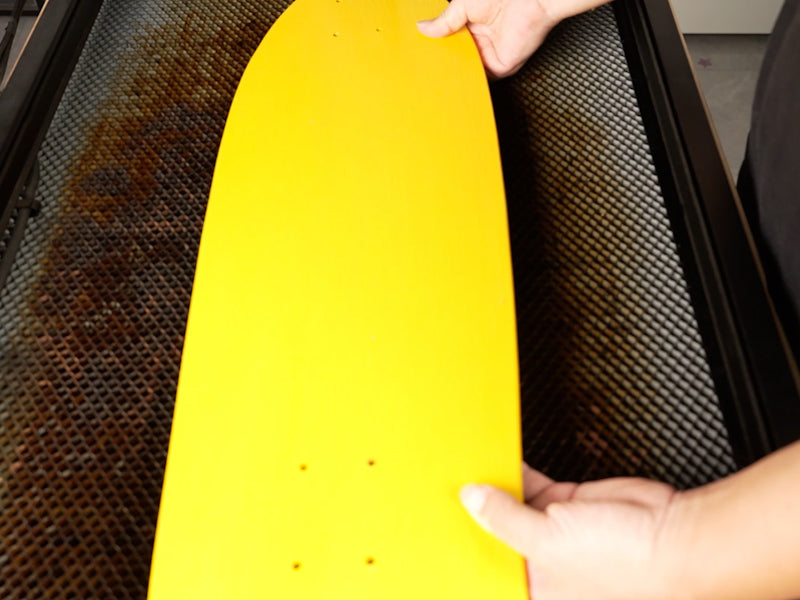
Engraving a Wooden Surfboard Skateboard with AlgoOS
1. Position the Skateboard in the Engraving Bed
Secure your wooden skateboard—flat, clean, and aligned—with the laser’s starting corner. Use clamps or weights to prevent shifting, and make sure the surface is dust-free for precise results.2. ine-Tune the Focus with AlgoOS
With the board in place, use AlgoOS on your device (like the Alpha MK2’s touchscreen) to access the “Projects” menu and select the design from your SD card. Ensure the laser is properly focused using the built-in focal gauge or focus adjustment—this step is essential for achieving razor-sharp detail.3.Load the G-code, Frame, and Engrave
After selecting the G-code file from the SD card, tap Frame to preview the design outline on your skateboard—confirm proper placement and reset if necessary. Then press Start to begin engraving by a Diode Laser Engraving Machine, using the recommended settings.
Monitor the process closely, ideally with air assist active and good ventilation, and let the board cool before handling.
Step 1, Place the Wooden Surfboard Skateboard in the Engraving Area.
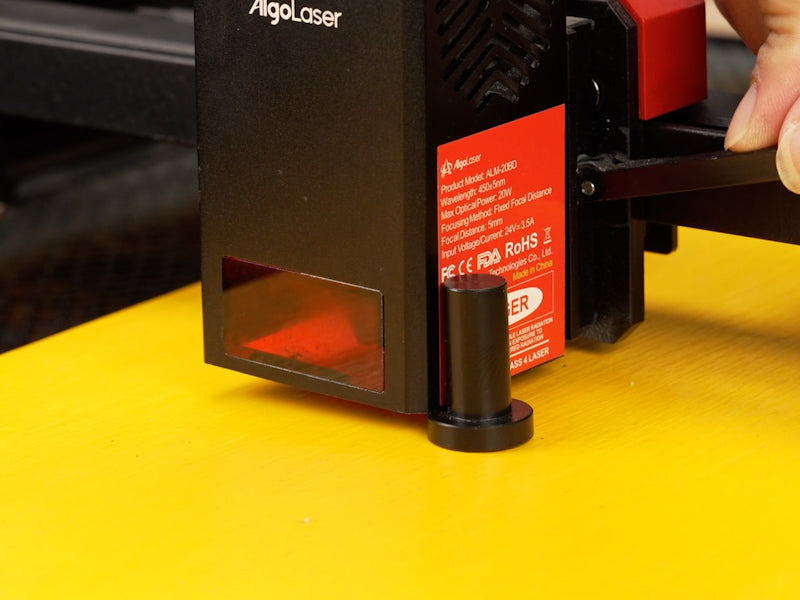
Step 2, Use the Focal Gauge to Adjust the Focal Length of the Laser Module.

Step3, Click on "Projects" Then "SD Card".
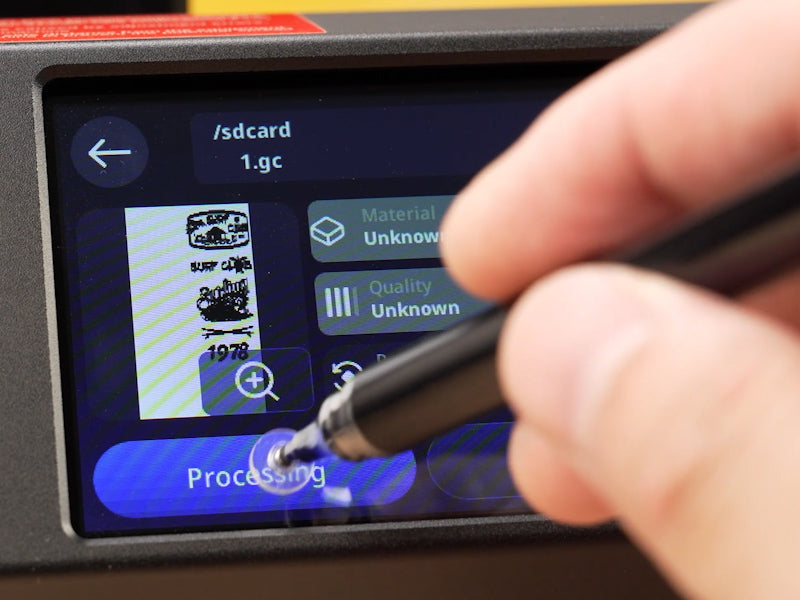
Step 4, Select the Prepared G-code File and Click the Frame Button.
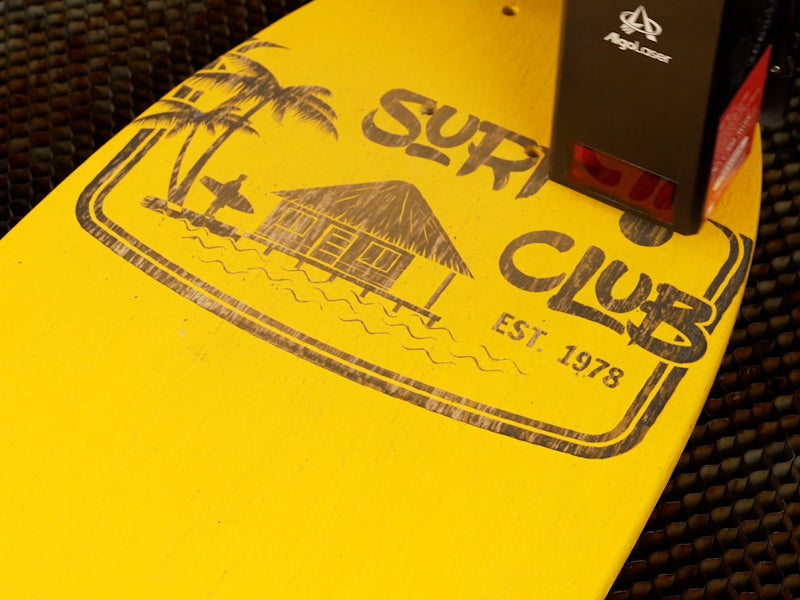
Step 5, Start Engraving and Monitor the Process.
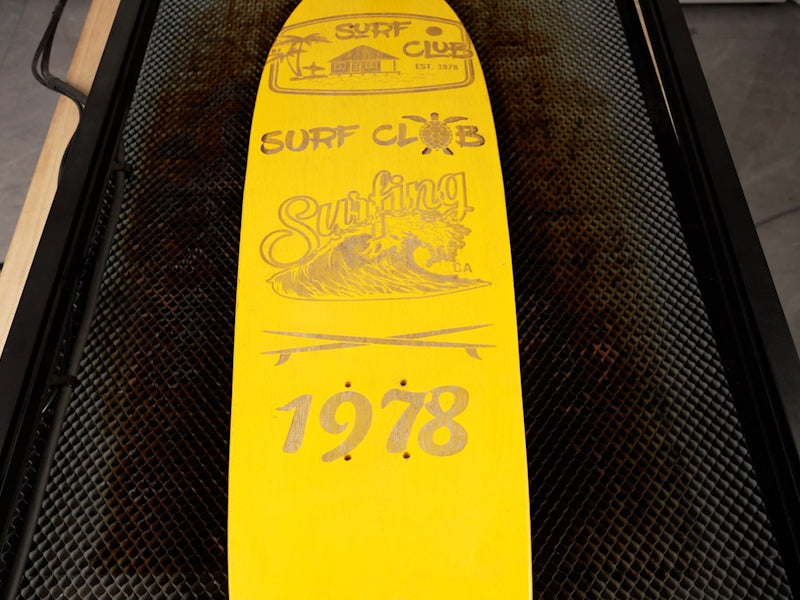
Step 6, Wooden Surfboard Skateboard Laser Engraving Completed .
How to laser engrave various materials?
Various projects and ideas about how laser engraving small business owners and freelance engravers use laser engravers and start a business.


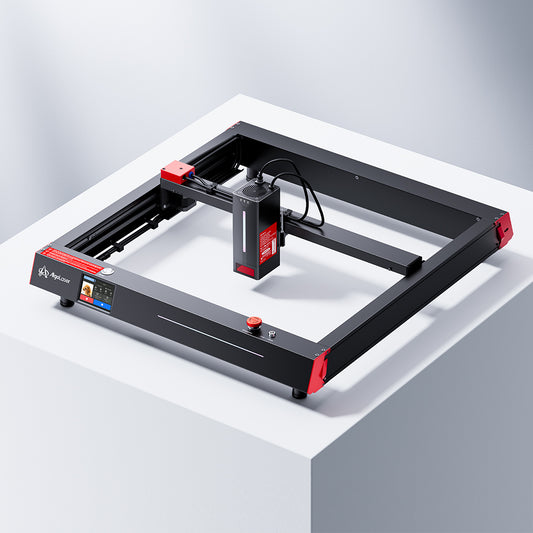
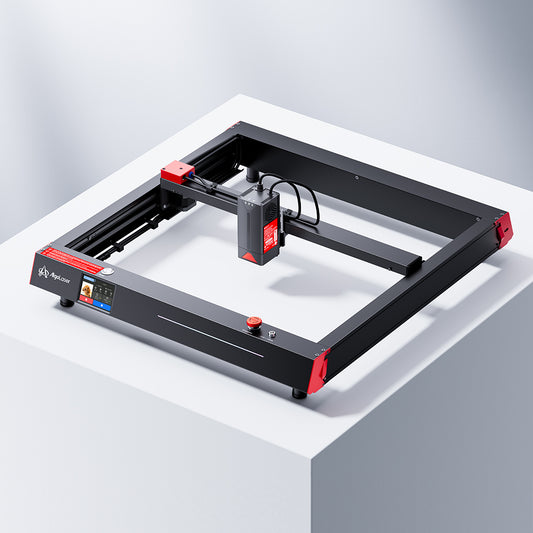
Recommendations for Laser Engraving Machines
Whether you're working on single items or managing a heavy workload, an AlgoLaser Laser Engraver is the right solution. Check out our full product line for reliable and efficient engraving of Stones.
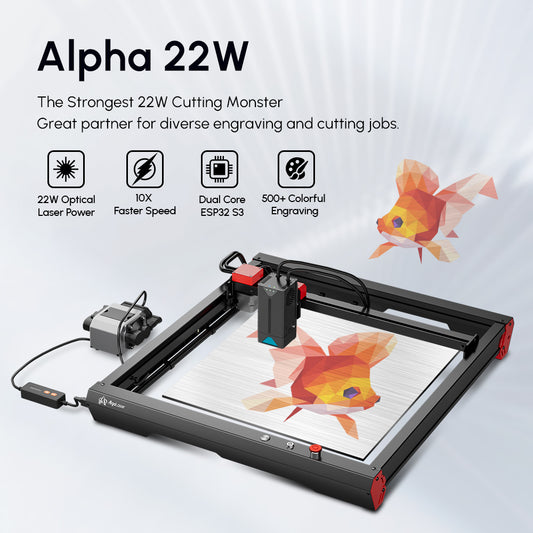
![[Discontinued] AlgoLaser Alpha 22W Laser Engraver (Recommended: Alpha MK2 20W)](http://algolaser.com/cdn/shop/files/ALPHA_22W_1a87454a-b664-43bf-85c7-63606755bbf8_533x.jpg?v=1734401523)