


How to Laser Engrave a Photo on Wood
Laser engraving on wood is a versatile and creative way to turn your favorite photos into enduring pieces of art. Whether you want to create personalized gifts, commemorate a special occasion, or add a unique touch to your home decor, laser engraving allows you to etch high-resolution images onto wood surfaces. In this comprehensive guide, we will take you through the process of laser engraving a photo on wood, covering everything from image preparation to safety considerations.
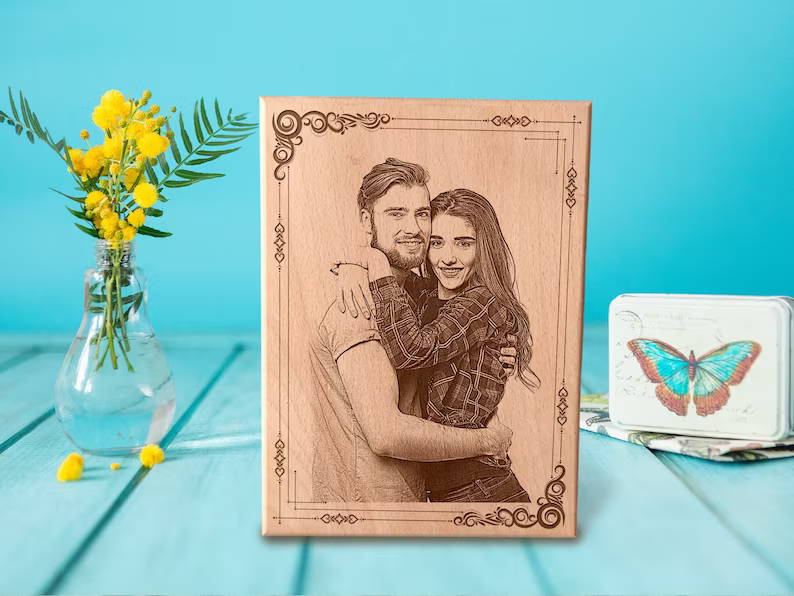
image credit: ArtarkStudio - Etsy
Why Laser Engrave a Photo on Wood
Personalization and Customization
Laser engraving offers a high degree of personalization. You can choose the images, text, and designs to engrave on wood, making each piece a unique and thoughtful gift or keepsake. Whether it's a wedding photo, a cherished family portrait, or a beloved pet's image, you have the freedom to customize your engravings to suit your preferences and the occasion.
Durability and Longevity
Laser engraving on wood creates permanent and durable marks. Unlike printed photos that can fade or deteriorate over time, laser engravings remain vivid and sharp for many years. This longevity ensures that your treasured memories are preserved and can be passed down through generations.
Aesthetic Appeal
The contrast between the natural beauty of wood and the precision of laser engraving creates a visually striking effect. The wood's texture and grain patterns provide a unique background for your photos, enhancing their aesthetic appeal. Laser engravings on wood can range from rustic and earthy to sleek and modern, depending on your choice of wood and design.
Versatility
Laser engraving can be applied to a wide range of wood types, allowing you to experiment with different looks and styles. Popular choices include hardwoods like oak, cherry, and walnut, as well as softwoods such as pine. Each wood type offers unique color, grain, and texture, allowing you to match the wood to the image and desired aesthetic.
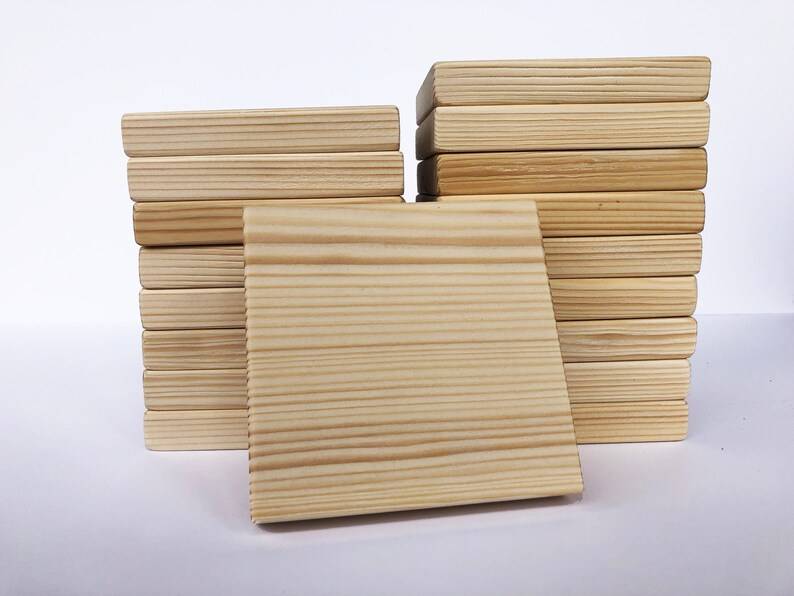
image credit: OnceUponATreebyMK - Etsy
Materials and Equipment You'll Need
Before you embark on your laser engraving project, gather the necessary materials and equipment:
Laser Engraving Machine: You'll need access to a laser engraving machine, which can range from small desktop units to industrial-grade devices. Ensure that your machine is suitable for wood engraving.
Wood: Choose the type of wood you want to engrave. Common options include birch plywood, oak, cherry, maple, and walnut. Make sure the wood is untreated and sanded smooth.
High-Resolution Image: Select a high-resolution image for engraving. Black and white images with good contrast often work best, but color photos can also be engraved.
Laser Engraving Software: Use laser engraving software to process and prepare your image for engraving. You'll need software compatible with your laser engraving machine.
Safety Gear: Laser engraving machines emit powerful lasers, so wear appropriate safety gear, including laser safety glasses.
Ventilation: If your laser engraving machine produces fumes, ensure you have adequate ventilation in your workspace.
Cleaning Supplies: You'll need cleaning supplies to remove any residue or ash from the engraved wood after the process is complete.
Preparing Your Image
Selecting the Right Photo: Choose a high-resolution image with good contrast. Photos with clear subjects and well-defined details work best for laser engraving.
Image Editing: Use image editing software like Adobe Photoshop to enhance your photo, adjust contrast, and convert it to grayscale if needed.
Sizing the Image: Resize the image to fit the wood surface. Consider the dimensions of the wood and the desired placement of the image.
Mirror the Image: When using laser engraving software, you'll typically have the option to mirror the image horizontally. This step is crucial, as the laser will engrave the image in reverse on the wood, and mirroring it ensures the final image appears correctly.

image credit: SimplyLaurieShop - Etsy
Choosing the Right Wood
Selecting the right type of wood is a crucial decision that can significantly impact the appearance and quality of your laser engraving. Consider the following factors when choosing wood for your project:
Wood Type: Different wood types offer unique colors, grain patterns, and hardness. Consider the aesthetic you want to achieve and choose a wood type that complements your design.
Common choices include:
Birch: Known for its pale color and fine grain, birch is an excellent choice for a clean and contemporary look.
Oak: Oak is a versatile wood with a strong grain pattern that adds character and warmth to engravings.
Cherry: Cherry wood offers a rich, reddish-brown hue and a smooth grain, resulting in an elegant appearance.
Walnut: Walnut is prized for its dark brown color and striking grain, creating a sophisticated and timeless look.
Wood Thickness: The thickness of the wood can influence the depth and impact of the engraving. Thicker wood allows for deeper engravings, which can create a more dramatic effect.
Grain Orientation: Consider the direction of the wood grain when choosing the wood for your project. Horizontal grain patterns can create a more balanced and classic appearance, while vertical patterns can add a sense of height and drama.
Texture and Finish: Decide whether you want a smooth, sanded finish or a more textured surface. The texture can add character and interest to the engraving.
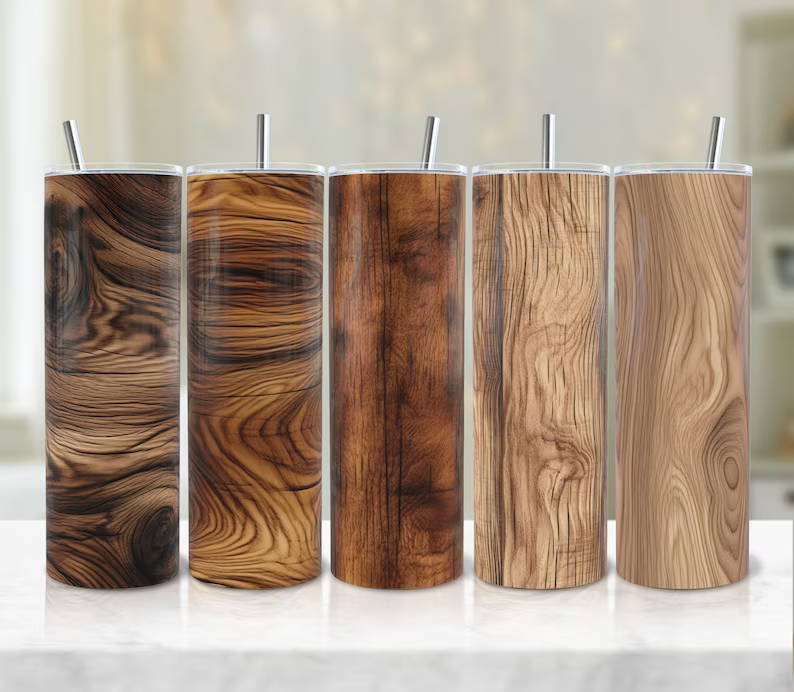
image credit: TumblersWithAlex - Etsy
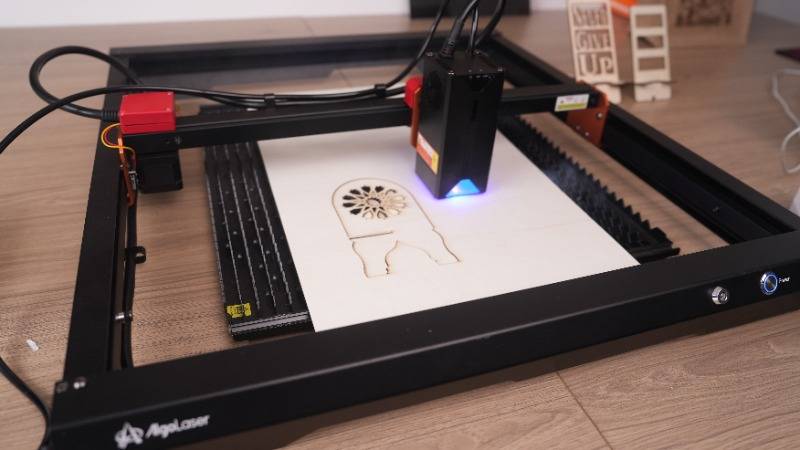
Setting Up The Laser Engraver
Properly setting up your laser engraver is essential for achieving the best results. Follow these steps:
Machine Calibration: Ensure your laser engraving machine is properly calibrated to the wood's surface. Check the machine's focus, speed, and power settings to match the wood type and thickness.
Material Placement: Secure the wood piece within the machine. Use a bed or platform designed to hold the wood securely during the engraving process. Make sure the wood is level, flat, and correctly aligned to ensure the accuracy of the engraving.
Focus Adjustment: Adjust the laser's focus point to the wood's surface. Proper focus is crucial for achieving a sharp and precise engraving. Many laser engraving machines offer autofocus features, making this step more straightforward.
Engraving Process
The actual engraving process involves the use of the laser to etch your selected image onto the wood. Here's how to carry out this step:
Software Configuration: Load your prepared image into the laser engraving software. Use the software to set the engraving parameters, which include speed, power, resolution, and engraving depth. These settings will vary based on the machine, wood type, and image complexity. Many software programs allow you to preview the engraving before proceeding.
Safety Precautions: Prior to starting the engraving process, take necessary safety precautions. Wear laser safety glasses that are designed to protect your eyes from the laser beam. Ensure that your workspace is well-ventilated if your machine produces fumes during the process.
Image Alignment: Use the software to precisely align the image on the wood surface. This step is crucial to ensure that the image is placed exactly where you want it on the wood.
Start Engraving: After confirming all the settings and safety measures, initiate the engraving process. The laser will follow the path defined by your image and software settings, etching the photo onto the wood. The duration of this process depends on the complexity and size of the image.
Monitor Progress: Keep a close eye on the engraving process, especially during the initial stages. Ensure that the engraving is proceeding correctly, and the wood is secure.
Finishing
After the engraving is complete, you'll need to perform some finishing steps to enhance the final appearance of the wood:
Cleaning: Carefully remove the wood from the laser engraving machine. Depending on the machine and wood type, there may be some residue or ash on the engraved surface. Use a clean, dry cloth or brush to gently remove any debris. Be cautious not to scratch the wood.
Sanding (Optional): If you desire a smoother finish or want to enhance the contrast of the engraving, consider light sanding. Use fine-grit sandpaper and sand in the direction of the wood grain. Be gentle to avoid removing too much material.
Applying a Finish: To protect the engraving and enhance its appearance, consider applying a finish to the wood. Common options include varnish, polyurethane, lacquer, or even wood wax. Follow the manufacturer's instructions for the chosen finish. Allow the finish to dry completely before handling the engraved wood.
Mounting or Framing (Optional): Depending on your project's purpose, you may choose to mount the engraved wood in a frame or on a backing board. This can enhance the presentation and make it ready for display.
Safety Considerations
Safety is paramount when working with laser engraving machines, which emit powerful laser beams. Here are some essential safety considerations:
Wear Laser Safety Glasses: Always wear laser safety glasses that are appropriate for the laser's wavelength and power. These glasses protect your eyes from harmful laser radiation.
Ventilation: If your laser engraving machine produces fumes or particles during the engraving process, ensure proper ventilation in your workspace. Install exhaust systems or work in well-ventilated areas to minimize exposure to potentially harmful emissions.
Machine Safety: Familiarize yourself with your laser engraving machine's safety features and guidelines. Follow manufacturer recommendations for safe operation, and never bypass or disable safety mechanisms.
Fire Safety: Wood can be flammable, especially when exposed to high-power lasers. Have fire safety measures in place, such as fire extinguishers and smoke detectors. Do not leave the machine unattended during the engraving process.
Training and Knowledge: Ensure that anyone operating the laser engraving machine has received proper training and understands safety procedures. Untrained or inexperienced operators can pose risks to themselves and others.
Protective Clothing: Depending on your machine and workspace, consider wearing appropriate protective clothing, including long sleeves and gloves, to shield your skin from potential burns.
Material Compatibility: Be aware that some woods may produce harmful fumes when engraved. Familiarize yourself with the specific characteristics of the wood you're using and take necessary precautions.
Workspace Organization: Maintain a well-organized and clutter-free workspace. This reduces the risk of accidents and helps ensure smooth and safe operations.
Conclusion
Laser engraving a photo on wood is a rewarding and creative process that transforms your cherished memories into enduring pieces of art. The combination of personalization, durability, aesthetic appeal, and versatility makes laser-engraved wooden photographs a popular choice for gifts, decor, and keepsakes. By following the steps outlined in this guide and prioritizing safety, you can successfully laser engrave your chosen images onto wood, creating beautiful and long-lasting pieces that will be treasured for years to come.
Free SVG & Gcode Files for Laser Engraving & Cutting can be found here, wich you can import into our laser cutters directly.


