Step 3: Click on “Projects,” Then “SD Card”
Step 4: Select the Prepared SVG File and Start Engraving and Cutting
Step 5: Assemble the Plywood Parts in Order
6 FAQs About Laser Cutting a Wooden Music Box
3mm Plywood
How to Laser Cut a Wooden Music Box with the AlgoLaser Alpha MK2 40W Laser Engraver
There’s something timeless about the sound of a wooden music box. The gentle clinking of the notes, the smooth rotation of the crank, and the nostalgia it evokes — it’s the perfect blend of craftsmanship and sentiment. As a geek laser engraver who loves combining digital precision with the warmth of natural materials, I decided to laser cut my own wooden music box using the AlgoLaser Alpha MK2 40W laser engraver.
This project isn’t just about cutting wood — it’s about turning a digital SVG file into a functional piece of art. The process might sound technical, but once you understand the steps, you’ll see just how accessible laser crafting can be.
The foundation of any great engraving or cutting project starts with how you position your material. For this project, I used 3mm plywood, which strikes a great balance between sturdiness and flexibility. It’s thick enough to create durable box panels but thin enough for intricate cuts.
Open the protective lid of your AlgoLaser Alpha MK2 40W and make sure your working area is free of debris or residue from previous projects. Lay the plywood flat in the engraving area — ideally centered for even cutting margins.
If you’re cutting multiple pieces, you can use the grid or framing function in LightBurn (or directly through AlgoOS if using the onboard system) to align your design perfectly. This ensures every component — from the base to the lid — stays proportionate.
Pro tip: Always check that your plywood is lying perfectly flat. Any warping or lifting at the edges can affect the focal distance and result in uneven cutting depth.
Precision starts with focus. The Alpha MK2 makes this incredibly simple thanks to its built-in focusing system. Grab your focal gauge (or focus bar) and position it between the laser head and the surface of your plywood.
Next, lower the laser module slowly until it just touches the top of the gauge. Once the correct focal distance is achieved, lock the module in place. This ensures the laser beam is concentrated precisely at the wood surface for the sharpest, cleanest cut.
The focusing process takes less than a minute, but it makes all the difference. A properly focused beam can cut faster and cleaner, minimizing charring and leaving beautifully defined edges.
Geek insight: The Alpha MK2 40W uses a compressed spot diode laser, meaning the light converges into a smaller dot than most standard 10W or 20W models. That means even fine details on delicate box hinges or decorative patterns come out crisp and accurate.
Once your material and focus are ready, it’s time to set up your design. The AlgoLaser Alpha MK2 offers several file input options, but for this project, I used the onboard SD card feature.
Tap on the touch screen, select “Projects”, then choose “SD Card.” From there, you’ll see your prepared SVG file — the design template for your wooden music box. SVG files are perfect for laser cutting because they retain sharp vector paths that guide the laser precisely.
If you’re working with LightBurn or another design program, make sure your vector lines are correctly color-coded:
Red lines for cutting outlines
Blue or black lines for engraving marks
Once everything looks right, save the file as GCode and transfer it to the SD card labeled “ALGOLASER.”
Pro tip: Double-check the scale of your SVG file before engraving. Sometimes a small miscalculation can lead to mismatched pieces during assembly.
Now comes the exciting part — watching your laser engraver bring your design to life.
With your SD card inserted and your file selected, it’s time to adjust the cutting parameters. For 3mm plywood, the ideal settings on the AlgoLaser Alpha MK2 40W are:
Fill – Speed: 8500 mm/min
Line – Speed: 500 mm/min
Power: 100%
Pass: 1
The Fill speed is used for engraving the design details, while the Line speed handles the cutting. These parameters ensure smooth edges and clean separation without burning or overcutting.
Hit “Start” and watch as the laser traces your design with surgical precision. The Alpha MK2’s high-speed galvo-style motion and 30,000 mm/min capability make even detailed projects finish faster than most machines in its class.
As the laser moves through the plywood, you’ll notice the subtle scent of burning wood — that’s your music box taking shape, one beam pass at a time.
Geek moment: I always find this step mesmerizing. The combination of digital precision and organic material feels like bridging two worlds — tech and craftsmanship — in one glowing beam.
Once the cutting process is done, remove the plywood from the engraving area and gently pop out each piece. If your design includes engraved patterns, wipe off any residue with a soft cloth or a bit of rubbing alcohol.
Now, it’s time to assemble your music box. Most SVG templates for wooden music boxes are designed with tab-and-slot joints, meaning each part should fit snugly without needing nails or screws. Start by connecting the sides, then attach the bottom and lid.
If you’re installing a mechanical music movement, position it inside before closing the top. The holes and notches in the design should align with the winding mechanism and sound openings.
You can add a touch of wood glue to reinforce the structure, but if your cuts are precise, friction alone often provides a tight fit.
When you’re done, turn the handle and listen — that’s your handmade music box playing its tune, powered by both craftsmanship and laser precision.
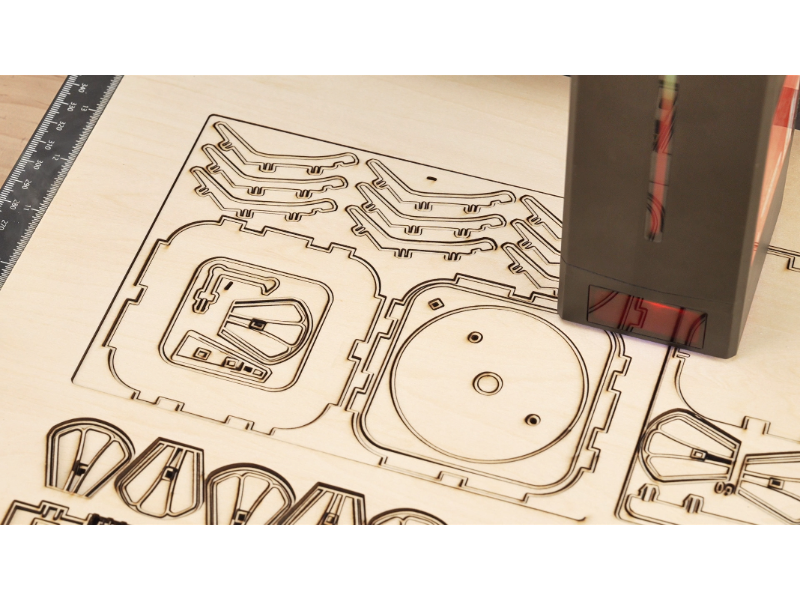
1. Can I use thicker plywood than 3mm?
Yes, but keep in mind that thicker wood requires multiple passes or slower cutting speeds. For most music box designs, 3mm plywood offers the ideal balance of flexibility and durability.
2. Will the laser burn the edges of the wood?
A slight darkening on the edges is normal, giving the wood a nice rustic finish. If you want cleaner edges, you can lightly sand them or adjust air assist to reduce scorching.
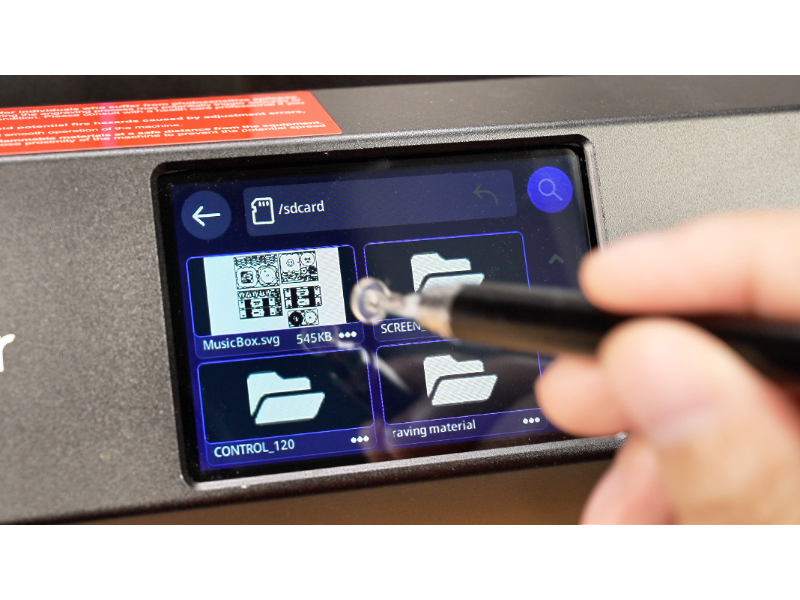
3. What file format works best for cutting?
SVG files are recommended because they preserve vector paths that the laser can follow exactly. DXF files can also work but may need conversion for compatibility.
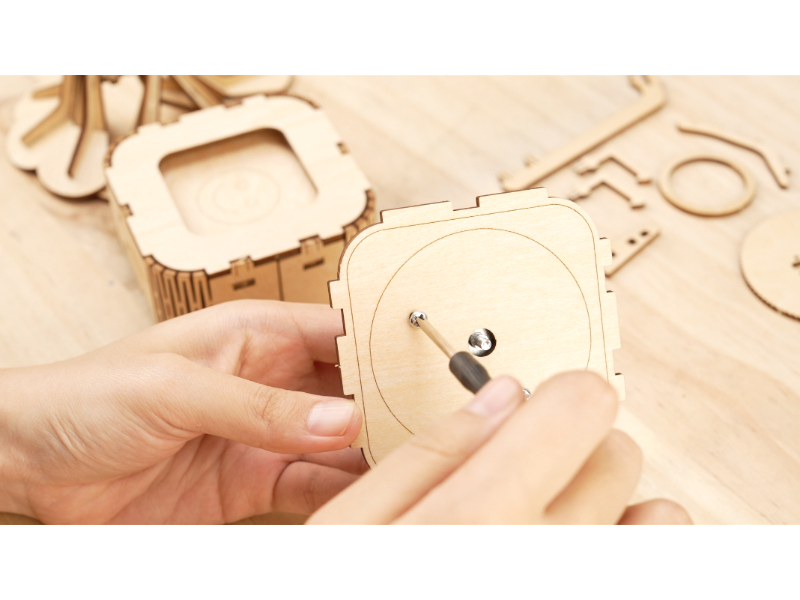
4. Can I engrave a custom pattern or message on the lid?
Absolutely! That’s one of the best parts of using a laser engraver. You can personalize the lid with text, logos, or even a short dedication before cutting.
5. How do I ensure my cuts are consistent?
Make sure the plywood is flat, the laser is properly focused, and your parameters are correctly set. Using the built-in preview function to frame the job area helps too.
6. Can the Alpha MK2 handle larger or more complex projects?
Definitely. With its 40W power, dual-core CPU, and 32GB memory, the Alpha MK2 can handle multi-layer designs and even large-scale cutting projects without lag or overheating.
Laser cutting a wooden music box might sound like an advanced project, but with the AlgoLaser Alpha MK2 40W laser engraver, it’s surprisingly approachable — and incredibly rewarding. You get to experience the joy of transforming simple plywood into a functioning piece of art that plays music and carries your personal touch.
Every detail — from adjusting the focus to assembling the final box — is a testament to the beauty of precision craftsmanship. Whether you’re a seasoned maker or a newcomer experimenting with your first wood project, the Alpha MK2 gives you the power and control to bring your creative ideas to life.
So next time you’re in your workshop, load up your favorite song mechanism, grab a fresh sheet of plywood, and let your laser engraver compose a melody of light and craftsmanship.
Engraving & Cutting Operation Guide Steps
Thanks for subscribing!
This email has been registered!