- Choosing a selection results in a full page refresh.
3 mm Plywood 3
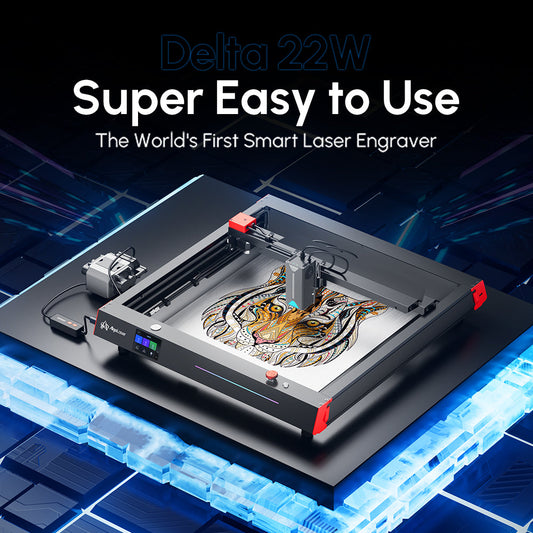
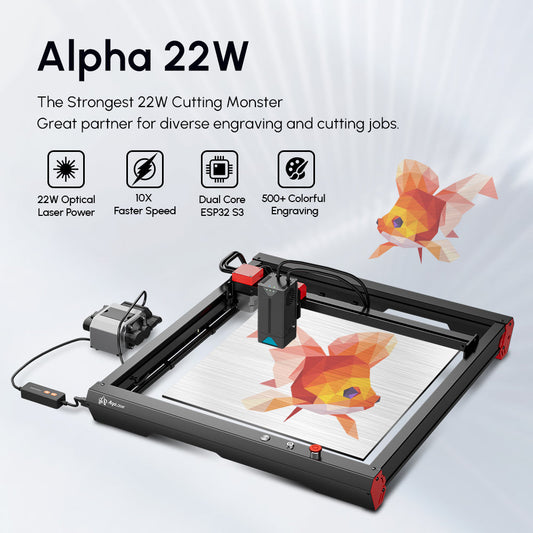
AlgoLaser Alpha MK2
Line 1/Speed 1
450
Power
100%
Pass
1
Laser Cut 3D Wooden Puzzle Toy Drone: Assembly & Testing Guide for Novices
Before you begin, you’ll need the correct drawings for your drone design. AlgoLaser offers a variety of 3D wooden puzzle templates that you can easily download from their official website.
Steps:
Downloading these files is the first critical step in ensuring your pieces are perfectly designed for laser cutting.

Now that you have your drawings, it’s time to load them into your laser engraver’s system. This step involves transferring the files from your computer to the machine.
Steps:
Once the files are transferred, your laser engraver is ready to get to work cutting the puzzle pieces.

After uploading the drawings, it’s time to select the file you want to cut. The laser engraver’s control interface makes it simple to navigate through your files and start the cutting process.
Steps:
At this point, you’re just moments away from starting the laser cutting process!

Steps:
Once these parameters are set, you can confidently move forward, knowing your pieces will come out precisely as designed.

When the machine finishes cutting, you’ll have the wooden pieces ready for assembly. It’s important to check for clean edges and ensure that all parts have been successfully cut out.
Steps:
Now, you’re ready to move on to assembling your drone!

The next phase is assembling the drone’s body. This is where your laser-cut pieces come together to form the 3D structure.
Steps:
With the body of the drone assembled, you’ll have a good sense of how the final product will look and feel in your hands.

After assembling the fuselage, it’s time to prepare your drone for flight. This includes attaching the necessary electronics, such as the motors, propellers, and connecting the remote control.
Steps:
At this stage, your drone should be fully functional and ready for a test flight.

Now for the exciting part—testing your drone! Ensure you're in an open area, as it’s best to fly your drone in a space free from obstacles.
Steps:
With everything working smoothly, your laser-cut drone is now airborne and ready for hours of flying fun!

Building and flying your own Laser Cut 3D Wooden Puzzle Toy Drone is a rewarding project that combines creativity with technology. Thanks to the precision of laser engraving and easy-to-assemble puzzle pieces, this project is accessible even for beginners. With a few simple steps, you can design, cut, and fly your very own wooden drone. Whether you’re a hobbyist or a tech enthusiast, this guide makes it simple to get started with laser engraving and drone technology.
Engraving & Cutting Operation Guide Steps
Thanks for subscribing!
This email has been registered!