Laser Engrave Phone Case
Materials Needed
Machine Used
Laser Engraving
1. Introduction

2. Materials Needed

3. Step-by-Step Process for Laser Engraving a Christmas Suede Phone Case

Suede Phone Case
AlgoLaser Alpha MK2
Line 1/Speed 1
15000
Power
80%
Line Interval
0.1mm
Pass
1
Step-by-Step Process for Laser Engraving a Christmas Suede Phone Case
Laser engraving is a perfect way to add a unique, personalized touch to a suede phone case—especially when celebrating the holiday season! Whether you’re engraving festive Christmas trees, snowflakes, reindeer, or jolly Santa designs, a laser engraver provides the precision needed for intricate details. We’ll walk through the steps to successfully engrave a Christmas-themed design on a suede phone case, making it easy for beginners to get started with laser engraving.

Start by downloading a beautiful, festive design from the AlgoLaser official website.

1. Prepare the Design
Before anything else, you need to decide on a Christmas design that suits your style and fits the size of the phone case. You can either create your own design or find one online. Popular Christmas themes include:
Ensure the design file is in a compatible format, such as PNG, JPEG, or SVG, which can be easily imported into the laser engraving software.
2. Insert the USB Drive into Your Computer
Plug your USB flash drive into your computer’s USB port. You’ll use this drive to transfer your design file to the laser engraver later on.
3. Place the Design on the USB Drive
After the USB is recognized, copy and paste the Christmas design onto the USB drive. Open the folder that pops up and transfer the image or vector file that you want to engrave onto the suede phone case.
Tip: Organize your design files by creating separate folders for different projects, making it easier to locate them when needed.
4. Safely Remove the USB Drive
Once the design has been transferred, safely eject the USB drive from the computer. This ensures no data is corrupted, and the design file is securely saved.
5. Insert the USB Drive into the Laser Engraver
Next, insert the USB drive into your laser engraver. The machine should recognize the device automatically and display the design file that you transferred.
6. Set the Suede Phone Case on the Engraving Bed
Open the laser engraver’s enclosure and place your suede phone case onto the engraving bed. Make sure the case is centered and properly aligned to avoid any misalignment during engraving.
Tip: Secure the phone case with tape or a clamp to keep it from shifting during the engraving process.
7. Adjust the Focus Using a Focus Column
Suede is a relatively soft material, so ensuring the correct focus is key to achieving a clean, detailed engraving. Use the focus column (or focus tool) to adjust the distance between the laser and the phone case. Proper focusing ensures the laser beam is sharp and precise, which is especially important for engraving fine details in a design.
Pro Tip: If your laser engraver has an auto-focus feature, take advantage of it to save time and effort.
8. Turn On the Fan and Lights
Before starting the engraving process, make sure the fan and lights are turned on. The fan helps with ventilation by removing fumes produced during engraving, and the lights provide visibility to ensure you can see the work area clearly.
9. Select the Image from the USB Disk
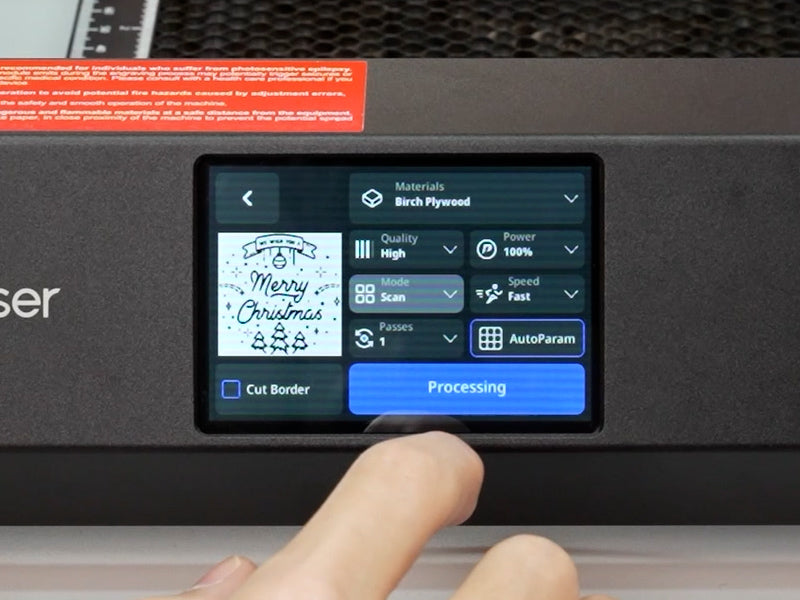
Navigate to the "Projects" menu on your laser engraver’s interface, click on "USB Disk," and select the Christmas design that you want to engrave. This will load the design onto the machine’s screen.
10. Choose the Material Type
In the engraving settings, choose "Suede" or "Leather" as your material. This is important, as the settings for different materials vary in terms of laser power, speed, and line spacing.
11. Select the Engraving Effect
For most Christmas designs, a fill engraving works well to create solid, deep engravings, especially for intricate details like snowflakes or Santa’s face. You can also opt for line engraving for simpler, more subtle designs. The choice of effect depends on the design’s complexity and how deep or light you want the engraving to appear.
12. Home the Laser Head
Homing the laser head is important to ensure the machine knows the exact starting point for the engraving. This process moves the laser head to its initial position at the top left corner of the engraving bed.
13. Adjust the Image Size and Position
Make sure the design fits within the engraving area of the phone case. You can resize the image if necessary to ensure it matches the proportions of your phone case. After resizing, drag the design to the exact position where you want it engraved.
14. Frame the Engraving Area
The “frame” function shows you the boundaries of the engraving. It outlines the engraving area so you can double-check the positioning before the engraving starts.
15. Double-Check the Settings and Position
At this point, double-check the design’s size, position, and settings. Confirm that the laser head is correctly aligned with the phone case.
16. Click Start to Begin Engraving
Once you’re satisfied with everything, click the "Start" button to begin engraving. The laser engraver will carefully burn the design into the surface of the suede phone case.
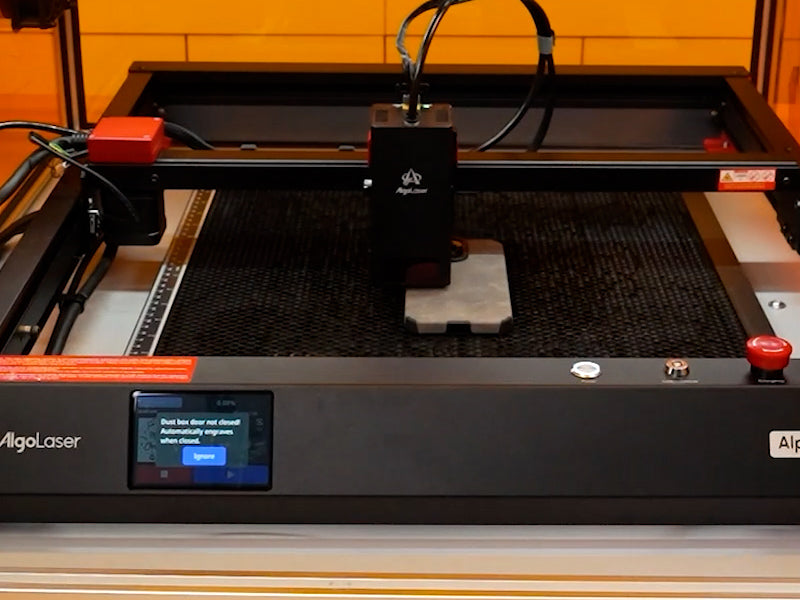
17. Close the Dust Box Door
Ensure the dust box door is closed to maintain safety and cleanliness during the engraving process. The dust box helps contain the smoke and fumes generated during engraving.

For optimal results when engraving a phone case using a 20W laser engraver, use the following settings:

Laser engraving a phone case can be a fun, creative, and satisfying project. Whether you're engraving a spooky Halloween design like pumpkins, ghosts, or tombstones, or any other custom design, a laser engraver gives you the precision to create professional-looking results. By following the steps in this guide, even beginners can get started with ease and create personalized phone cases that are truly one-of-a-kind.
Now, get started with your laser engraver and add a personal touch to your phone case!
Thanks for subscribing!
This email has been registered!