Download Project Files

Laser Cut Elephant Paper Painting

Materials Needed

Machine Used

Laser Cutting 

Line 1/Speed

1500

Power

100%

Pass

1

  • Laser Cut Elephant Paper Painting: A Step-by-Step Guide

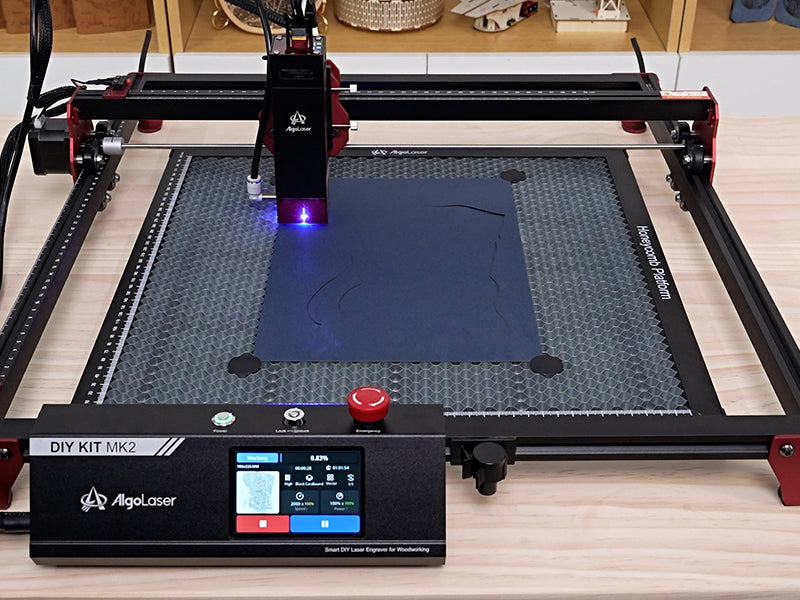
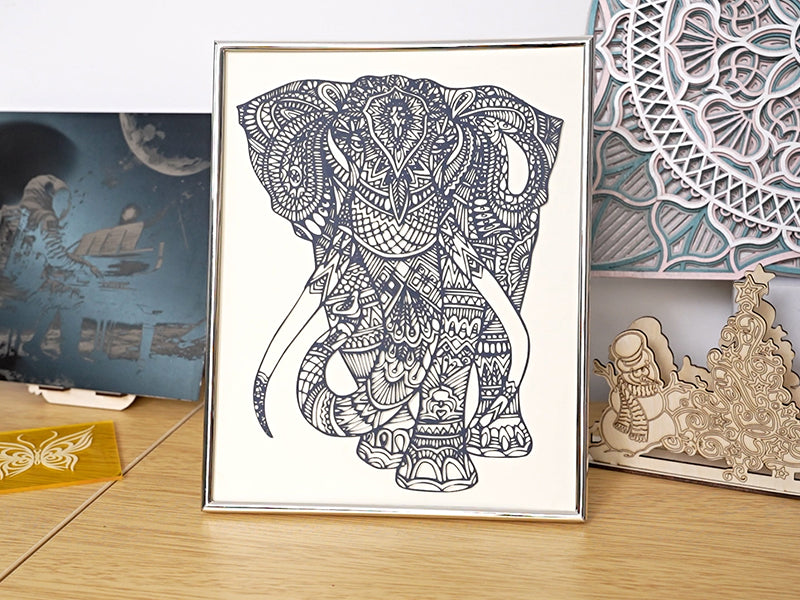
Creating a Laser Cut Elephant Paper Painting is a rewarding and creative project, perfect for beginners and seasoned enthusiasts alike. This guide will walk you through the entire process, from downloading the design to mounting the final artwork, using a laser engraver for precise and clean cuts.

1. Materials Needed

Materials Needed:

  • Paper: Use high-quality paper (like cardstock or standard printer paper) for best results.
  • AlgoLaser DIY KIY MK2 10W: The laser engraver we'll be using for this project.
  • USB Drive: To transfer files.
  • Framing materials: Optional for mounting your finished piece.

2. Download the Exquisite Elephant Paper Painting Drawings from the AlgoLaser Official Website
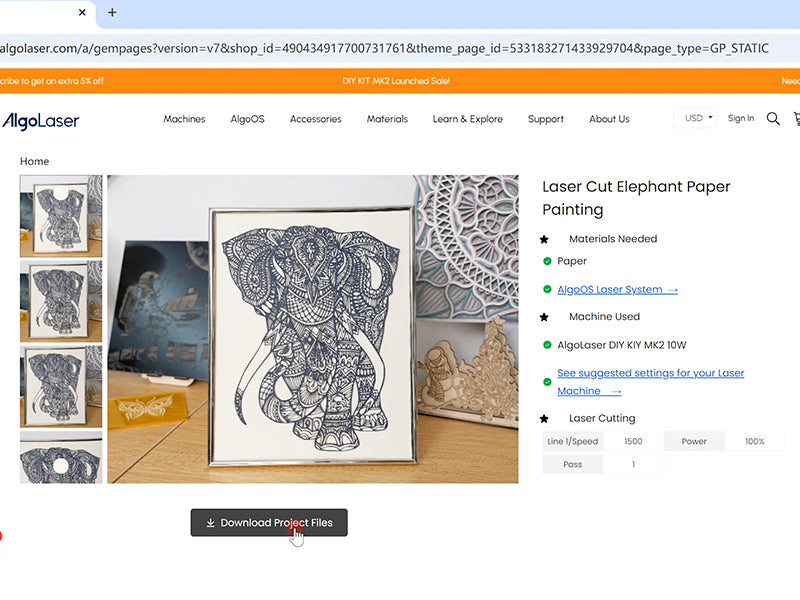
  • Head to the AlgoLaser official website and browse the design library.
  • Search for the Elephant Paper Painting design, available in formats like SVG or DXF, which are compatible with most laser engravers.
  • Download the file to your computer, ensuring you select a high-quality version to achieve clean cuts with your laser engraver.

3. Copy and Paste the Elephant Paper Painting Drawings into the Machine Folder (Using a USB Drive)
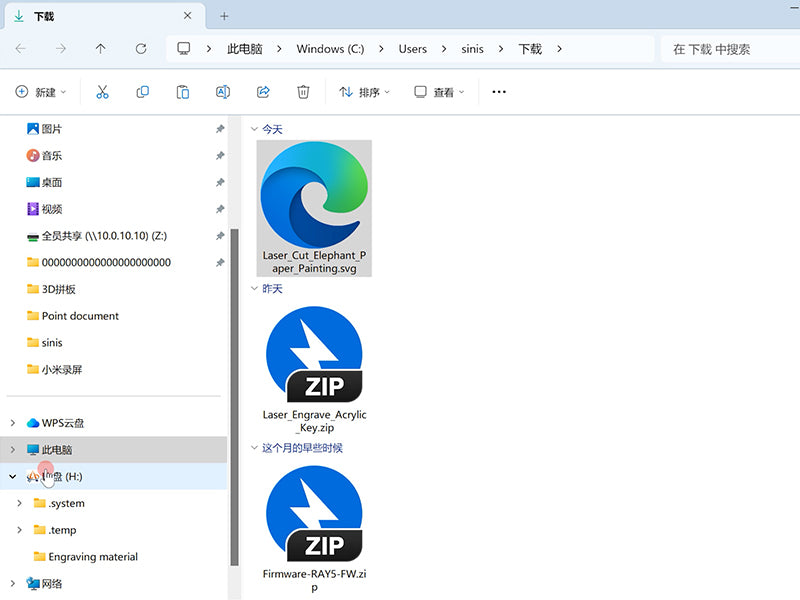
  • Transfer the downloaded design file from your computer to a USB drive.
  • Insert the USB drive into your AlgoLaser DIY KIY MK2 10W machine.
  • Access the file on the machine's interface and place it in the appropriate project folder for easy retrieval.

4. Select the Laser Cutting Drawings on the Screen
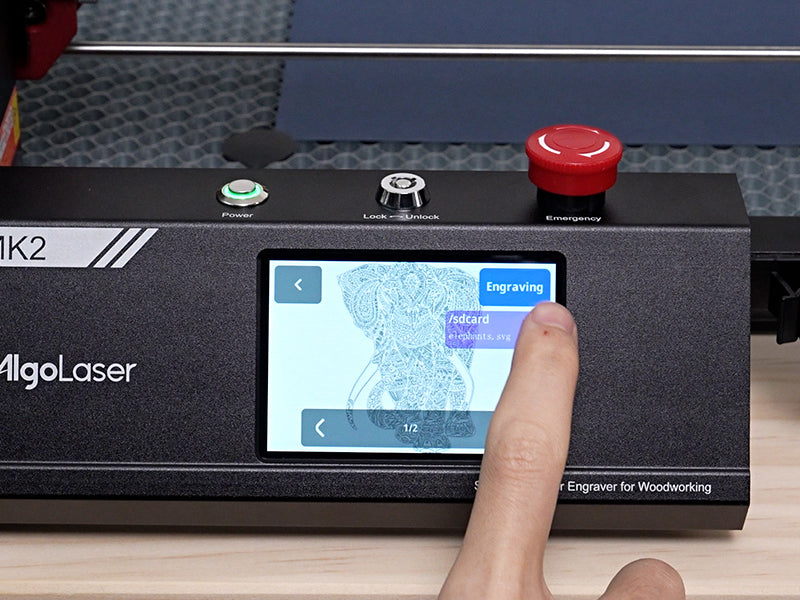
  • On the machine’s touchscreen, navigate to the folder containing your Elephant Paper Painting file.
  • Select the file and prepare it for cutting by ensuring the alignment is correct.
  • Use the preview function to confirm the placement of the design on your paper material.

5. Machine Cutting Elephant Paper Painting Parameters
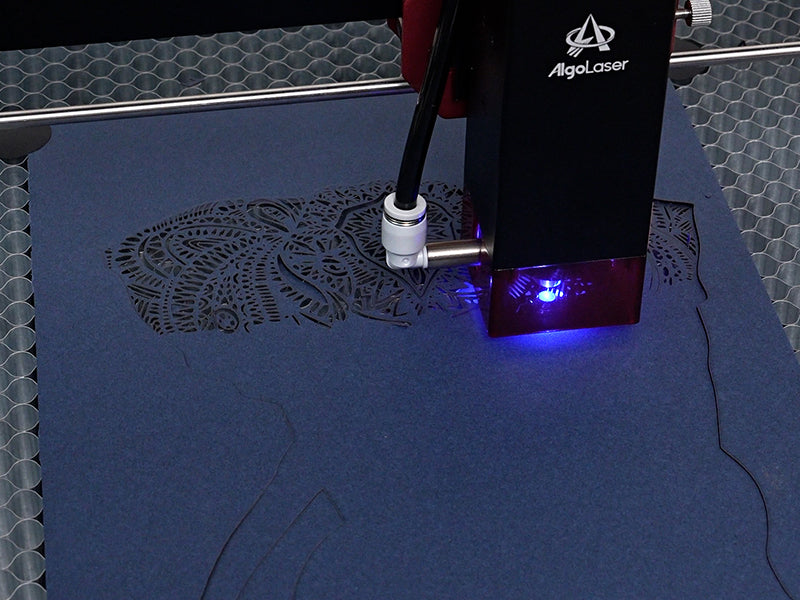
  • Set the laser cutting parameters as follows for optimal results with paper:
    • Speed: 1500 mm/min
    • Power: 100%
    • Passes: 1 pass
  • These settings allow for clean, precise cuts without burning or damaging the paper.
  • Air Assist: If your machine has an air assist feature, make sure to turn it on to reduce the chance of scorching and to keep the cutting area clean.
  • Perform a test cut on a scrap piece of paper to verify the settings are correct before starting on your final piece.

6. Elephant Paper Painting Cutting is Completed
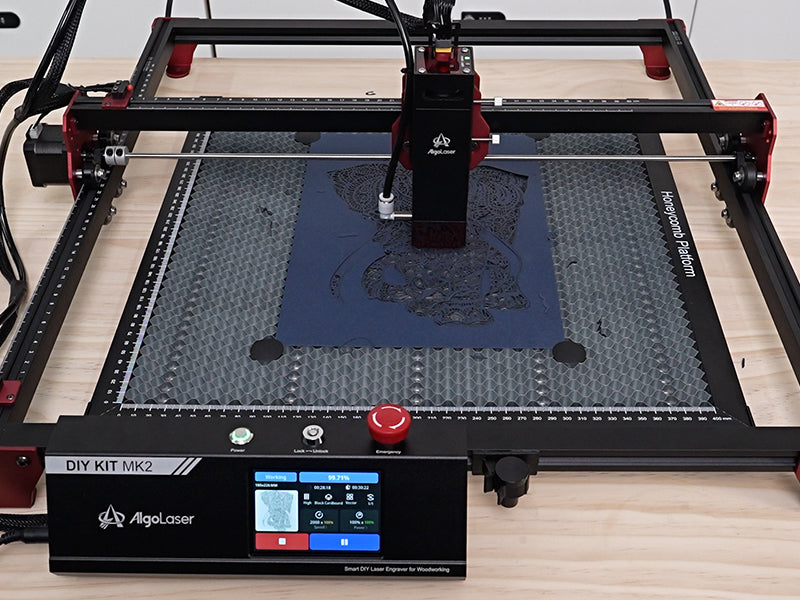
  • Once the cutting process is complete, carefully remove the paper from the laser bed.
  • Inspect the work for any areas that may need additional manual cutting or clean-up.
  • Use a soft brush to gently remove any leftover paper debris or small cut pieces around the design.

7. Mounting the Work

Once your Elephant Paper Painting is complete, consider different ways to showcase your work:

  • Frame it: Choose a frame that complements the intricate details of your design. Shadow box frames work well for creating depth.
  • Preserve it: Use acid-free backing and a glass cover to protect your artwork from dust and damage.
  • Creative Display: Experiment with different background colors to make the cut-out design pop or enhance the visual effect.

Final Thoughts

Creating a Laser Cut Elephant Paper Painting with a laser engraver like the AlgoLaser DIY KIY MK2 10W allows for precise and beautiful results, making it an ideal project for beginners and pros alike. With the right materials, settings, and care, you’ll have a stunning piece of art ready to display or gift!

You May Also Like