Algolaser Laser Engraver Cutting Plywood to Make Anime Stacked Carvings
In the realm of do-it-yourself crafts, there's a mesmerizing world of laser engraving and cutting awaiting enthusiasts. From intricate designs etched onto wood to personalized gifts and decorations, the possibilities are endless. One particularly captivating project is creating stacked carvings, where layers of material are precisely cut and stacked to produce stunning 3D images. We'll explore how the Algolaser DIY Kit, equipped with a 20W laser engraver, can bring your anime-inspired stacked carving visions to life.
Unveiling Algolaser DIY Kit
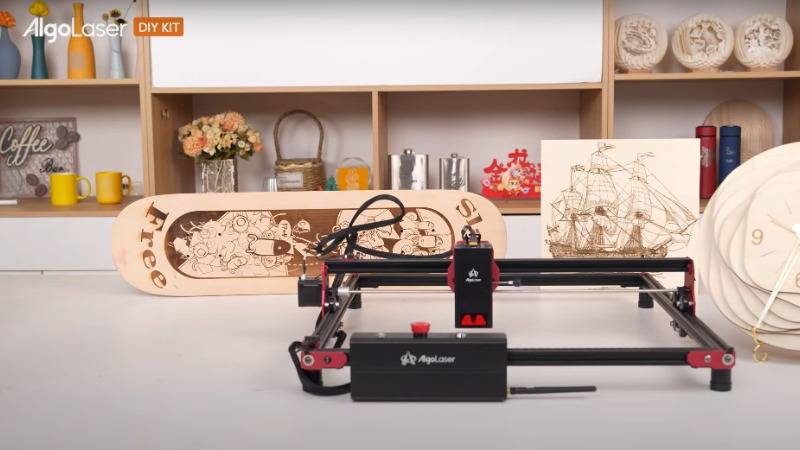
The Algolaser DIY Kit is a compact yet powerful tool designed for hobbyists, artists, and makers eager to unleash their creativity. With a 20W laser engraver at its core, this kit enables users to engrave and cut a variety of materials with precision and ease. From wood and acrylic to leather and cardboard, its versatility knows no bounds.
Anime-Inspired Stacked Carvings
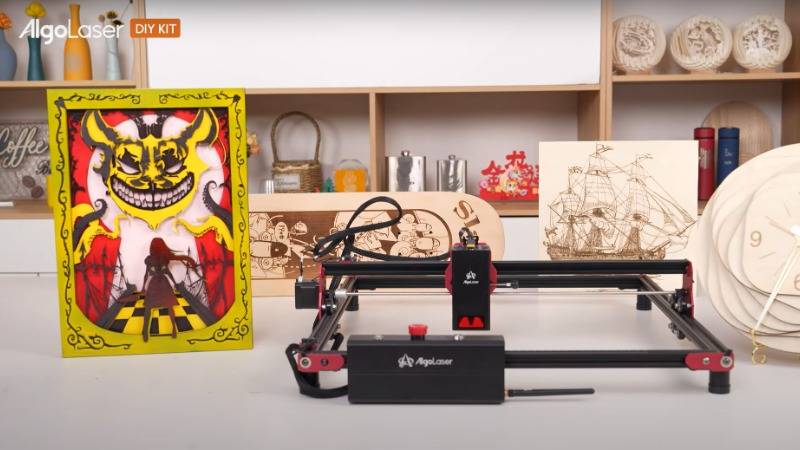
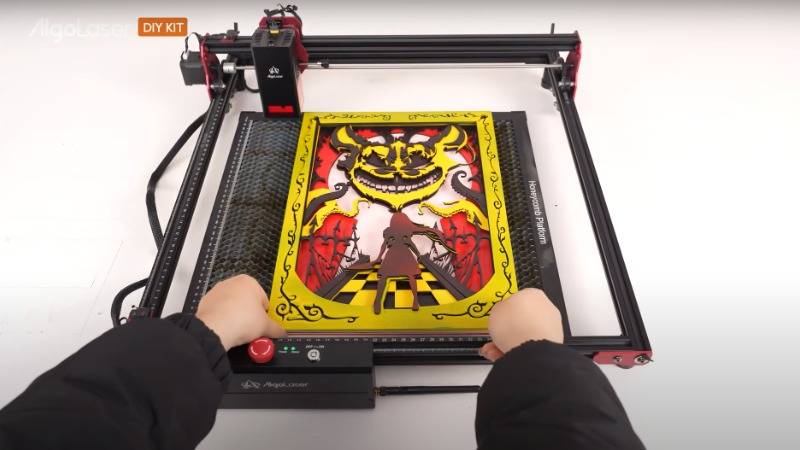
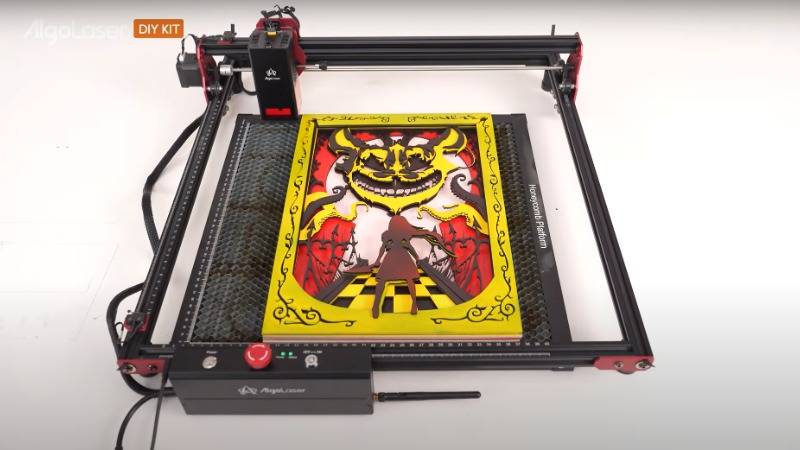
Anime, with its vibrant characters and fantastical worlds, has captured the imagination of millions worldwide. Combining this passion with the precision of laser engraving yields breathtaking results. Imagine your favorite anime characters brought to life in intricately layered wooden sculptures, each detail meticulously etched with precision.
Getting Started: Materials and Design
Before diving into the carving process, it's essential to gather your materials and design your artwork. Plywood, with its smooth surface and durability, is an excellent choice for stacked carvings. Select a high-quality plywood with minimal imperfections to ensure optimal results. Next, choose or create a design that resonates with your anime fandom. Whether it's a beloved character, iconic symbol, or scenic landscape, let your imagination run wild.
Preparing the Design for Laser Engraving
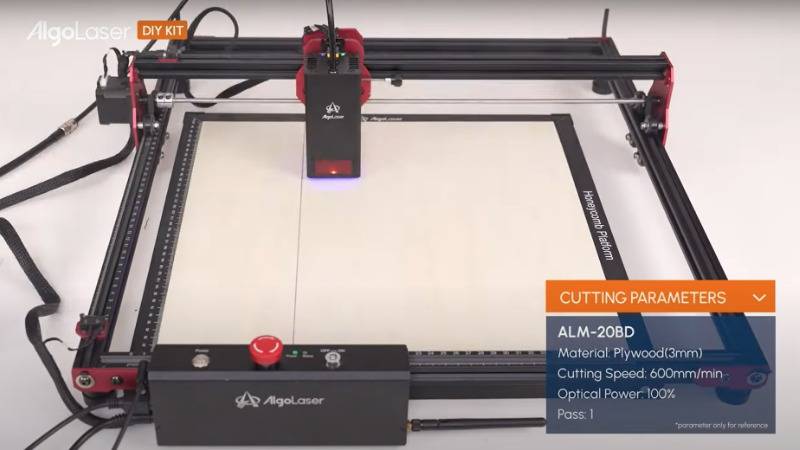
With your design in hand, it's time to prepare it for laser engraving. Using design software compatible with the Algolaser DIY Kit, such as Adobe Illustrator or CorelDRAW, import your artwork and adjust the settings to achieve the desired depth and detail. Remember to account for the thickness of each plywood layer to ensure proper alignment during assembly.
Laser Engraving and Cutting
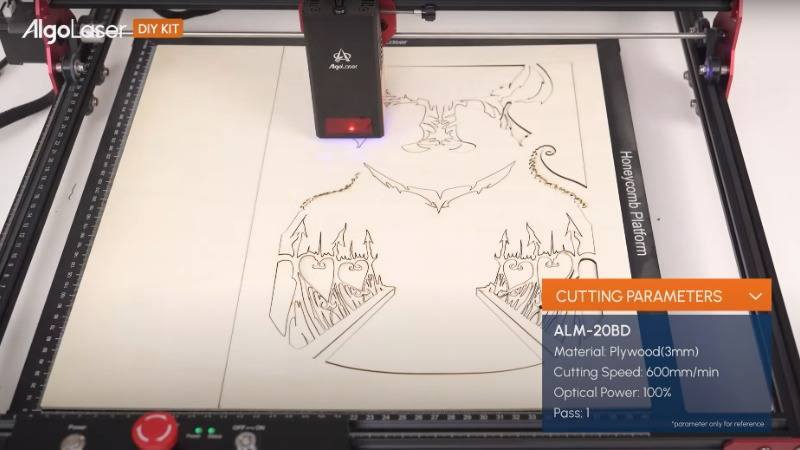
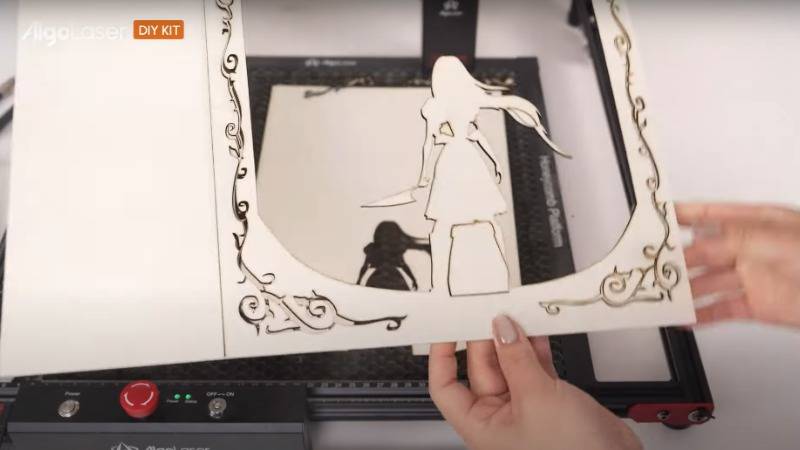
With the design finalized, it's time to bring it to life using the Algolaser DIY Kit. Secure the plywood sheet onto the engraving bed, ensuring it's flat and stable. Adjust the laser settings according to the material and design specifications, then initiate the engraving process. As the laser traces your design with precision, marvel at the intricate details taking shape before your eyes. Once the engraving is complete, use the laser cutter to precisely cut out each layer, ensuring clean edges and smooth surfaces.
Assembly and Finishing Touches
With all the layers engraved and cut, it's time to assemble your stacked carving. Carefully stack each layer according to the design, securing them together with wood glue or adhesive tape. Take your time aligning each piece to maintain the integrity of the artwork. Once assembled, apply a protective finish to enhance the wood's natural beauty and preserve the engraving for years to come.

Conclusion
The Algolaser DIY Kit opens the door to a world of creative possibilities, allowing enthusiasts to transform their artistic visions into tangible masterpieces. By harnessing the power of laser engraving and cutting, combined with a passion for anime, crafting stacked carvings becomes a captivating and rewarding endeavor. Whether you're a seasoned maker or a novice artist, let your imagination soar with the Algolaser DIY Kit and bring your anime-inspired creations to life.


