1. Algolaser DIY Kit 20W Engraving and Cutting oak to Make Keychains
Algolaser DIY Kit 20W Engraving and Cutting Oak to Make Keychains
Are you looking for a creative way to express yourself or make unique gifts for your friends and family? With the Algolaser DIY Kit 20W Laser Engraver, you can unleash your creativity by engraving and cutting oak to craft personalized keychains. In this step-by-step guide, we'll walk you through the process of using this versatile tool to turn oak into custom keychains that are sure to impress.
Step 1: Setting Up Your Algolaser DIY Kit 20W Laser Engraver
Before diving into the crafting process, it's essential to set up your Algolaser DIY Kit 20W Laser Engraver correctly. Follow the manufacturer's instructions to assemble the machine and ensure it's placed on a stable surface. Connect it to a power source and make sure all safety precautions are in place.
Step 2: Designing Your Keychain
The first creative step is designing your keychain. You can use design software like Adobe Illustrator, CorelDRAW, or Inkscape to create or import your design. Consider incorporating elements like names, initials, dates, or symbols that hold personal significance. Ensure that your design is appropriately sized for a keychain and includes both engraving and cutting elements.
Step 3: Preparing the Oak Material
Next, prepare your oak material for engraving and cutting. Cut the oak into pieces that are suitable for keychains, aiming for a thickness of around 1/8 to 1/4 inch. Oak is a hardwood, so make sure it's not too thick for the laser to cut through efficiently.
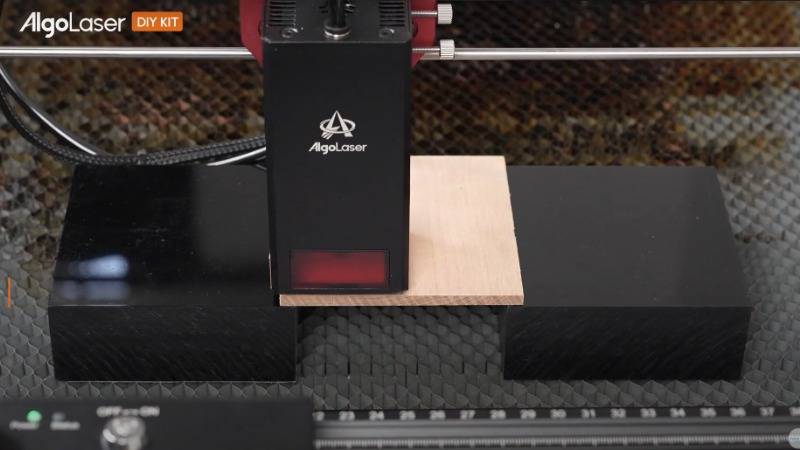
Step 4: Securing the Oak Material
Place the oak pieces onto the bed of the laser engraver. Use masking tape or other non-permanent adhesive to secure the material in place and prevent it from moving during the engraving and cutting process.
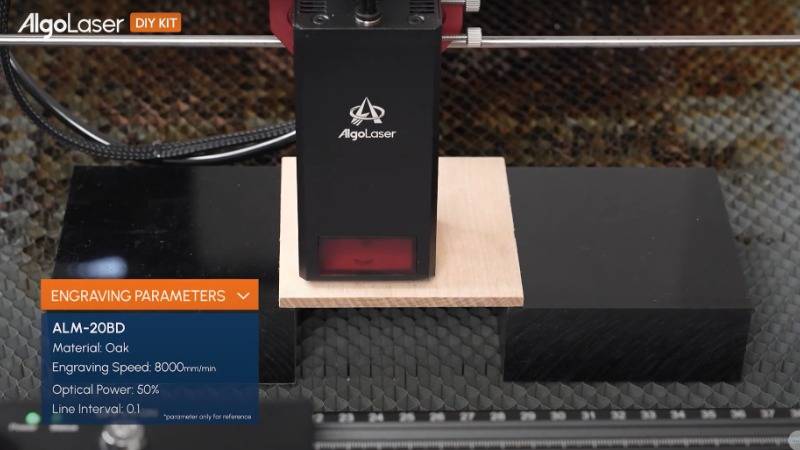
Step 5: Calibrating the Laser Settings
Calibrate the laser settings on your Algolaser DIY Kit 20W Laser Engraver for engraving and cutting oak. Set the appropriate laser power, speed, and resolution settings based on the characteristics of your laser engraver and the type of oak you're using.
Step 6: Loading Your Design
Transfer your design file to the laser engraver's control software. Position it correctly on the oak material and adjust the settings as needed to ensure optimal engraving and cutting results.
Step 7: Engraving the Design
Start the engraving process. The laser will etch your design onto the surface of the oak material with precision and detail. Depending on the complexity of your design, this step may take some time.
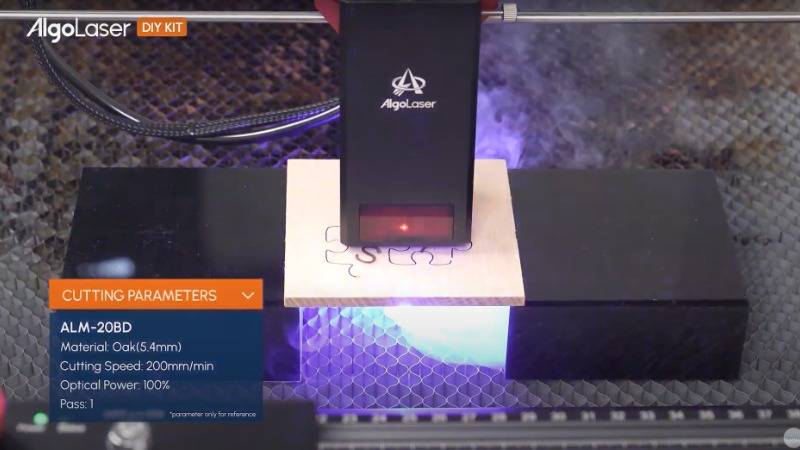
Step 8: Cutting Out the Keychains
Once the engraving is complete, switch the laser engraver to cutting mode. The laser will follow the cutting paths you specified in your design file, slicing through the oak material to create the keychain shapes.
Step 9: Finishing Touches
Carefully remove the oak keychains from the laser engraver's bed once the cutting process is finished. Sand the edges if necessary to smooth them out, and consider adding additional finishes or coatings for enhanced durability and aesthetics.
Step 10: Attaching Keychain Hardware
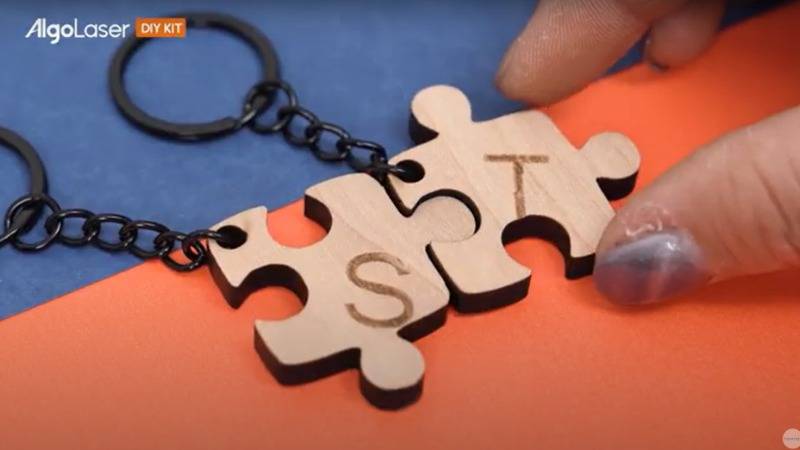
Finally, attach keychain hardware such as rings or clasps to the oak keychains to complete the assembly. Your personalized keychains are now ready to be enjoyed or gifted!
With the Algolaser DIY Kit 20W Laser Engraver, the possibilities for creating custom keychains are endless. Whether you're making them for yourself or to share with others, this versatile tool allows you to add a personal touch to everyday items. Get creative and start crafting your own unique keychains today!