


How to update Algolaser Delta firmware
Delta firmware updates are currently available in two ways, offering flexibility for users working with a laser engraver, whether you're running a desktop laser engraving machine, managing a DIY laser setup, or operating a professional engraving workflow in a small business environment. Keeping your firmware updated ensures optimal engraving performance, improved laser cutting accuracy, enhanced machine stability, and better compatibility with LightBurn software, USB connectivity, and G-code processing.
1: Use a USB flash disk prepared by yourself (must be formatted in FAT32 format), the operation steps is on the second page.
Using a USB method is one of the most reliable approaches for firmware installation, especially for users working with offline engraving workflows, standalone laser engravers, or environments where wireless connectivity is limited. A properly formatted FAT32 USB drive ensures smooth file recognition, stable data transfer, and prevents errors during the firmware flashing process. This method is widely used in laser engraving machines, CNC controllers, and other digital fabrication tools.
2: Connect to the PC via USB, open the virtual USB flash drive within the B1 screen, and then move the firmware file into the root directory of the virtual USB flash drive. Return and click Firmware - Upgrade (See video for detailed operation steps)
This method is ideal for users who prefer a direct PC connection, allowing seamless integration with laser control software, device drivers, and USB communication protocols. The virtual USB feature simplifies file management, making it easier to transfer firmware files, engraving projects, and design assets. This workflow is especially useful for users familiar with LightBurn, vector design software, and laser engraving parameter tuning.
1. Copy the AL_DELTA_G1.SDS file to a USB disk root directory. (Must be in FAT32 format)
Ensure the firmware file is placed in the root directory without additional folders to guarantee proper file detection by the laser engraver firmware system. Using the correct file structure avoids common issues such as firmware recognition failure, upgrade interruption, or device boot errors. This step is critical for maintaining machine compatibility and ensuring a successful firmware upgrade process.
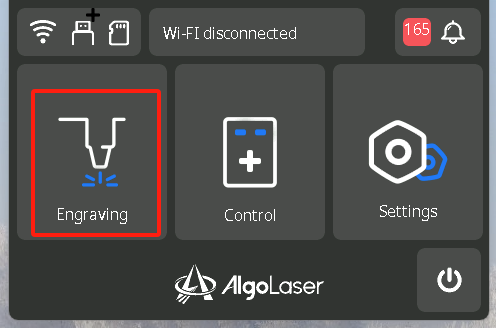
2. Connect the USB disk to AlgoLaser Delta, click on the “Engrave” option on the homepage of the screen
Once connected, the system initializes the USB interface, allowing the laser engraving machine to scan for available files. Accessing the engraving interface ensures that the device is properly detecting external storage and is ready for firmware loading, similar to how it processes engraving files, cutting jobs, or design imports.
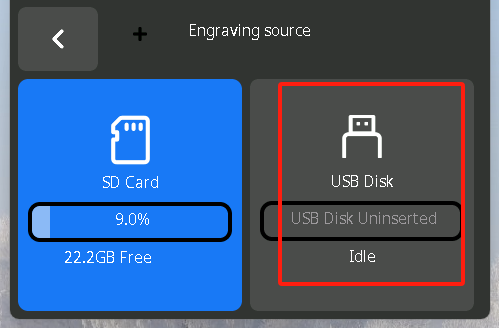
3. Click “USB Disk”
This step allows the system to display available files stored on the USB drive, including firmware updates, G-code files, and other supported formats. Proper navigation through the touchscreen interface ensures a smooth user experience, especially for beginners learning laser engraver operation, file management, and project execution.
4. Return to the homepage of screen and access to the “Setting” menu
Navigating to the settings menu provides access to essential system controls, including firmware management, machine calibration, laser power settings, and device configuration options. This area is crucial for maintaining engraving precision, optimizing laser parameters, and ensuring long-term machine reliability.
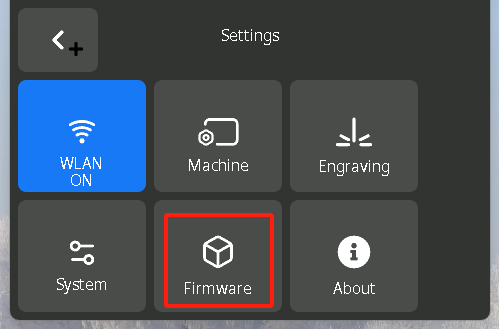
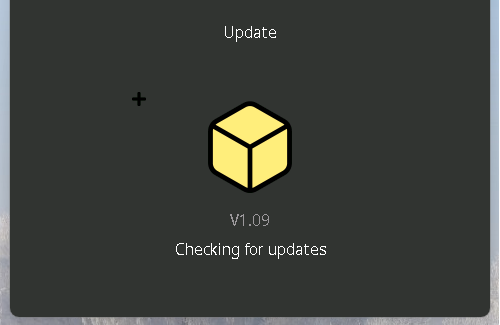
5. Click the “Firmware” to enter the firmware detection interface
The firmware detection interface scans for valid update files and verifies compatibility with the current laser engraver system architecture. This step ensures that only approved firmware versions are installed, preventing potential issues such as system crashes, engraving errors, or hardware conflicts.
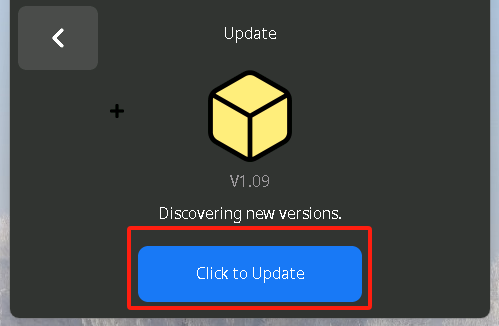
6. The "New firmware found" option appears, click "Update" and wait for the upgrade to complete.
Once the update begins, the system executes a controlled firmware flashing process, updating internal components such as the motion control system, laser module communication, and processing algorithms. During this stage, it is critical to avoid interrupting power to prevent firmware corruption or device malfunction.
(The firmware will delete itself from the USB flash drive after the upgrade is completed.)
Automatic deletion helps prevent accidental reinstallation and keeps the USB storage device clean for future use, improving workflow efficiency and reducing confusion when managing multiple firmware versions or engraving files.

7. After the upgrade is completed, the AlgoLaser Delta will reboot automatically. Please check the firmware version after reboot, version V1.15+107 means the upgrade is successful.
After rebooting, verifying the firmware version confirms that the laser engraver update was successfully applied. Running the latest firmware ensures improved engraving quality, better cutting performance, enhanced laser stability, and compatibility with advanced features such as air assist systems, rotary attachments, and multi-material engraving.
Free SVG & Gcode Files for Laser Engraving & Cutting can be found here, wich you can import into our laser cutters directly.


