How to Laser Engrave Tumblers for Thoughtful Gifts
In the realm of gift-giving, there's a special resonance in presenting a personalized item that transcends its material form—a keepsake that encapsulates emotions, memories, and the touch of the giver's creativity. This comprehensive guide unfolds the art of laser engraving aluminum tumblers, turning a seemingly ordinary vessel into a cherished gift. The fusion of technology and craftsmanship takes center stage as we explore the machinery, materials, and meticulous steps involved in transforming a simple tumbler into a canvas of personalized expression. From the significance of engraved aluminum tumblers as gifts to the intricate process of setting up and using a laser engraving machine, this guide is a testament to the joy of creating meaningful gifts that leave a lasting impact. Join us as we embark on a journey to carve not just aluminum but timeless memories.
The Significance of Engraved Aluminum Tumblers as Gifts
Engraved aluminum tumblers stand as timeless embodiments of thoughtfulness and care. Unlike mass-produced gifts, a personalized tumbler communicates a unique message, making it a memorable and cherished item for the recipient. The significance lies not only in the tangible nature of the tumbler but in the intangible emotions etched into the metal—the warmth of a message, the nostalgia of a shared moment, or the celebration of a special occasion. Such gifts become more than just objects; they become vessels of sentiment and enduring memories.
Machinery Equipment and Materials Needed for Engraving
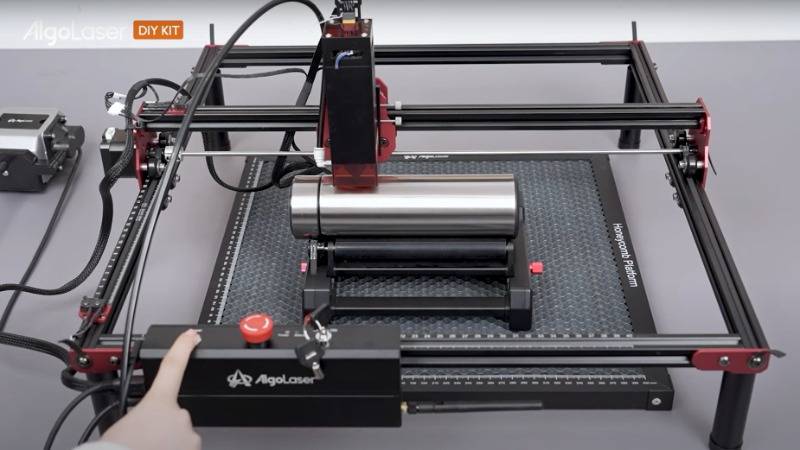
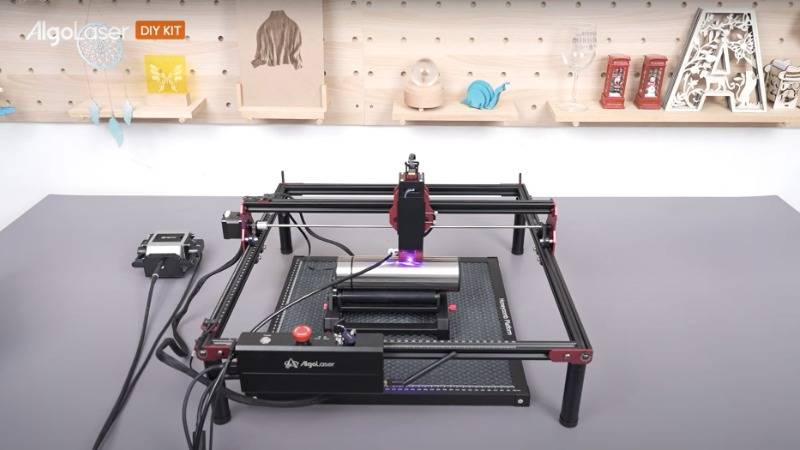
To embark on the journey of laser engraving aluminum tumblers, assembling the right toolkit is paramount. The Algolaser DIY kit, a 10-watt laser engraving machine, becomes the maestro orchestrating this creative endeavor. Complemented by essential accessories like RR2, Universal Raisers, and a Water Tumbler, each component plays a crucial role in the precision and success of the engraving process. The inclusion of razors in the setup aids in achieving stability and accuracy during engraving.

Install and Set Up Laser Engraving Machine Equipment
The process of installing and setting up the laser engraving machine involves a series of carefully orchestrated steps to ensure seamless operation and accurate results.
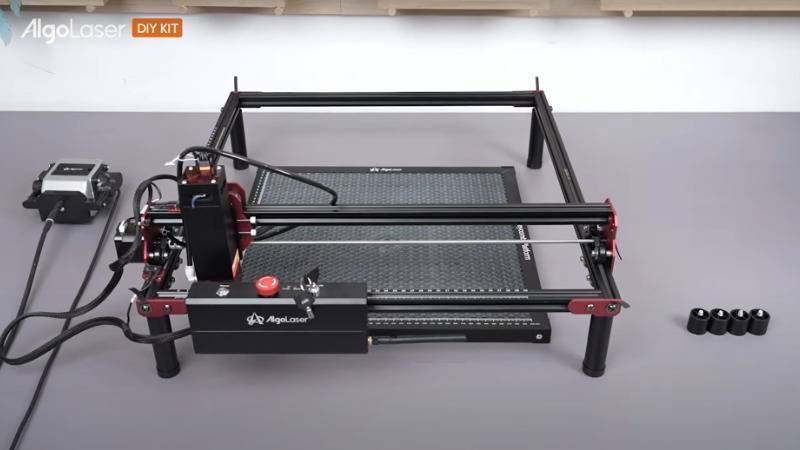
1. Universal Raisers Installation
The foundation of the engraving process begins with the installation of Universal Raisers. These elevate the tumbler to an optimal height, allowing the laser to engrave with precision.
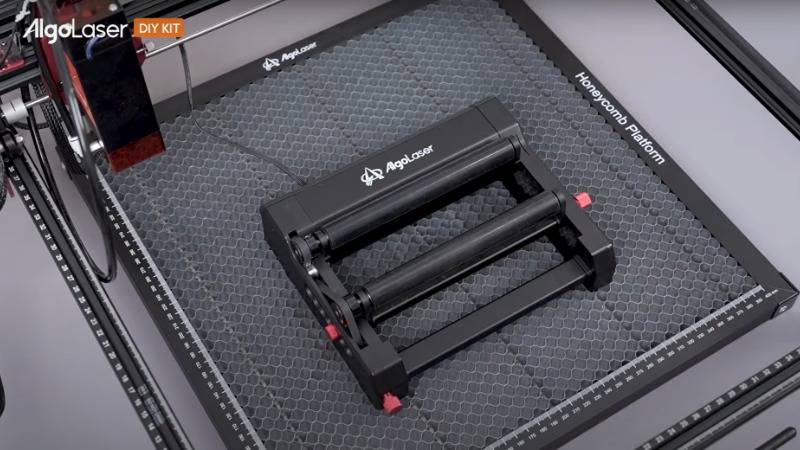
2. RR2 Link and Use
Connecting and using the RR2 is the next crucial step. The RR2 acts as a vital component, taking the place of the Y-axis to ensure that the laser module reaches the correct position without compromising accuracy.
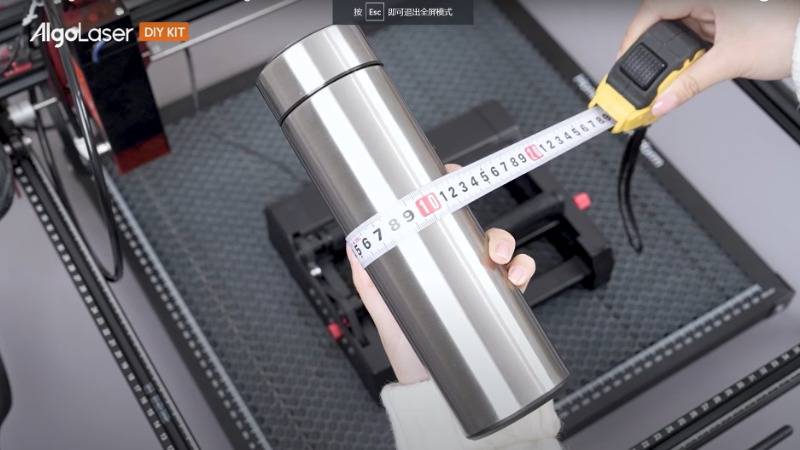
3. Measure the Tumbler to Determine Engraving Size
Accurate measurements of the tumbler are essential to determine the engraving size. Precision in measurement sets the stage for a design that fits the surface of the tumbler seamlessly.
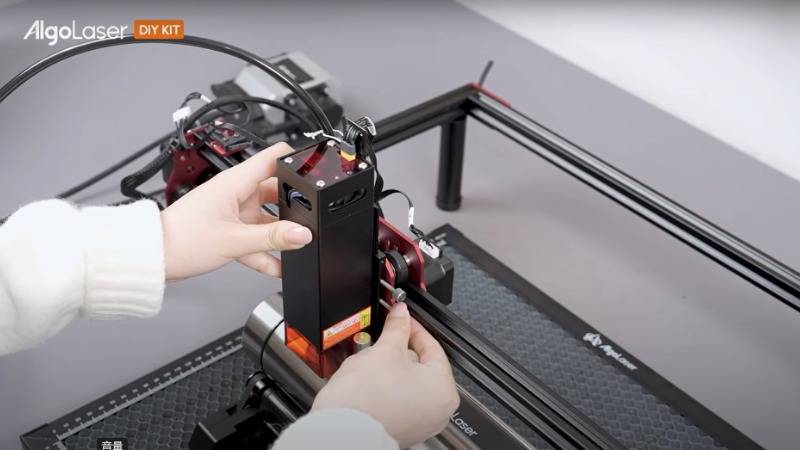
4. Adjust Laser Module Fixing Screws
Ensuring the stability of the laser module is crucial. Adjusting the fixing screws guarantees that the laser remains in position throughout the engraving process.
5. Power On the Machine
Once the setup is in place, powering on the machine is a reassuring step. The RR2's role in taking the place of the Y-axis ensures that the laser module maintains its position, offering confidence in the machine's readiness.
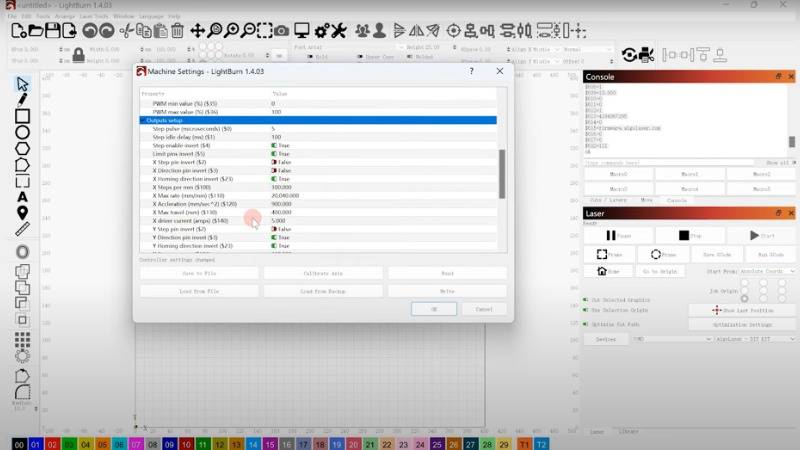
6. Set Up Engraving Software (Light Burn)
The engraving software, Light Burn, serves as the bridge between design and execution. Setting it up involves configuring parameters, ensuring compatibility with the laser engraving machine, and establishing a seamless workflow.
7. Adjust Laser Engraving Module Position, Set Pattern and Parameters
The position of the laser engraving module is critical to achieving the desired design. Adjusting it, setting the engraving pattern, and configuring parameters such as power, speed, and focus prepare the machine for the intricate task at hand.
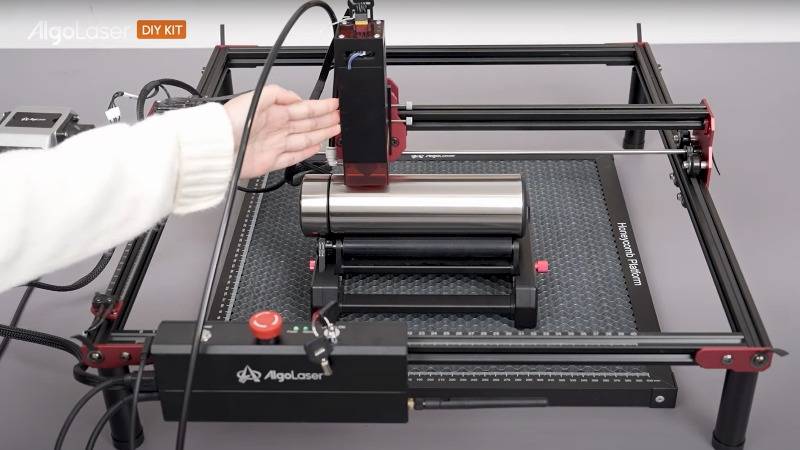
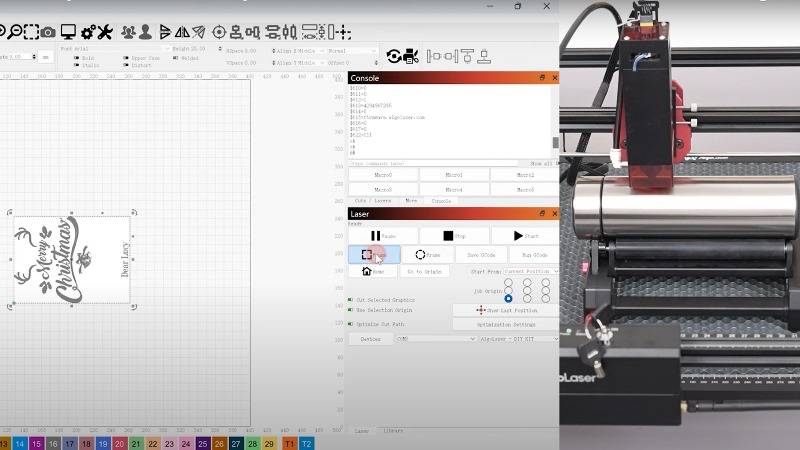
8. Start Engraving the Water Cup
With all elements aligned, the actual engraving process commences. The laser dances across the surface of the tumbler, etching the chosen design with precision and artistry.
9. Carving Completion and Work Display
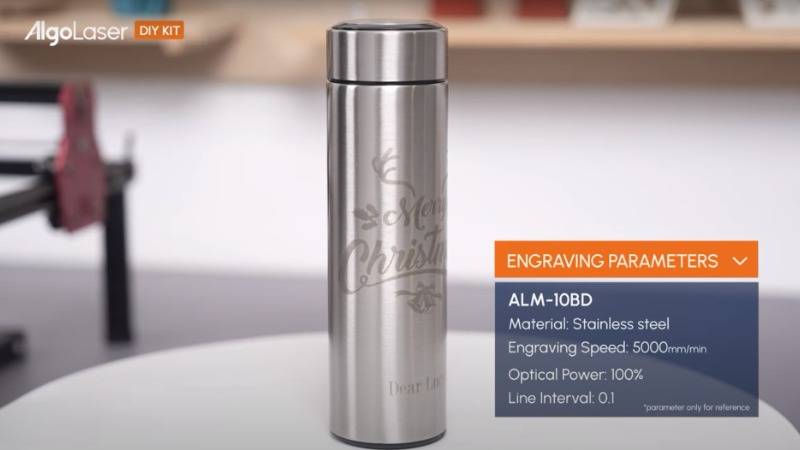
Upon completion, the engraved tumbler emerges as a work of art. The final result is displayed, showcasing the marriage of technology and craftsmanship in the form of a personalized and thoughtful gift.
Conclusion
In conclusion, the journey of carving an aluminum tumbler with a laser engraver transcends the mere act of crafting an object; it's an endeavor to encapsulate sentiments and create a gift beyond measure. The significance of engraved aluminum tumblers lies in their ability to convey emotions, celebrate milestones, and forge lasting connections. The machinery equipment and materials form a toolkit that transforms creativity into reality, with each component playing a crucial role in the precision of the process. The installation and setup of the Algolaser DIY KIT laser engraving machine are meticulous steps that ensure a symphony of precision, where every element works in harmony to bring forth a personalized masterpiece.


