How To Laser Engrave A Photo On Metal
Laser engraving technology has revolutionized the world of customization and personalization, offering precise, detailed, and long-lasting results. Engraving on metal is a particularly popular application, as it allows for stunning designs and intricate details. We will explore the art of laser engraving a photo on metal, covering various aspects, from the selection of materials and image preparation to understanding the engraving process, troubleshooting, safety measures, and the creative possibilities that this technique offers.
Introduction to Laser Engraving
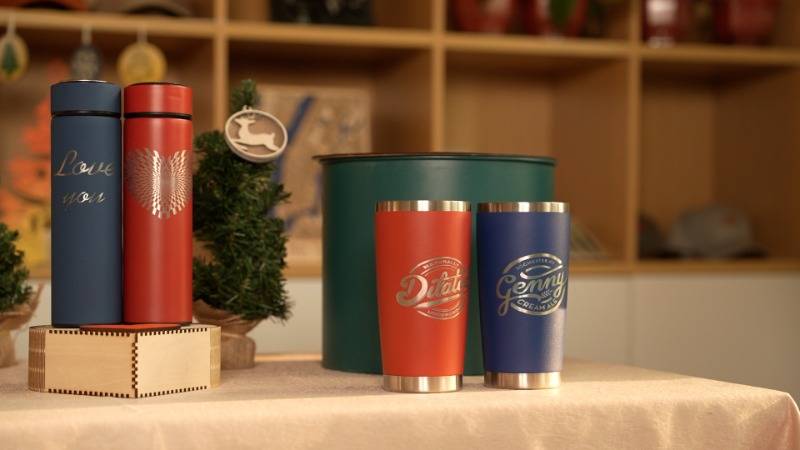
Laser engraving is a process that uses a highly focused laser beam to etch, mark, or engrave a design or image onto a piece of metal. This technology offers several advantages over traditional engraving methods, including precise control, versatility, and the ability to create intricate and detailed designs. Laser engraving on metal is commonly used for a wide range of applications, such as jewelry, gifts, industrial parts, and commemorative plaques.

Benefits of Laser Engraving on Metal
Laser engraving on metal provides a multitude of benefits that make it an attractive choice for both professionals and hobbyists:
1. Precision and Detail
Laser engraving offers unparalleled precision and the ability to create intricate designs with fine details. This level of accuracy is often unattainable with traditional engraving methods.
2. Durability
Engravings made with a laser are highly durable and resistant to wear and tear. They do not fade, chip, or peel over time, ensuring the longevity of the design.
3. Versatility
Laser engraving can be performed on various metals, including stainless steel, aluminum, brass, copper, and more. This versatility allows you to choose the metal that best suits your project.
4. Customization
The technology allows you to engrave virtually any design or image onto metal, making it an excellent choice for creating personalized gifts, jewelry, or decorative items.
Selection of Appropriate Metal for Engraving
Choosing the right metal for your laser engraving project is crucial. Different metals have varying properties and characteristics that can affect the engraving process and the final result. Here are some considerations:
Stainless steel is a popular choice due to its durability and resistance to corrosion. It provides a sleek and modern look when engraved, making it suitable for jewelry, signage, and industrial parts.
2. Anodized Aluminum
Anodized aluminum has a protective layer that can be laser-engraved to reveal a different color underneath, providing a unique and striking effect.
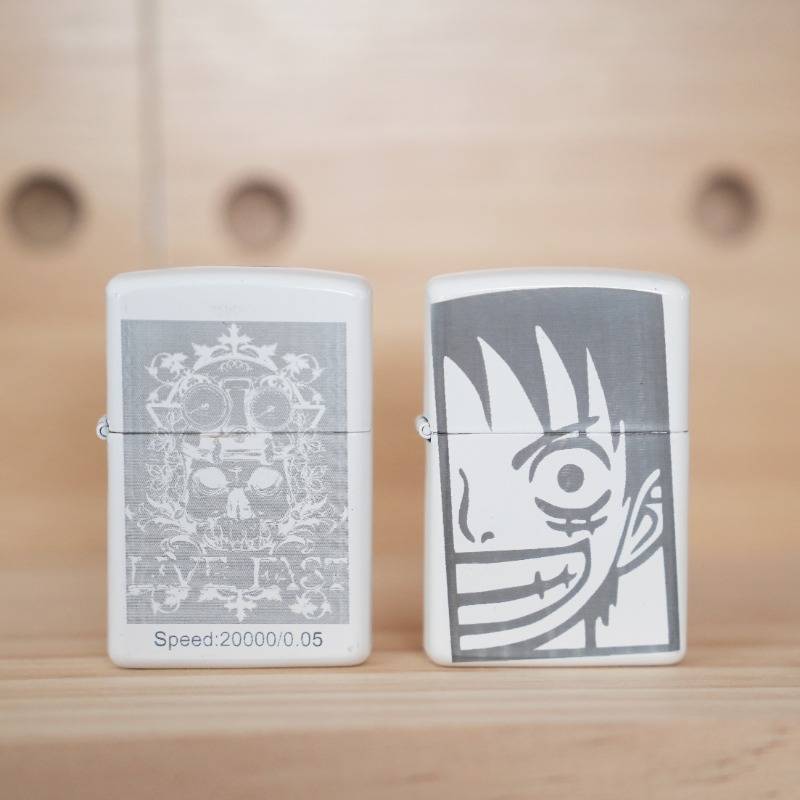
Image Selection and Preparation for Engraving
Before you begin the engraving process, you'll need to select a suitable image and prepare it for engraving. Here are some steps to follow:
1. Image Selection
Choose a high-resolution image that is clear and well-suited for engraving. Photos with strong contrast and sharp details work best.
2. Image Editing
Use graphic design software to crop, resize, or adjust the image as needed. Ensure that the image fits the dimensions of the metal piece.
3. Convert to Grayscale
For the best engraving results, convert the image to grayscale. This simplifies the image and makes it more suitable for engraving.
4. Image Inversion
In some cases, you may need to invert the image, especially if you want the engraved image to appear as a positive when engraved on the metal. Software can help you achieve this effect.
Understanding and Setting Up the Laser Engraver
Before diving into the engraving process, it's essential to understand the laser engraver and set it up correctly:
1. Laser Types
There are different types of lasers, such as Diode laser, CO2 lasers and fiber lasers. Ensure you have the appropriate laser for metal engraving, as some metals may require specific types of lasers.
2. Software
Use dedicated laser engraving software to control the laser. Popular options include LightBurn, RDWorks, and Trotec JobControl. Import your image into the software.
3. Focus and Alignment
Properly focus the laser beam on the metal surface and ensure that the engraving area is aligned with the metal piece. This step is crucial for achieving precise results.
4. Safety Precautions
Wear appropriate safety gear, including laser safety glasses. Ensure the workspace is well-ventilated and free from flammable materials.
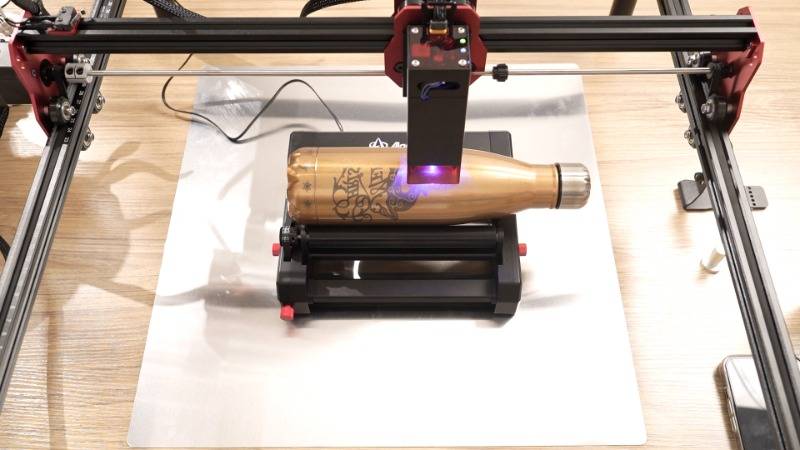
Prepping the Metal for Engraving
Preparing the metal for engraving is essential to ensure a clean and successful engraving process:
1. Cleaning
Thoroughly clean the metal surface to remove any dirt, oil, or residue. Use a mild solvent or isopropyl alcohol and a clean cloth.
2. Fixturing
Secure the metal piece in place to prevent movement during the engraving process. A clamp, jig, or adhesive tape can be used for this purpose.
Configuring and Adjusting the Engraving Parameters
Engraving parameters, such as power, speed, and frequency, need to be configured based on the type of metal, its thickness, and the desired depth of the engraving. Experimentation may be required to find the optimal settings for your specific project.
1. Power
Power controls the intensity of the laser beam. Higher power results in deeper engravings. Adjust the power according to the metal's characteristics.
2. Speed
The speed determines how quickly the laser moves across the metal surface. Slower speeds create deeper engravings, while faster speeds produce shallower results.
3. Frequency (Pulse Rate)
The frequency or pulse rate controls how many laser pulses are emitted per second. It can affect the quality of the engraving and should be adjusted to achieve the desired effect.
4. Test Engraving
Perform test engravings on a scrap piece of the same metal to fine-tune the parameters. This will help you avoid errors on your main project.
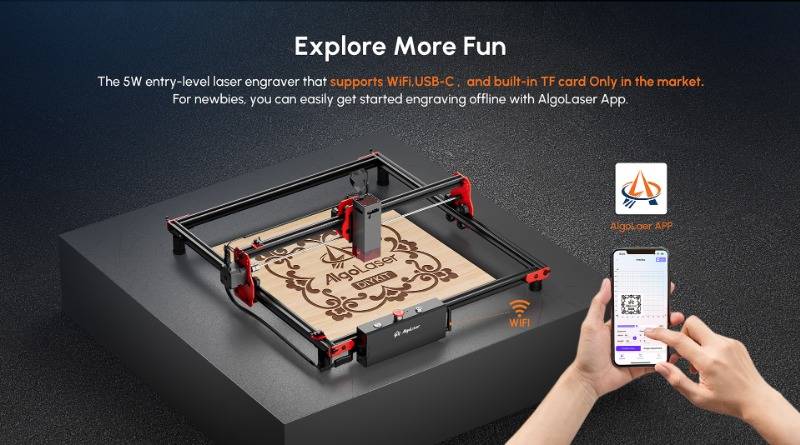
The Process of Engraving the Image onto the Metal
With your metal prepared, image ready, and laser engraver set up, you're now ready to start the engraving process. Here's a step-by-step guide:
Step 1: Positioning
Place the prepared metal piece on the engraving platform and ensure it's securely fixed in place.
Step 2: Software Configuration
Load your image into the laser engraving software and configure the engraving settings, including power, speed, and frequency.
Step 3: Preview
Use the software's preview feature to verify that the image is correctly positioned and scaled on the metal.
Step 4: Commence Engraving
Initiate the engraving process through the software. The laser will begin etching the image onto the metal.
Step 5: Monitor
Keep a close eye on the engraving process to ensure it proceeds smoothly. Be ready to pause or stop the engraving if any issues arise.
Step 6: Completion
Once the engraving is complete, allow the machine to finish its final pass and turn off the laser. You can then inspect the engraved metal.
Post-Engraving: Finishing and Cleaning Up
After the engraving process is finished, there are several important steps to ensure that your engraved metal looks its best and is protected:
1. Cleaning
Clean the engraved metal piece to remove any debris or residue. A gentle brush or compressed air can help get rid of particles, while isopropyl alcohol or a mild solvent can be used to clean the surface.
2. Surface Inspection
Inspect the engraved image for quality and clarity. If necessary, you can lightly sand or polish the engraved area to achieve the desired finish.
3. Protective Coating (Optional)
Applying a protective coating can enhance the durability of the engraving. Clear acrylic spray or a lacquer designed for metals can help protect the design from tarnish and wear.
4. Assembly and Presentation
If your engraved metal piece is part of a larger project or jewelry item, assemble and present it in your preferred manner.
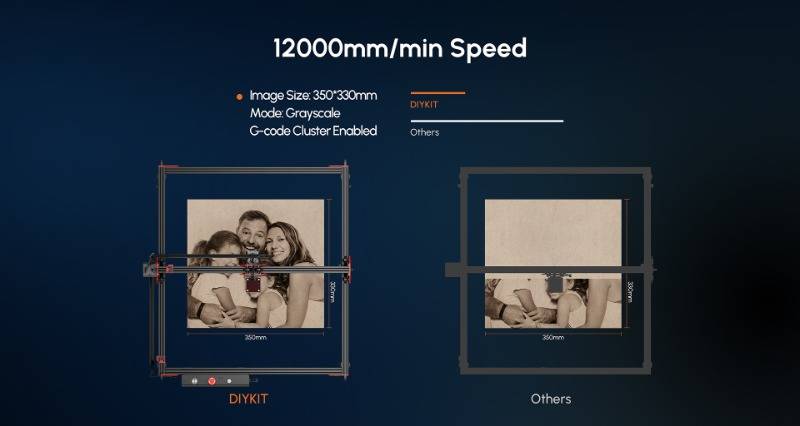
Useful Troubleshooting Tips
Despite careful preparation, issues may occasionally arise during the engraving process. Here are some troubleshooting tips to address common problems:
1. Incomplete Engraving
If the engraving is incomplete or uneven, adjust the power and speed settings. It may also be due to dirty or improperly focused optics, so ensure they are clean and correctly aligned.
2. Excessive Heat
If the metal gets too hot during engraving, consider reducing the power and increasing the speed to minimize heat buildup.
3. Artifacts or Ghosting
Artifacts or ghosting can result from vibrations, loose components, or inconsistencies in the laser beam. Check and tighten all components, including mirrors and lenses.
4. Uneven Depth
Uneven depth can occur if the metal surface is not level or if there are irregularities. Ensure that the metal is properly secured and that the surface is smooth.
5. Inaccurate Positioning
If the engraving appears misaligned, double-check the alignment and calibration of the laser engraver and the metal piece.
Safety Measures During Laser Engraving
Laser engraving involves powerful lasers and safety precautions are essential to protect yourself and those around you. Here are important safety measures to follow:
1. Protective Eyewear
Always wear laser safety glasses appropriate for the laser's wavelength to protect your eyes from potentially harmful laser radiation.
2. Adequate Ventilation
Ensure that your workspace is well-ventilated to disperse any fumes or smoke produced during the engraving process.
3. Fire Safety
Have fire safety measures in place, including a fire extinguisher, to respond to any potential fires that may occur.
4. Laser Control
Never leave the laser engraving machine unattended during operation. Always be ready to pause or stop the process if necessary.
5. Safe Material Handling
Be cautious when handling metal pieces, especially immediately after engraving. They can become extremely hot.
6. Protective Clothing
Wear appropriate protective clothing to prevent accidental exposure to the laser beam.

Creative Ideas and Possibilities with Laser Engraving
Laser engraving offers endless creative possibilities for personal and professional projects. Here are some ideas to inspire your creativity:
Personalized Jewelry: Create custom pendants, rings, and bracelets with engraved names, initials, or special dates.
Photo Gifts: Turn cherished photos into engraved keepsakes, such as keychains, ornaments, or photo frames.
Industrial Applications: Engrave part numbers, barcodes, or serial numbers onto metal components for inventory tracking and quality control.
Custom Signage: Craft engraved metal signs for businesses, homes, or special events. These can be decorative or informational.
Awards and Trophies: Customize awards, trophies, and plaques with engraved logos, names, and achievement details.
Metal Business Cards: Make a lasting impression with metal business cards featuring your contact information and logo.
Home Decor: Engrave metal coasters, wall art, or decorative pieces to add a unique touch to your home.
Gifts and Keepsakes: Create personalized gifts for special occasions like weddings, birthdays, or anniversaries.
Artistic Creations: Use laser engraving to express your artistic talent on metal canvases, producing unique and expressive art pieces.
Promotional Items: Design branded promotional items like keychains, bottle openers, and USB drives with engraved logos and messages.
In conclusion, laser engraving a photo on metal is a versatile and creative process that allows you to transform ordinary metal pieces into personalized works of art. With the right equipment, materials, and techniques, you can achieve stunning results that are durable and long-lasting. Whether you're a professional engraver or someone looking to add a personal touch to a special gift, the world of laser engraving on metal offers a wealth of possibilities for artistic expression and customization.
Free SVG & Gcode Files for Laser Engraving & Cutting can be found here, wich you can import into our laser cutters directly.
- Choosing a selection results in a full page refresh.


