Getting Started with AlgoOS: First Alpha MK2 Laser Engraving Demo
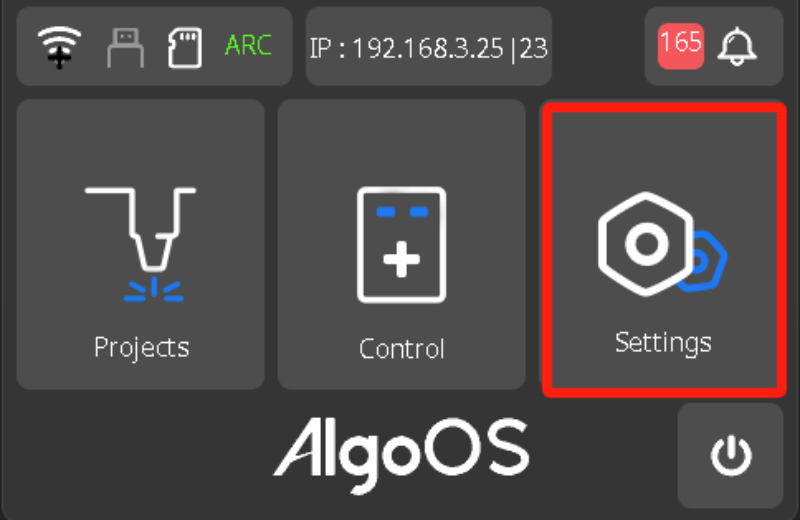
Initial entry into AlgoLaser AlgoOS System
1. First you can select your language and proceed to the next step of WiFi connection.
(Demo uses default English)
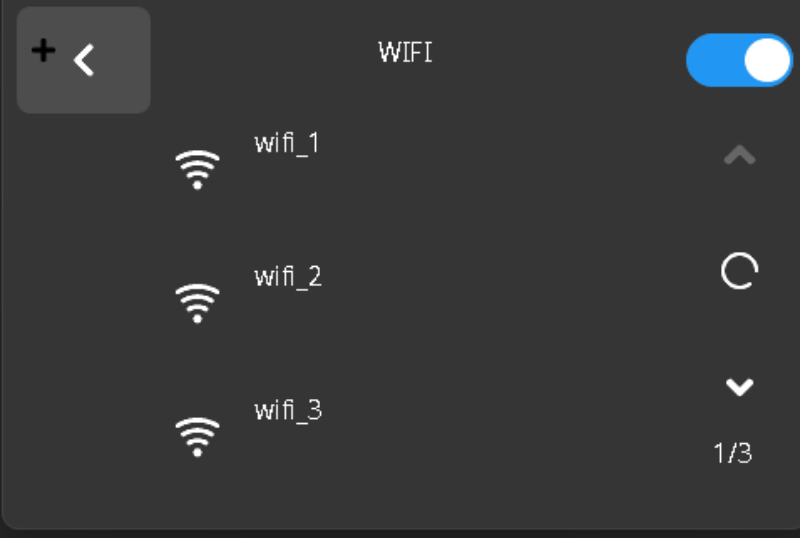
2. Enter WiFi with internet around the machine and make sure it's a 2.4G signal (if there is no internet it won't be able to do OTA over-the-air updates, it's only used to connect to the software wirelessly)
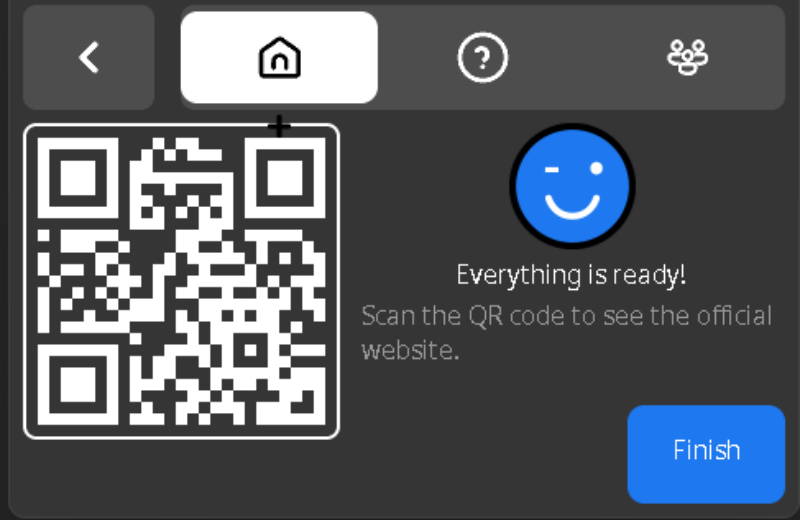
3. You can follow these QR codes to visit our official website, request technical support, join discussions and more!
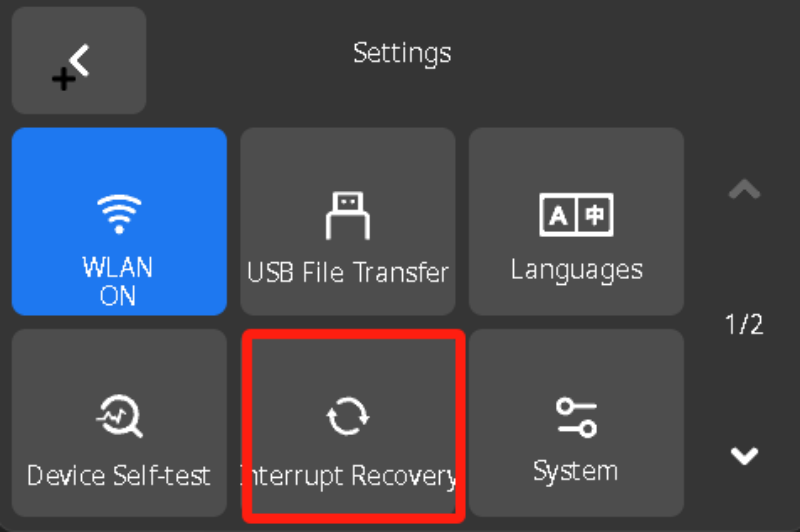
Setting up interrupt recovery
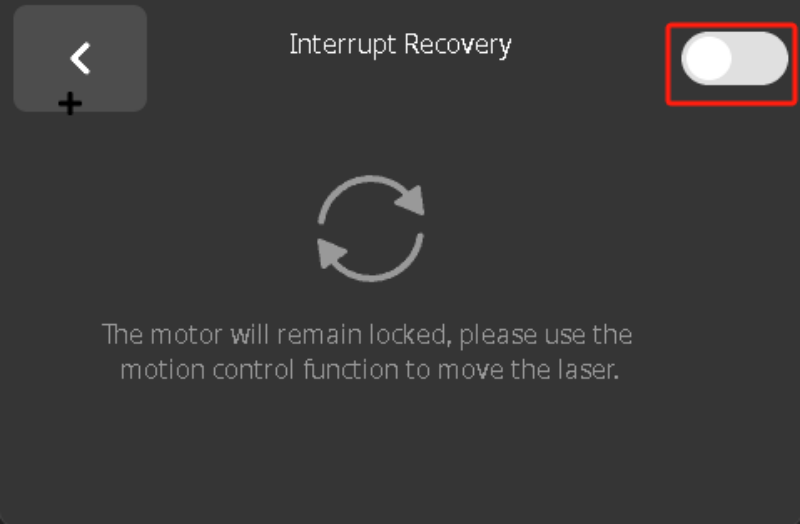
First of all I would recommend turning on the interrupt recovery feature, when this is turned on you will not be able to move the module by hand. The machine will memorize any movement of the motor to make sure the engraving is normal.
In addition, when the work is interrupted abnormally, we don't move the machine and the material, and we can resume the engraving work through the screen prompts.
Try Laser Engraving Pictures
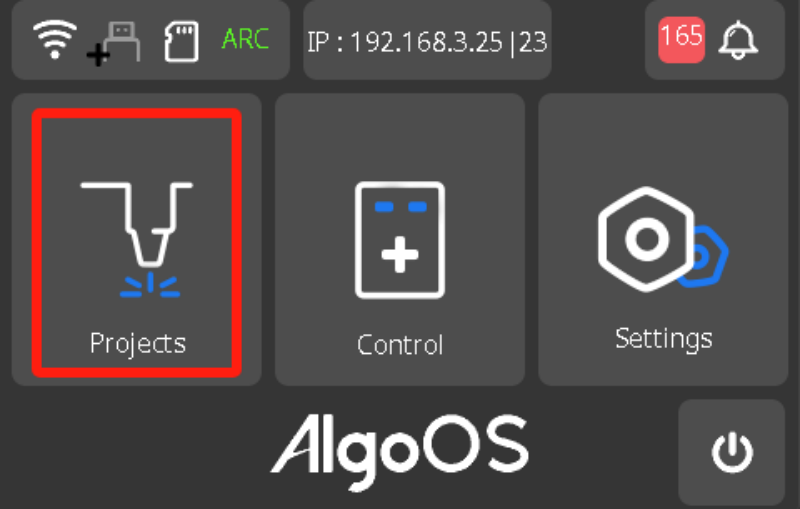
Example includes many models, novice users can quickly complete some of the models with the 3mm basswood plywood included.
Library Import
The SD Card also includes some pictures, so you can import files from your computer via USB file transfer and check them on the SD Card.
Reference video:
USB Disk refers to the task of engraving by inserting an external USB flash drive and reading its contents.
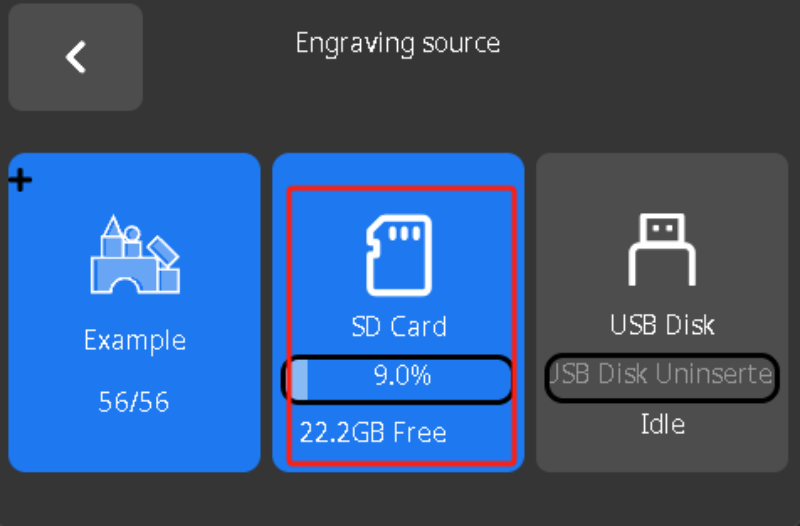
Let's take the pictures in SD Card as an example for demonstration.
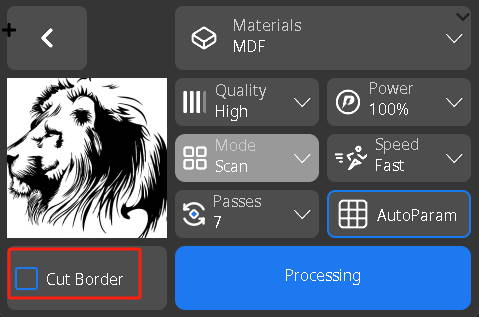
Engraving Settings
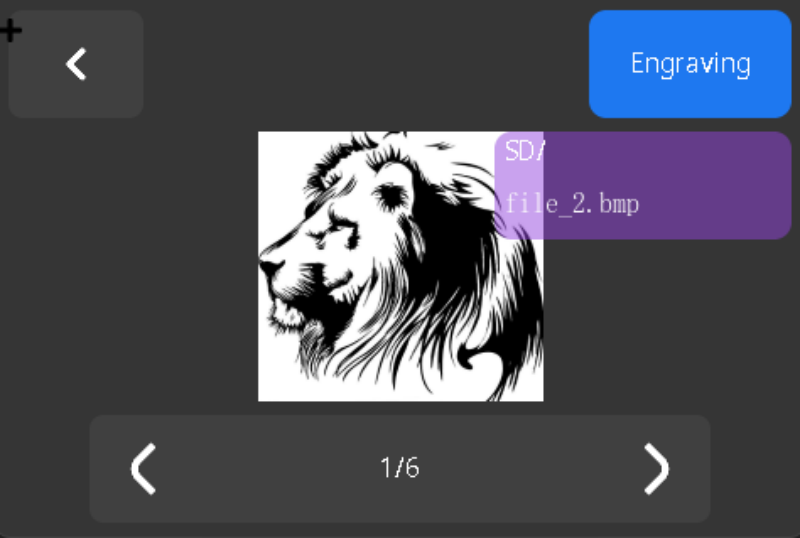
1. First we select an image
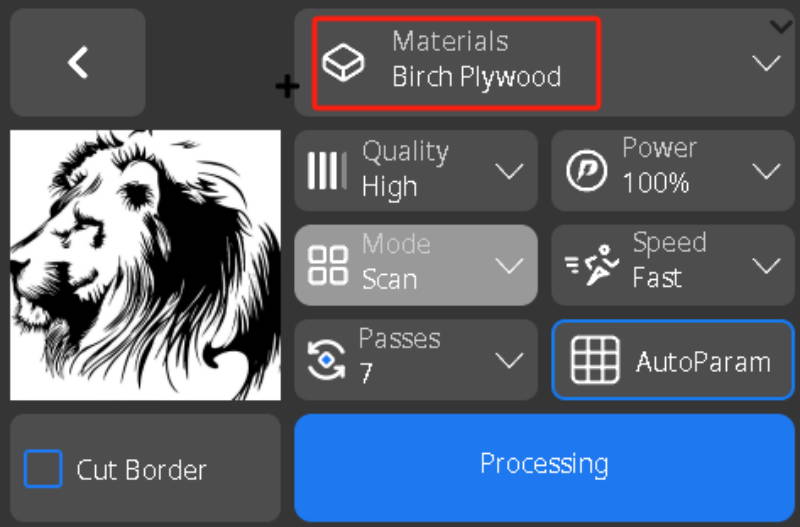
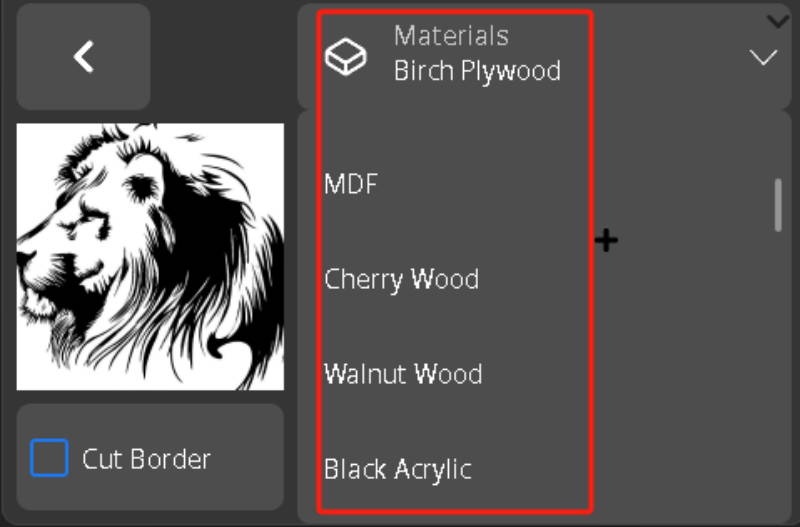
2. Select the material to be engraved
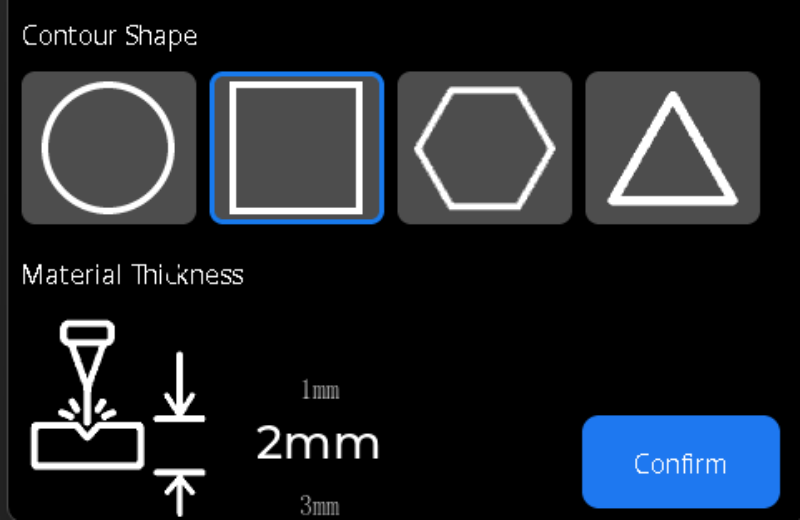
3. If you need to cut the engraved image, you can use the cut function.
4. Select the cut pattern and confirm the thickness of the cut
Locate
1. Manually drag and drop the pattern to the location where it needs to be engraved.
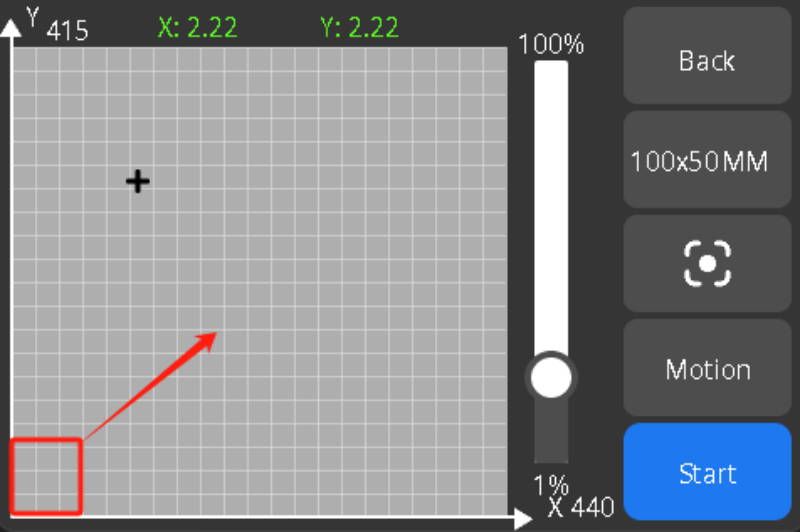
2. We can further fine tune its exact position
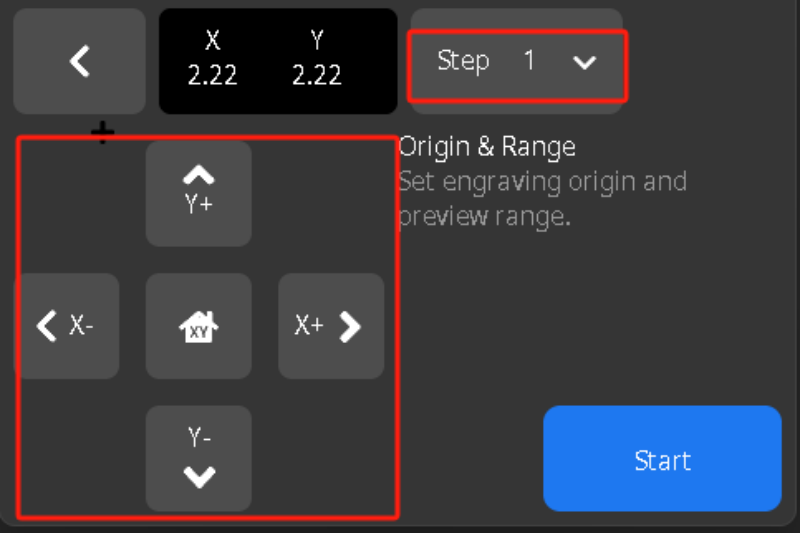
3. Engraving position preview using Frame
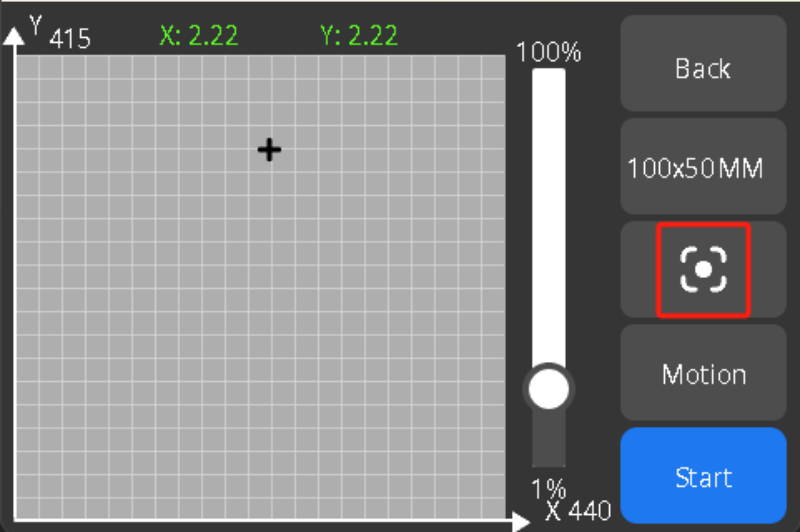
4. After determining that we do the engraving work waiting for the engraving cut.

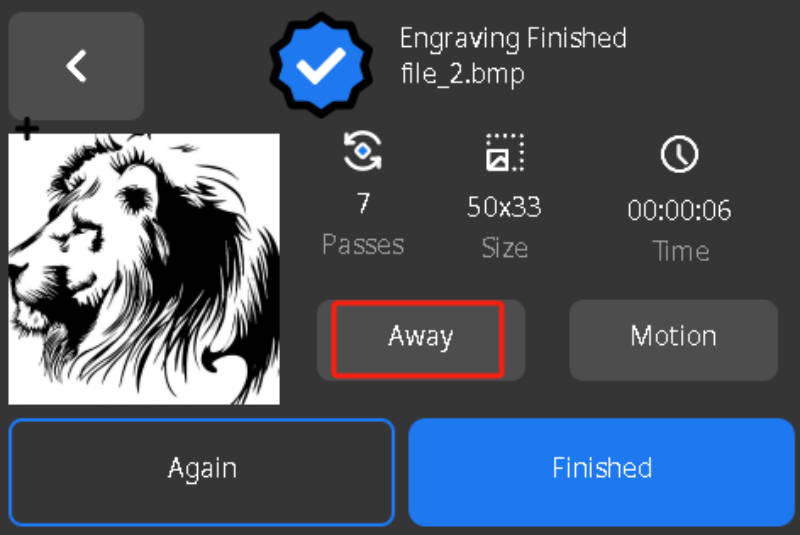
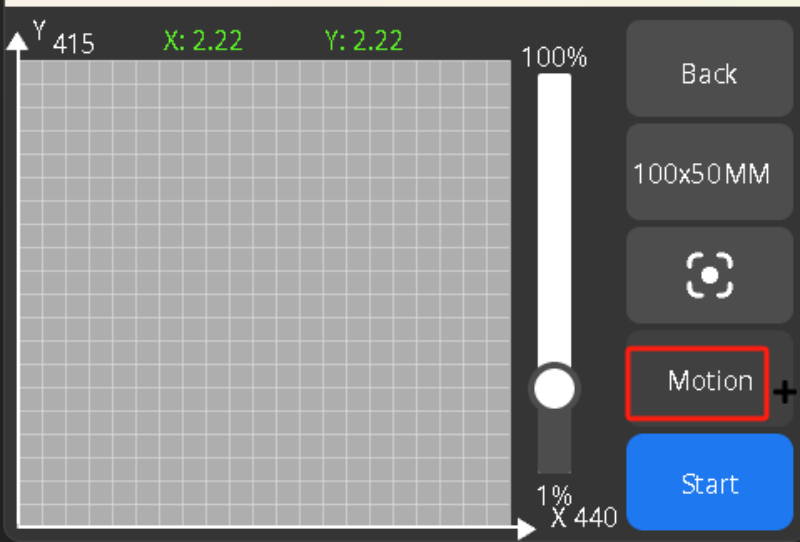
Away observe
If the laser engraver interrupt recovery function is not turned on, we can manually click on the Away button to realize the backward movement of the laser for easy observation of the engraved material.