


How to connect the DIY KIT MINI machine to the AlogLaser APP
Are you ready to unlock the full creative potential of your DIY KIT MINI laser engraver? Connecting your machine to the AlgoLaser APP opens up an entire world of possibilities, allowing you to design, edit, and engrave with precision directly from your mobile device. This step-by-step guide will walk you through every stage of the connection process, ensuring smooth communication between your laser engraver and the app, and helping you achieve flawless engraving results every time.
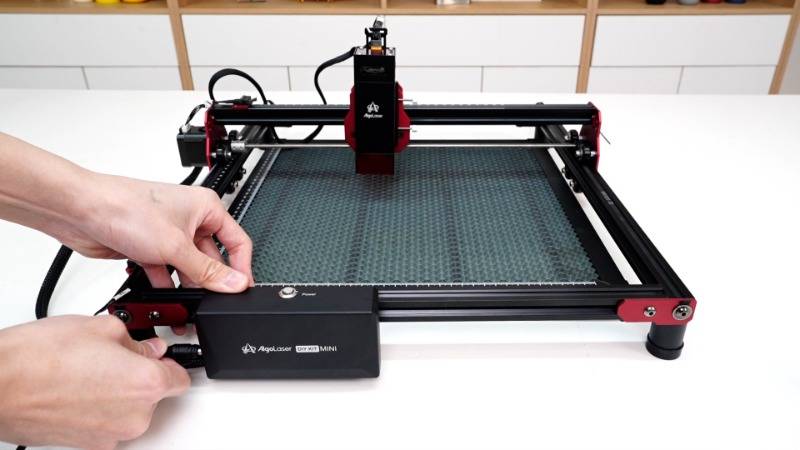
Step 1: Power On and Prepare
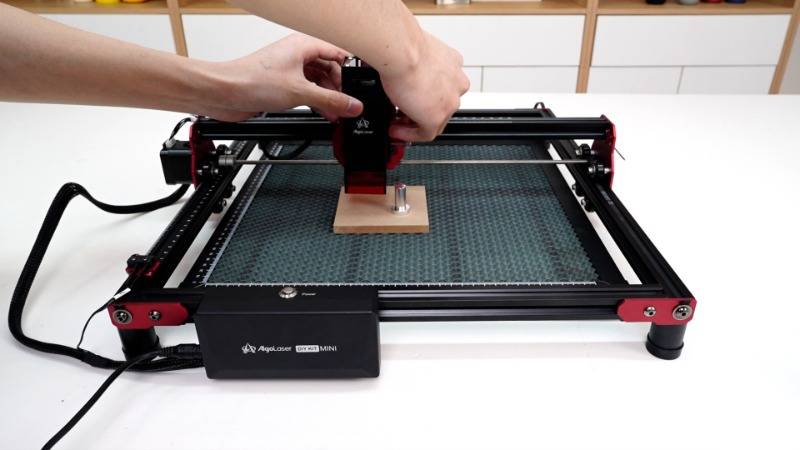
Before connecting to the app, power on your DIY KIT MINI laser engraver. Once the machine is on, carefully place your chosen engraving material onto the work surface. Proper positioning and focusing are key to achieving sharp, high-quality results.
Use the included focus tool to adjust the focal point of the laser module. Ensuring the laser is correctly focused will guarantee smooth movement, accurate engraving, and consistent performance across the entire work area. Taking a few extra moments here saves time and prevents errors during your laser engraving sessions.
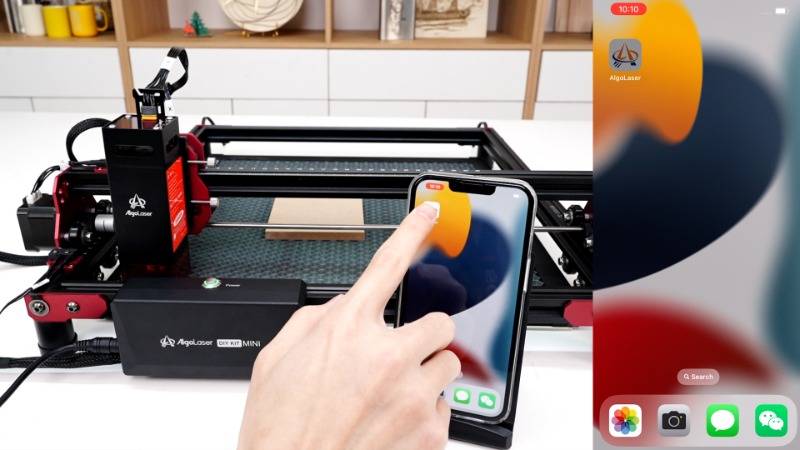
Step 2: Accessing the AlgoLaser APP Interface
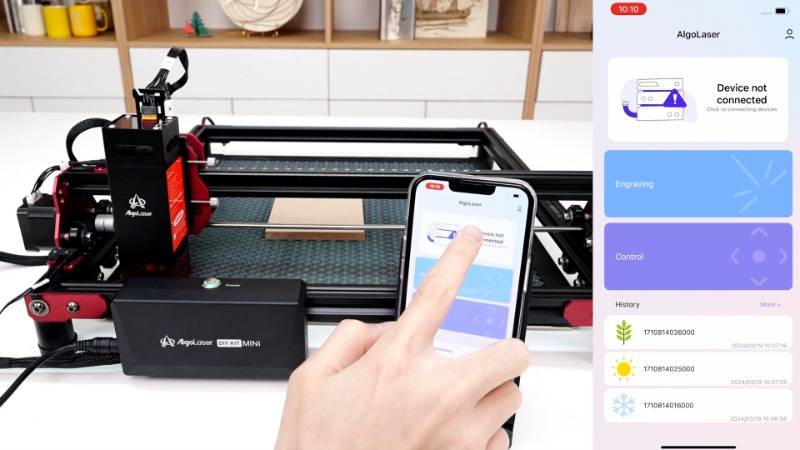
Now it’s time to access the AlgoLaser APP interface on your mobile device. Tap the "Device not connected" option to initiate the network connection process. Ensure your smartphone’s WLAN is enabled and search for the network named ALDKM1_AP_xxxx. Connect to this network and enter the default password 12345678.
Once connected, return to the AlgoLaser APP interface. The app will begin searching for your DIY KIT MINI laser engraver. When the device appears on the screen, click the image to select it and confirm the machine parameters. Make sure to select the correct laser module model before tapping "Confirm." Doing so ensures compatibility and precise control over your laser engraver during operation.
Step 3: Control and Engraving
With the connection successfully established, navigate to the Control option on the main app interface. Test the connection by pressing the arrow keys to confirm smooth communication between your smartphone and the DIY KIT MINI laser engraver.
Now the creative fun begins! Tap "Engraving" and select "Draw" to design directly on your phone. Save your design and adjust its position, size, and rotation on the Preview interface. Fine-tune the engraving area using the Coordinate option, and configure the laser module parameters with the "Configure" feature to optimize cutting depth and engraving quality.
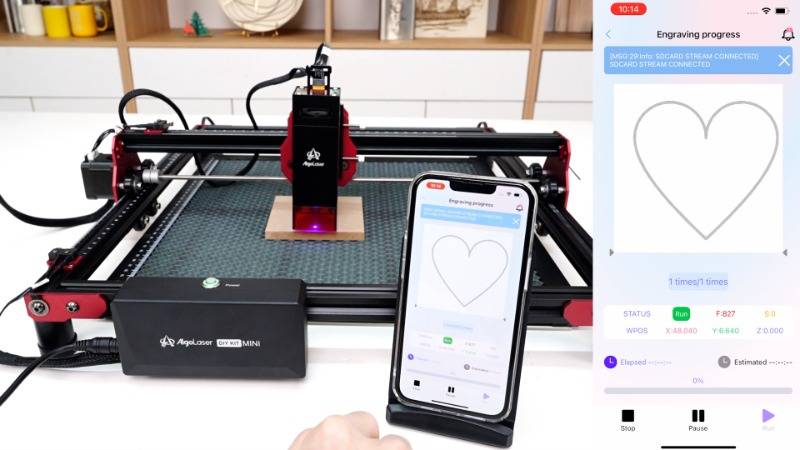
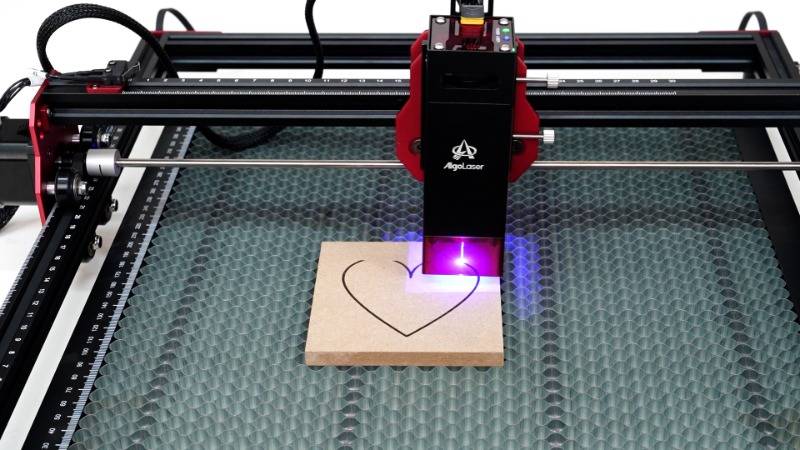
Once all settings are verified, click "Start", then "Uploading," and finally "Run" to begin the laser engraving process. The AlgoLaser APP ensures precise execution, translating your digital design into an exact, high-quality engraving on your material.
Step 4: Engraving Text and Images
For text engraving, return to the main interface of the AlgoLaser APP and click "Engraving." Select "Text," input your desired words, and adjust the placement on the Preview screen. Use the Coordinate option to plan the engraving area accurately, and double-check laser module parameters before starting to ensure crisp, professional lettering.
If you prefer image engraving, tap "Album" and choose the picture you want to engrave. Adjust the image’s size and placement on the Preview screen. Use the calibration icon to set precise engraving points for optimal results. Always confirm that the laser module parameters match the material and design specifications before initiating the engraving process. This step guarantees fine detail, clean edges, and accurate reproduction of your images.
Step 5: Reset and Repeat
After completing an engraving session, click Control to reset your DIY KIT MINI laser engraver and prepare for the next project. The AlgoLaser APP makes it easy to switch between text engraving, image engraving, or intricate custom designs, offering endless creative possibilities for hobbyists, educators, or professional makers alike.
Congratulations! You have successfully connected your DIY KIT MINI laser engraver to the AlgoLaser APP, giving you the power to bring your ideas to life with precision, efficiency, and artistic flair. With seamless integration between your machine and the app, you can confidently explore new designs, improve your workflow, and enjoy the versatility of mobile-controlled laser engraving.


