How to Connect the AlgoLaser Machine with Smart Enclosure 2.0
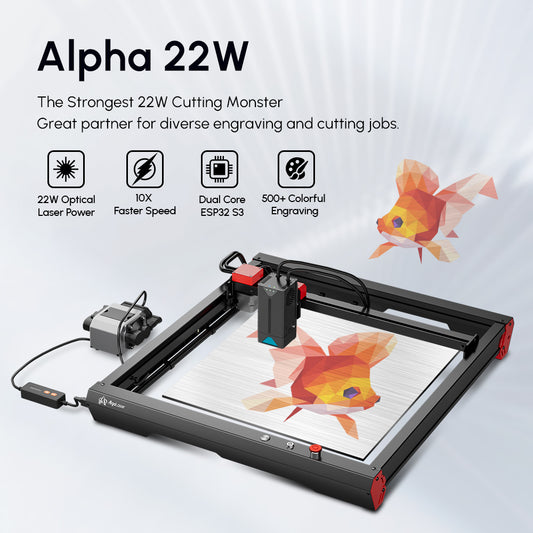
The AlgoLaser Smart Enclosure 2.0 is a robust accessory that elevates your laser engraving projects by providing enhanced safety, convenience, and precision. This guide walks you through the step-by-step process of connecting the AlgoLaser Alpha MK2 laser engraver to the Smart Enclosure 2.0 and ensuring smooth operation.
Part 1: Setting Up the AlgoLaser Machine in the Smart Enclosure 2.0
Step 1: Place the Alpha MK2 into the Enclosure
Carefully position the Alpha MK2 laser engraver inside the enclosure. The machine must be aligned centrally for accurate calibration and safe operation.
Step 2: Connect the Power Cable
Attach the enclosure's power cable to a reliable power source. Confirm that the power indicator on the enclosure lights up, indicating it is ready for connection.
Step 3: Connect the Smart Hub
The Smart Hub is the enclosure's central control unit. Plug it into the designated port on the enclosure, linking it to the system.
Step 4: Connect the Enclosure to the Smart Hub
Securely attach the enclosure's cable to the Smart Hub. This enables control over the enclosure's lighting, fan, and safety sensors.
Step 5: Connect the Air Pump to the Smart Hub
Plug the air pump into the Smart Hub to ensure consistent airflow during engraving. Proper air supply prevents overheating and ensures high-quality results.
Step 6: Attach the Air Tube to the Pump
Connect the air tube to the pump outlet. Check for a snug fit to avoid air leaks, which could impact the engraving quality.
Part 2: Testing and Calibrating the Enclosure
Step 1: Turn on the Alpha MK2
Power up the Alpha MK2 laser engraver. Ensure all connected components are functioning as expected.
Step 2: Navigate to Enclosure Settings
On the Alpha MK2's touchscreen interface, go to Control - Enclosure to access the enclosure's settings. Test the following:
·Indicator Lights: Confirm the light turns red when the lid is open and green when it is closed.
· Fan and Light Control: Use the touchscreen or external controller to toggle the fan and light. Test both with the lid open and closed.
Step 3: Insert the Honeycomb Platform
Place the honeycomb platform inside the enclosure. This is crucial for providing a stable engraving base and allowing proper airflow.
Step 4: Camera Connection
· Connect the enclosure camera to your computer.
· Secure the camera in a fixed position for accurate alignment and overlay.
Part 3: Using LightBurn for Calibration and Setup
Step 1: Calibrate the Camera Lens
1. Place the camera lens calibration paper on the honeycomb platform.
2. Open LightBurn, select the Alpha MK2, and navigate to Laser Tools - Calibrate Camera Lens.
3. Choose HDR Camera, select Standard Lens, and click Next.
4. In the calibration wizard, disable Honeycomb Check Enabled.
5. Use the Capture button to take images. Aim for a calibration score between 0.3 and 1.0.
6. Repeat the process 9 times with the camera at different angles for complete calibration.
Step 2: Calibrate Camera Alignment
1. Insert a piece of plywood and adjust the focus. Close the enclosure lid.
2. Reset the laser module by clicking Home on the touchscreen.
3. In LightBurn, go to Laser Tools - Calibrate Camera Alignment.
4. Select HDR Camera, input your machine and material settings, and click Frame to check alignment.
5. Follow on-screen prompts to capture the engraving area and align the camera.
Part 4: Engraving Workflow After Connection
Step 1: Overlay Setup
1. Insert a material (e.g. , keychain) into the enclosure and adjust the focus.
2. Update the overlay by right-clicking Laser in LightBurn and selecting Camera Control - Update Overlay.
Step 2: Design and Engrave
1. Use LightBurn's text tool to create your design. Adjust the text size, angle, and parameters to suit your project.
2. Click Frame to preview the engraving area and confirm placement.
3. Start the engraving process and monitor it through the enclosure's camera feed.
Part 5: Operational Tips for Optimal Use
1. Safety First: Always ensure the lid is closed before engraving. The red and green indicators help maintain a safe workspace.
2. Regular Maintenance: Clean the camera lens and enclosure interior regularly to prevent dust buildup.
3. Material Testing: Test engraving parameters on scrap material to ensure precision before final projects.
4. Efficient Workflow: Use the camera overlay for precise material placement and faster setup times.
Conclusion
Connecting the AlgoLaser Alpha MK2 to the Smart Enclosure 2.0 revolutionizes your engraving process. This setup offers seamless integration, advanced camera functionality, and robust safety features. By following this guide, you can unlock the full potential of your laser engraver, creating intricate and high-quality designs with ease.


![[Discontinued] AlgoLaser Alpha 22W Laser Engraver (Recommended: Alpha MK2 20W)](http://algolaser.com/cdn/shop/files/ALPHA_22W_1a87454a-b664-43bf-85c7-63606755bbf8_533x.jpg?v=1734401523)


