


How to Connect LightBurn with DIY KIT MINI
In the world of crafting and DIY projects, laser engraving has emerged as a versatile and precise tool for adding intricate designs and personalized touches to various materials. Whether you're a hobbyist or a small business owner, mastering the art of laser engraving can open up a world of creative possibilities. One essential step in this journey is learning how to connect your laser engraver, such as the DIY KIT MINI, with software like LightBurn. We'll take you through the process step by step, ensuring you're ready to unleash your creativity with ease.
Free SVG & Gcode Files for Laser Engraving & Cutting can be found here, wich you can import into our laser cutters directly.
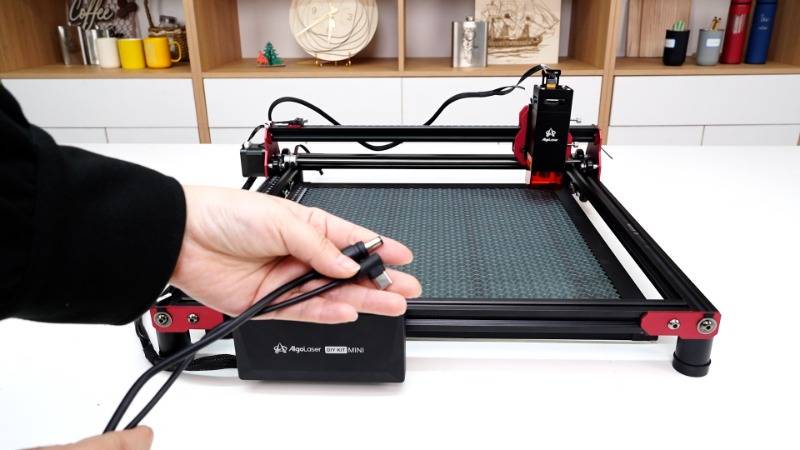
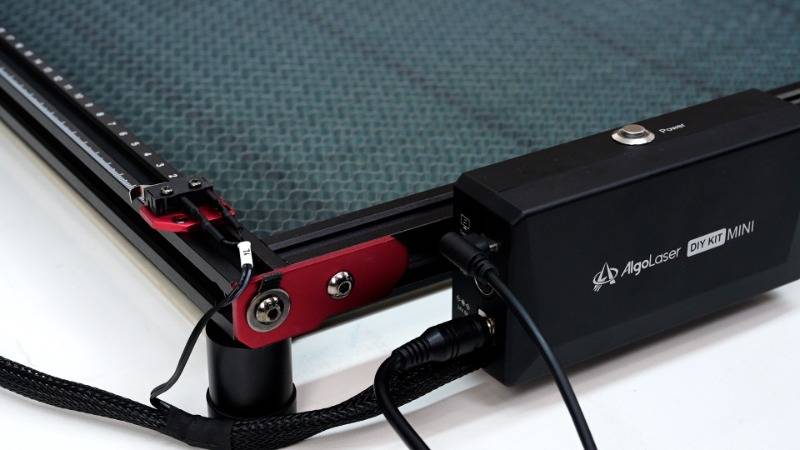
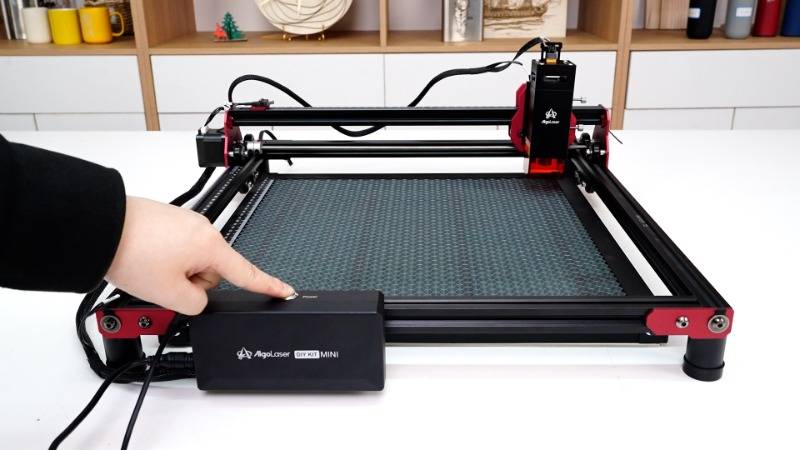
Step 1: Power On and Connect
The first step in connecting your DIY KIT MINI to LightBurn is to power on the machine. Connect the power cable to a suitable power source and press the power button. Next, take out the USB cable and connect the DIY KIT MINI to your computer. Wait for the machine to start up, ensuring that it's ready for the next steps.
Step 2: Set Parameters in LightBurn
Once your machine is powered on and connected, it's time to set up the parameters in LightBurn. Open the LightBurn software and navigate to the "Devices" tab. Click on "Create Manually" and select "GRBL" from the dropdown menu. Confirm the connection method as "USB/USB flash drive" and proceed to fill in the machine name and work area values. Choose the origin as "Front Left" and review the parameters before clicking "Finish." Select the setup machine and click "OK" to confirm.

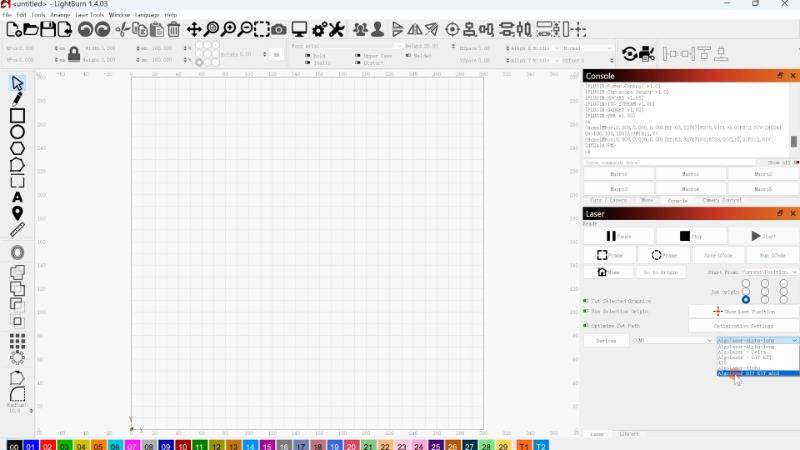
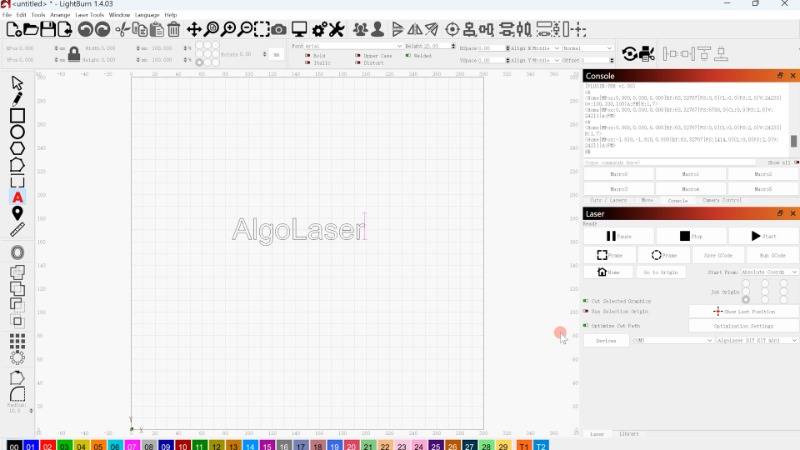
Step 3: Select the Corresponding Machine
In the "Devices" section of LightBurn, locate the "Laser" box on the right and select the corresponding machine from the dropdown menu. Wait for the confirmation message "OK" to appear in the upper "Console" box, indicating that the connection has been successfully established.
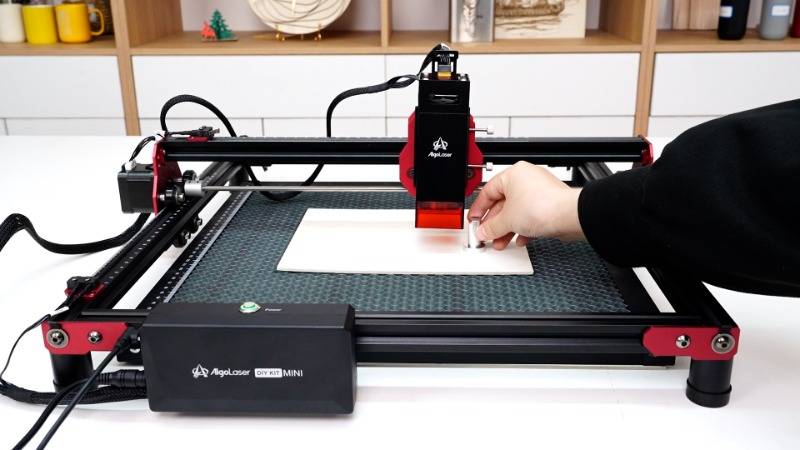
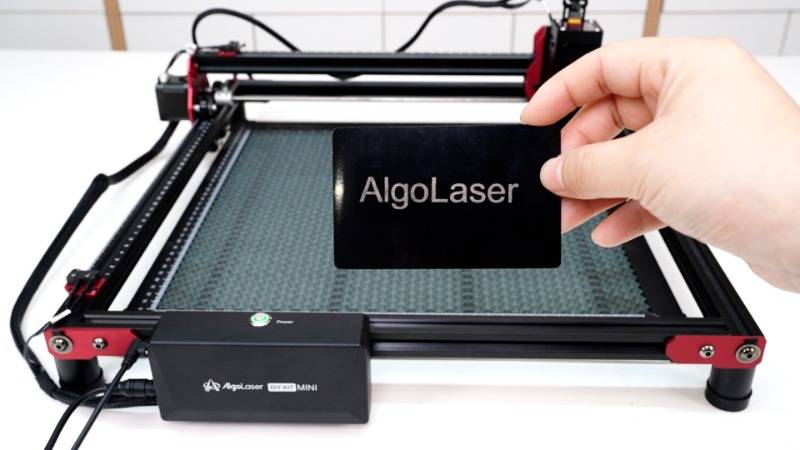
Step 4: Prepare Engraving Material and Focus
Before you start engraving, it's essential to prepare your material and ensure proper focus. Place the engraving material onto the bed of the DIY KIT MINI and position the laser module over it. Insert the laser focus tool between the material and the laser module, adjusting the height until the module touches the focus tool. Ensure that the focus tool can be smoothly pulled out, indicating that the focus is set correctly.
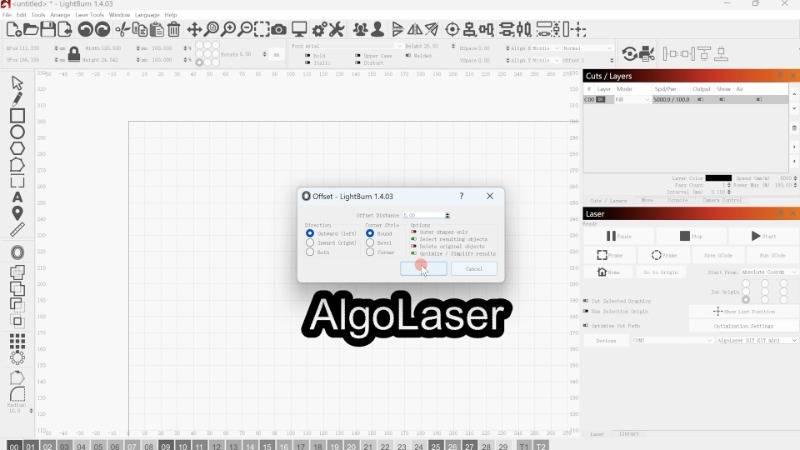
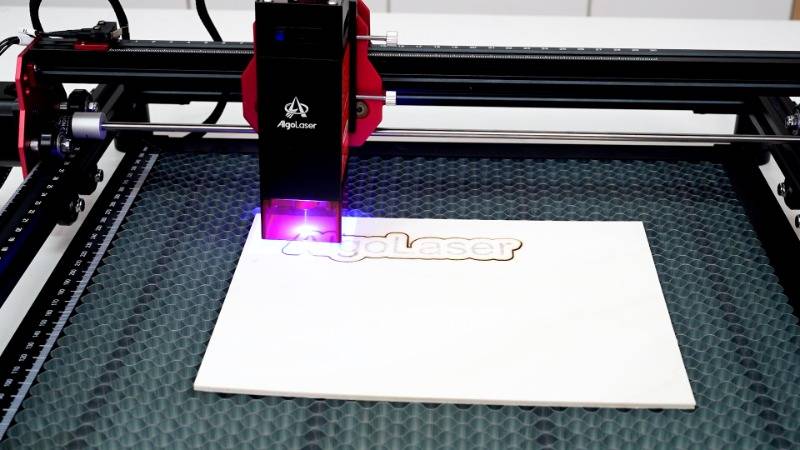
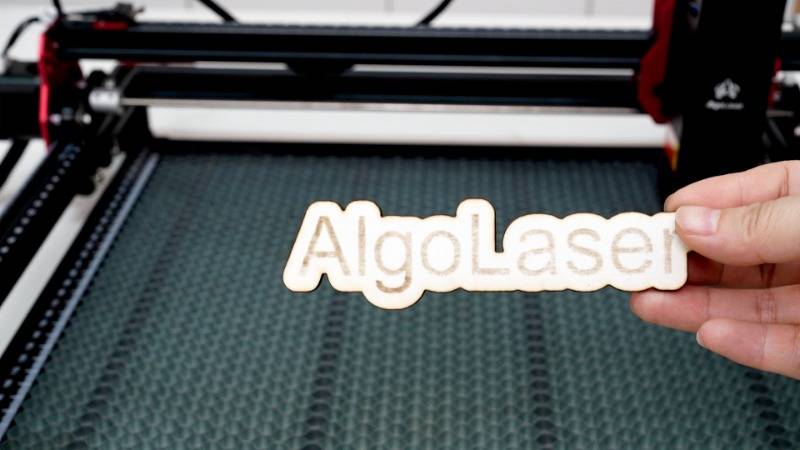
Step 5: Design and Engrave
With your material prepared and focused, it's time to design your engraving. In LightBurn, select the text tool from the left toolbar and type the desired text or design to be engraved. Adjust the settings by clicking on "Cut/Layers" in the console, where you can set parameters for engraving or cutting, such as speed and power. Use the "Frame" option to confirm the engraving area visually. Once satisfied, click "Start" to initiate the engraving process.
Conclusion
Mastering the connection between LightBurn and your DIY KIT MINI laser engraver opens up endless possibilities for creativity and personalization. By following these simple steps, you can seamlessly integrate your hardware with powerful software, allowing you to bring your designs to life with precision and efficiency. Whether you're creating custom gifts, signage, or decorative pieces, the combination of LightBurn and the DIY KIT MINI puts the power of laser engraving at your fingertips. So, power up your machine, connect with LightBurn, and let your imagination soar. Happy engraving!
Free SVG & Gcode Files for Laser Engraving & Cutting can be found here, wich you can import into our laser cutters directly.


