


How to connect LaserGRBL with DIY KIT MINI
Laser engraving has become an increasingly popular hobby and profession, offering a creative outlet for DIY crafting, custom engraving, personalized gifts, and small business production. Whether you're a seasoned enthusiast or just diving into the world of laser engraving machines, mastering the connection between LaserGRBL and your DIY KIT MINI is essential for achieving high precision engraving, accurate laser control, and professional engraving results. We'll walk you through the process step by step, ensuring that you can unleash the full potential of your desktop laser engraver, CNC laser system, and diode laser module.
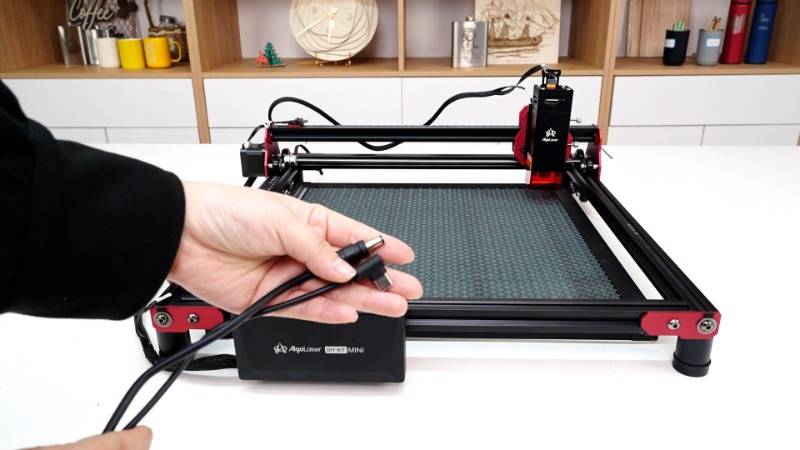
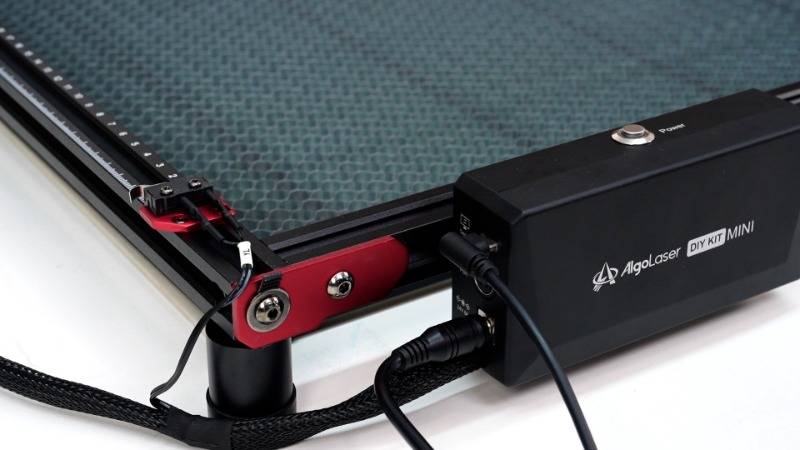
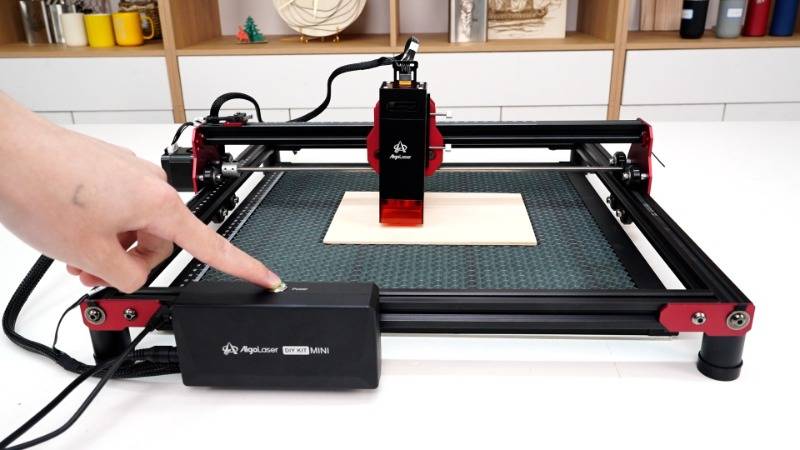
Step 1: Power On and Connect
The first step in utilizing your DIY KIT MINI for laser engraving is to power on the machine. Once powered on, take out the USB cable and connect the DIY KIT MINI to your computer. Additionally, ensure that the power cable is securely connected to a power source to provide the necessary energy for operation. This step establishes a stable USB connection, enabling device communication, firmware recognition, and serial port detection, which are critical for smooth laser engraving workflow, machine initialization, and engraving software integration.
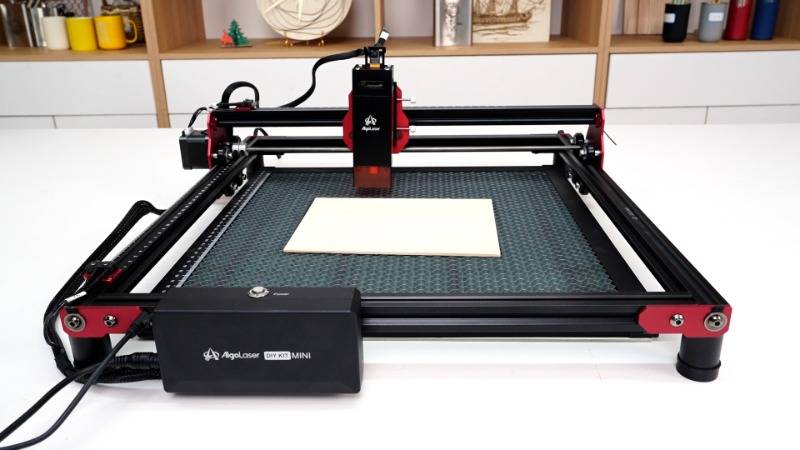
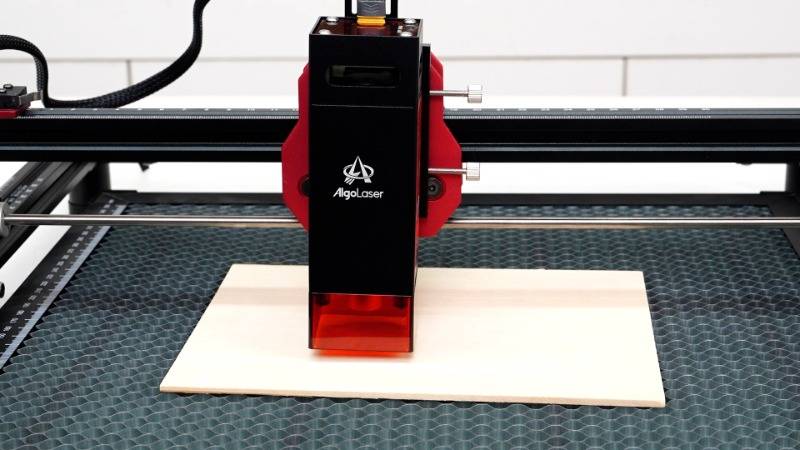
Step 2: Material Preparation and Focus
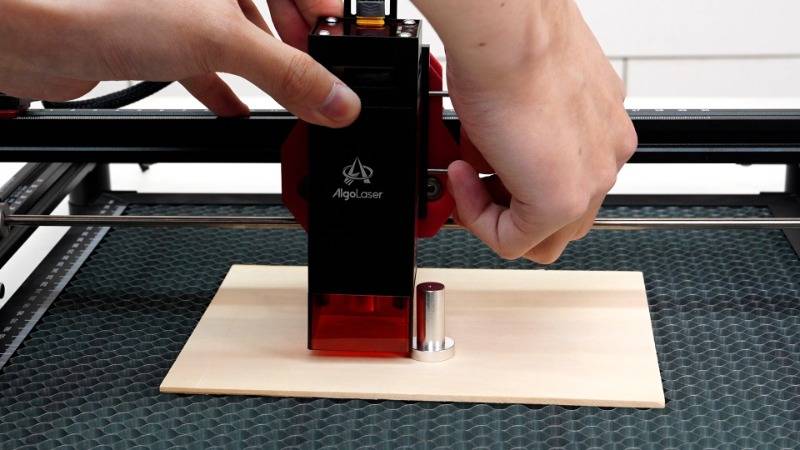
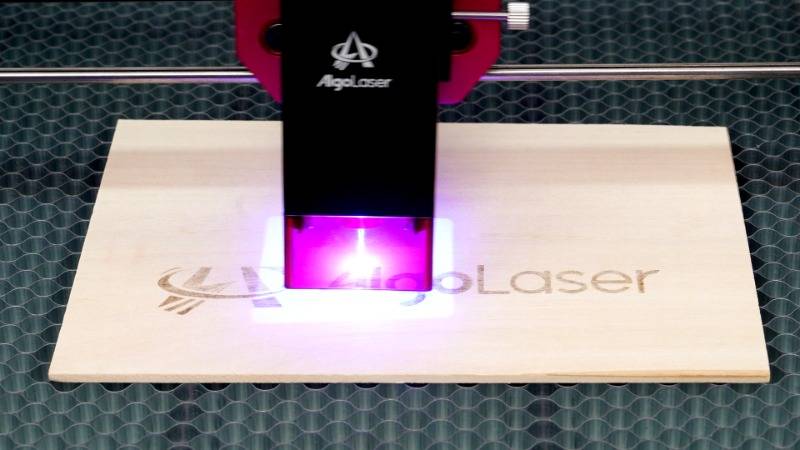
With the machine powered on and connected, it's time to prepare your engraving material and focus the laser. Begin by moving the laser module over the item you intend to engrave. Then, place the laser focus tool between the engraving material and the laser module. Adjust the height of the laser module to allow it to touch the focus tool, ensuring precise focusing. Make sure the focus tool can be smoothly pulled out once the adjustment is complete. Finally, press the power button and wait for the machine to initialize. Proper focusing ensures optimal laser beam alignment, engraving accuracy, clean engraving lines, and consistent engraving depth, especially when working with materials like wood engraving, acrylic engraving, leather engraving, and coated metal marking.
Step 3: Setting Parameters in LaserGRBL
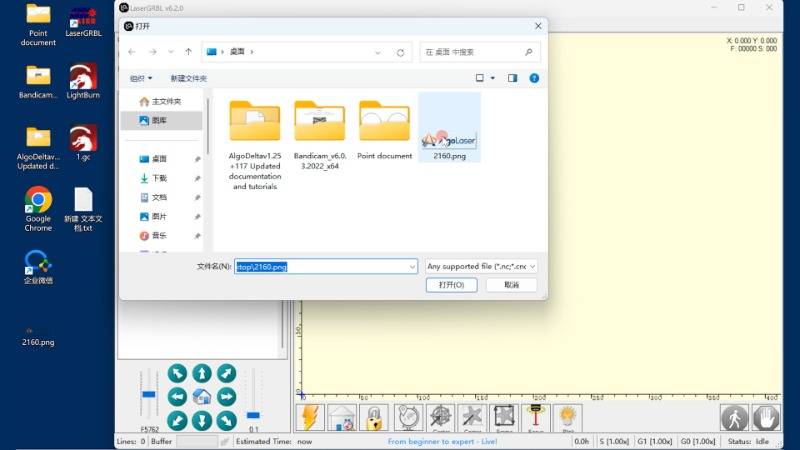
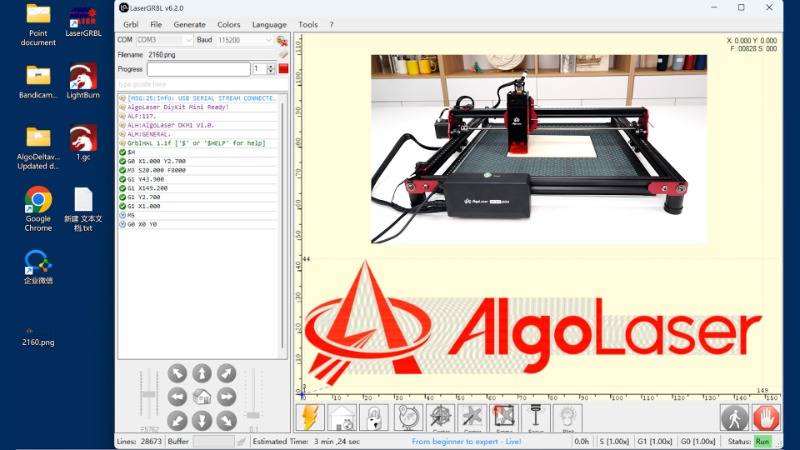
Now that your machine is ready, it's time to configure the settings in LaserGRBL. Confirm that the "COM" option is set to "COM3" and the "Baud" rate is set to "115200". Click on the lightning icon to establish a connection between LaserGRBL and your DIY KIT MINI. Next, click on "File" to import the image you wish to engrave. These settings ensure proper G-code communication, engraving command execution, machine synchronization, and real-time control, which are essential for precision engraving projects and efficient workflow management.

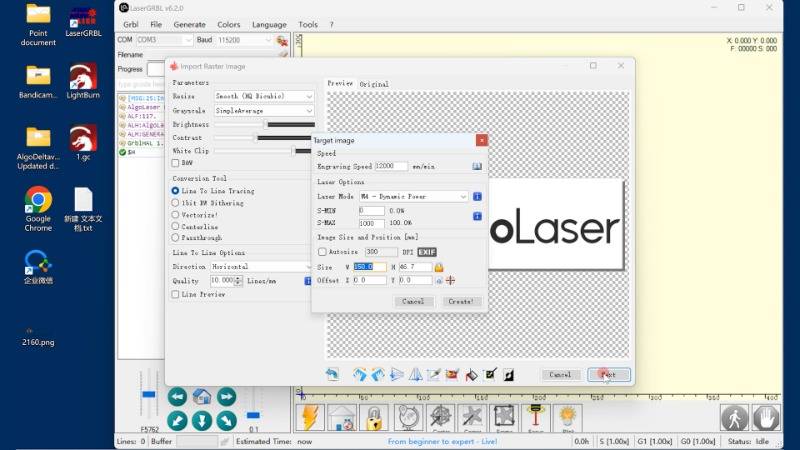

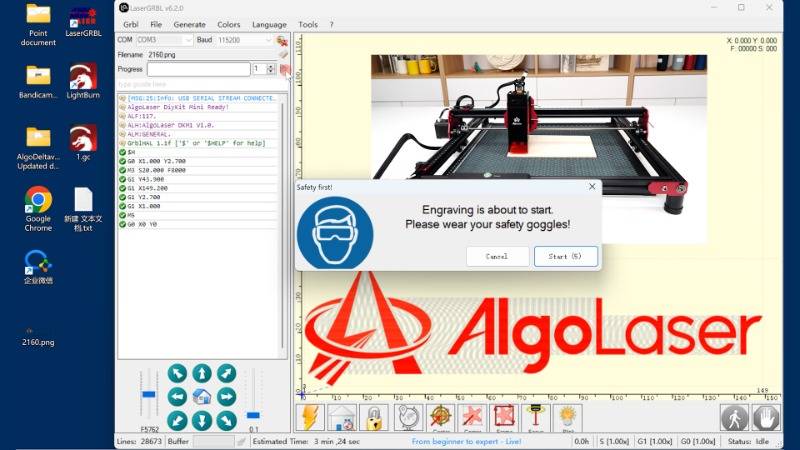
After importing the image, confirm the parameters and click "Next" in the lower right corner of the pop-up window. Set the engraving parameters according to your preferences, then click "Create!". To ensure the engraving area is correctly defined, click "Frame". Once satisfied, click on the small green triangle in the upper left corner to initiate the engraving process. This process involves adjusting laser power settings, engraving speed, line interval, grayscale engraving, and image dithering, all of which impact engraving quality, detail resolution, and surface finish.
For vector images, follow a similar process, clicking "Vectorize!" after importing the image. Adjust the image contrast as needed, then click "Next". Set the parameters for cutting, including selecting "Laser Mode" as "M3-Constant Power", and click "Create!". Confirm the cutting area by clicking "Frame", then initiate the cutting process by clicking the small green triangle. This workflow supports vector engraving, laser cutting paths, outline tracing, and precision cutting, making it ideal for DIY projects, custom signage, and craft production.

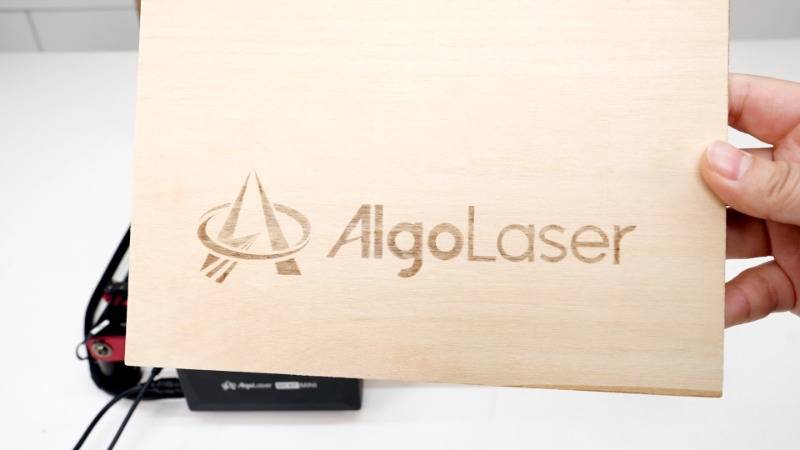
With these steps, you've successfully connected LaserGRBL with your DIY KIT MINI and are ready to embark on your laser engraving journey. Whether you're engraving intricate designs or cutting precise shapes, mastering this connection opens up a world of creative laser applications, custom product design, maker projects, and small-scale manufacturing opportunities.
Conclusion
In conclusion, laser engraving with LaserGRBL and DIY KIT MINI is a rewarding endeavor that allows for endless creativity and personalization. By following these steps and mastering the connection between software and hardware, you'll be able to achieve professional-quality engraving, consistent output, and efficient production workflows with ease. So, power on your laser engraving machine, prepare your materials, and let your creativity shine through laser engraving, DIY fabrication, and custom design innovation.
Free SVG & Gcode Files for Laser Engraving & Cutting can be found here, wich you can import into our laser cutters directly.


