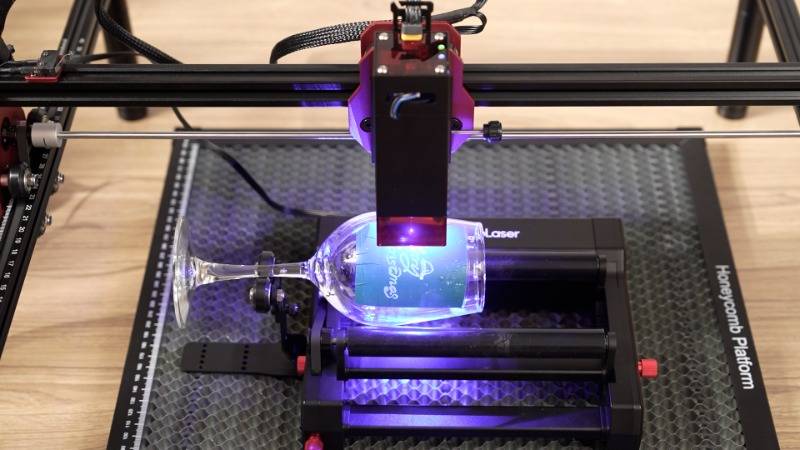
How To Clean Laser Engraver Lens
Introduction: The Importance of Lens Maintenance
Regular maintenance of a laser engraver’s lens is a fundamental aspect of maintaining its optimum functionality. The lens is continuously exposed to debris, smoke, and residue as it works which, if left unchecked, can result in a decrease in performance or even damage to the machinery.
A clean lens significantly improves the accuracy and quality of laser engraving or cutting. Therefore, it is essential to regularly clean the laser engraver's lens as part of your machine's overall maintenance.
Some Essentials Before You Begin
Gather some indispensable tools for cleaning the lens:
1. Lens Cleaning Solution: You can purchase a lens cleaning solution specifically formulated for coated precision optics from a reputable supplier.
2. Lint-Free Cloths and Swabs: Only use non-abrasive, lens cleaning cloths and cotton swabs. Using abrasive materials can cause scratches and damage to the lens.
3. Canned Air: Useful for cleaning hard-to-reach areas and removing settled debris.
With the right tools assembled, it's time to begin cleaning your laser engraver lens.

Step-by-Step Guide to Cleaning Your Laser Engraver Lens
Step 1: Safety Always Comes First
Ensure that the machine is powered off and unplugged. To protect against accidental laser discharge, turn off the machine and disconnect it from its power source.
Step 2: Removing the Lens
Check the manual or guide provided by your supplier when removing the lens. Different machines may have different lens setups. Handle the lens with clean, lint-free gloves to avoid finger oil contamination.
Step 3: Dealing with Loose Debris
To start, use the canned air to remove any accumulated debris on the lens surface. Ensure to do it gently to avoid causing any pressure that could crack the lens.
Step 4: Cleaning
Moisten the lens cleaning swab with a few drops of lens cleaning solution. Starting from the center of the lens, gently clean in a circular motion spiraling outwards. Avoid cleaning back and forth as it may push any debris into the lens.
Step 5: Drying
Dry the lens using a clean, lint-free cloth or swab. Move gently from the center of the lens outward. Never allow it to air-dry as it may cause mineral deposits to form, often visible as spots or streaks.
Step 6: Inspection and Reinstallation
Inspect the lens under a bright light source for any overlooked debris or smudges before reinstallation. If the lens is perfectly clean, follow your machine’s manual to reinstall the lens. If not, repeat the cleaning procedure again.
Pro Tips
· Clean the lens regularly. The frequency of cleaning depends on the usage and cutting/engraving material nature. As a rule of thumb, inspect and clean the lens every 40 hours of operation or any time you notice a decline in output quality.
· Keep extra lenses in stock. Accidents happen, and the last thing you want is for your operations to halt because of a damaged lens. Keeping an extra lens on hand ensures that you're always ready for unexpected circumstances.
· Use manufacturer approved tools. Always use lens wipes, swabs, cleaner and gloves that are recommended by your machine's manufacturer to keep your engraver operating at peak performance.
Conclusion
Cleaning the lens of your laser engraver is a relatively simple but highly significant task. Regular lens maintenance contributes to consistent engraving and cutting excellence, enhancing your machine's lifespan and productivity. Proper maintenance protects both your business's investments and reputation.
Throughout the procedure, handle the lens with care. A consistent cleaning routine will improve both the precision and quality of your finished projects, resulting in healthier profitability for your business in the long run. Practice patience and precision, and the results will certainly be rewarding.
Free SVG & Gcode Files for Laser Engraving & Cutting can be found here, wich you can import into our laser cutters directly.


