


How to Assemble AlgoLaser DIY KIT MINI
Embarking on the journey of assembling your very own AlgoLaser DIY KIT MINI can be an exhilarating experience. Whether you're a seasoned hobbyist or a curious beginner, each step brings you closer to unlocking the potential of laser technology. We'll walk you through the assembly process, ensuring a smooth and successful build from start to finish.
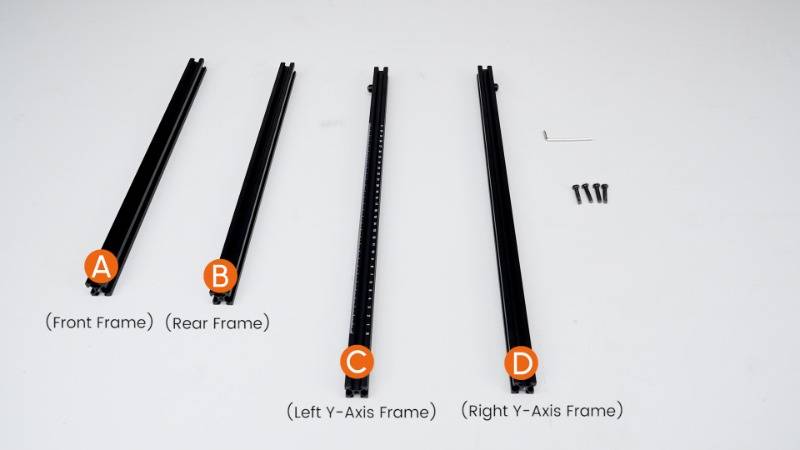
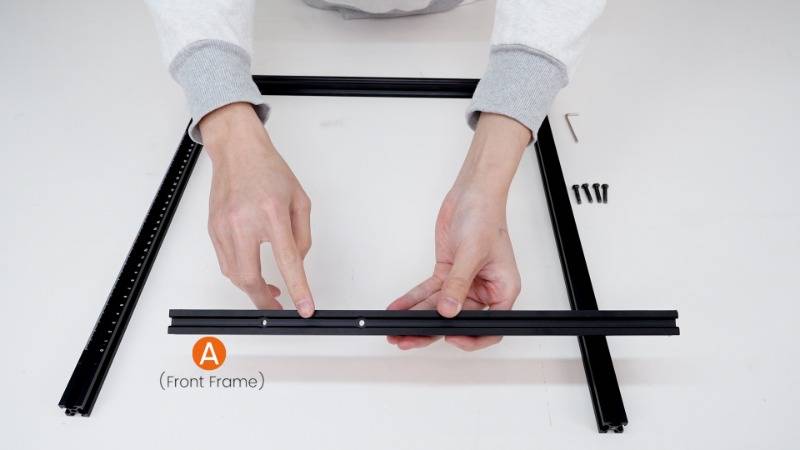
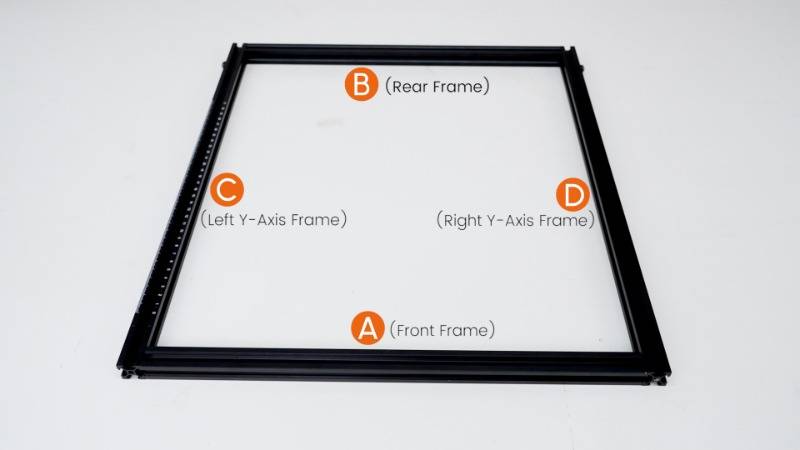
Step 1: Assembling the Frame
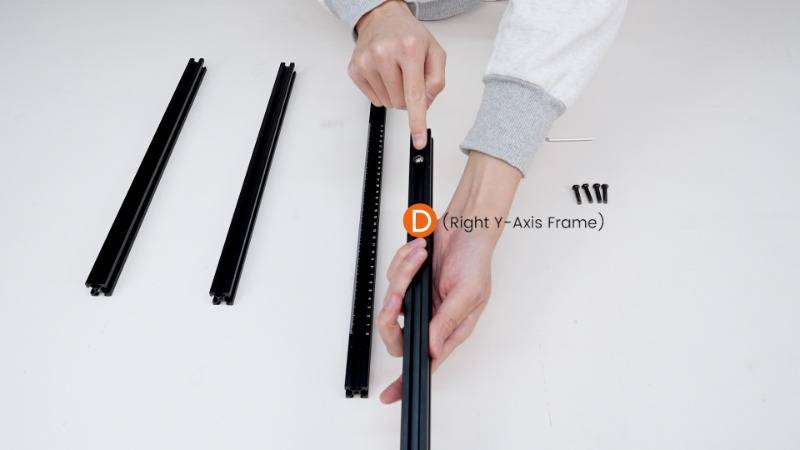
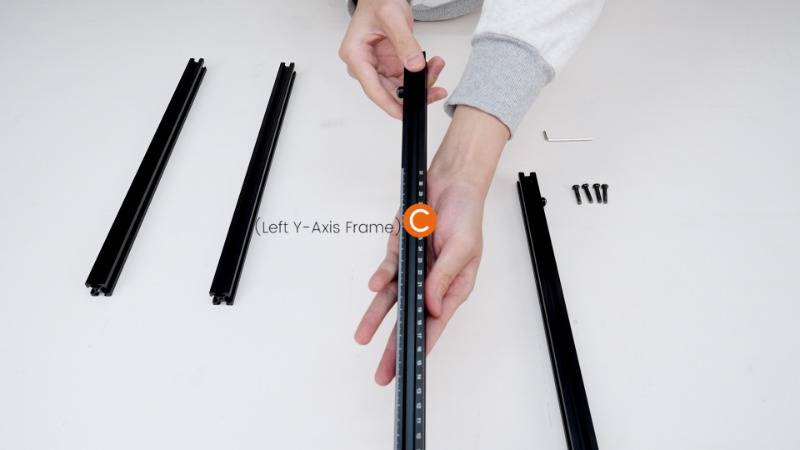
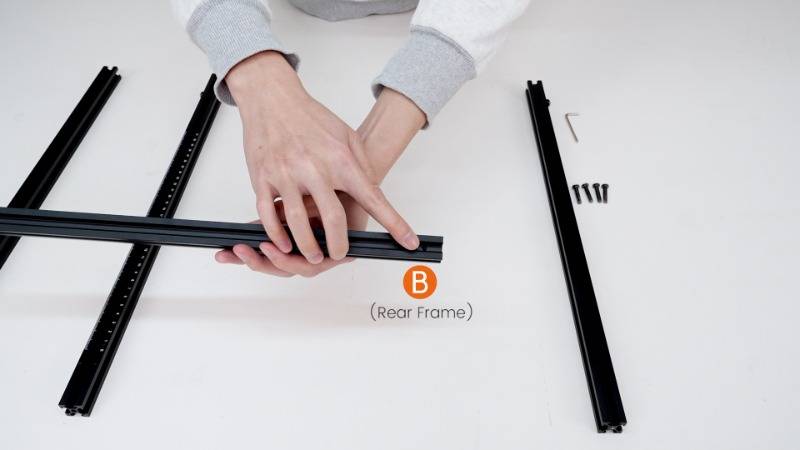
The foundation of any great laser engraver begins with a sturdy frame. Align the Front Frame and Rear Frame flush with the sides of the Left Y-Axis Frame and Right Y-Axis Frame. Utilize the M5X25 Screws to secure them in place, ensuring a solid base for your AlgoLaser.
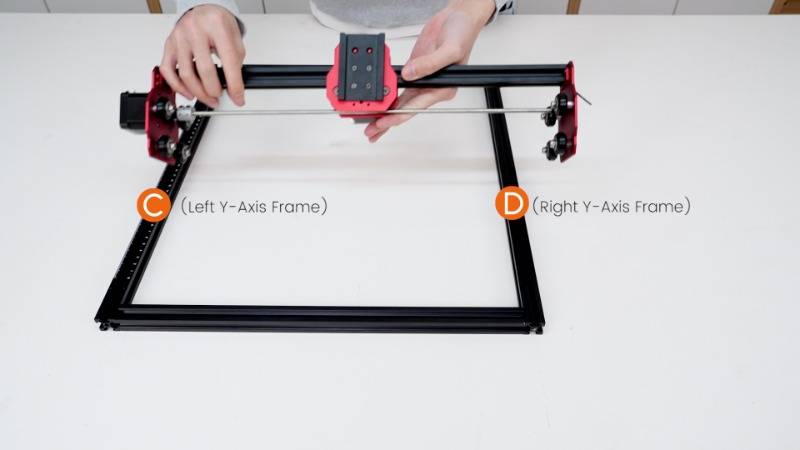
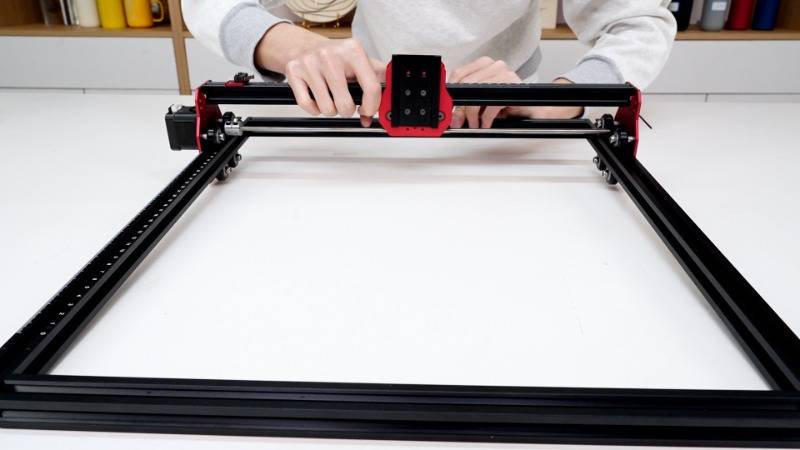
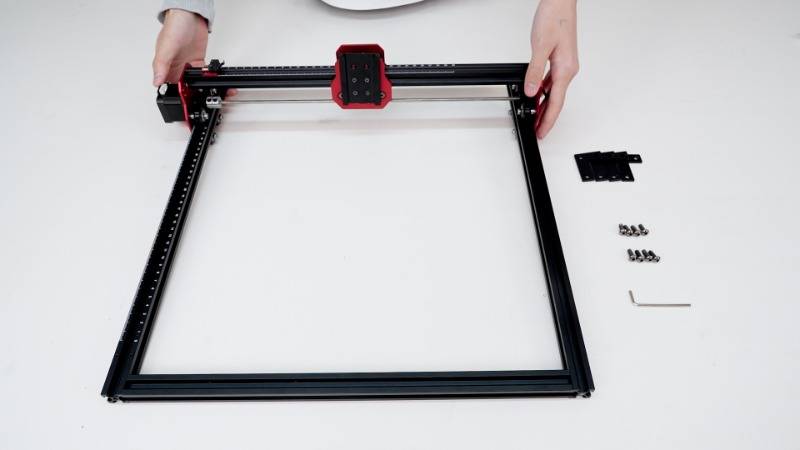
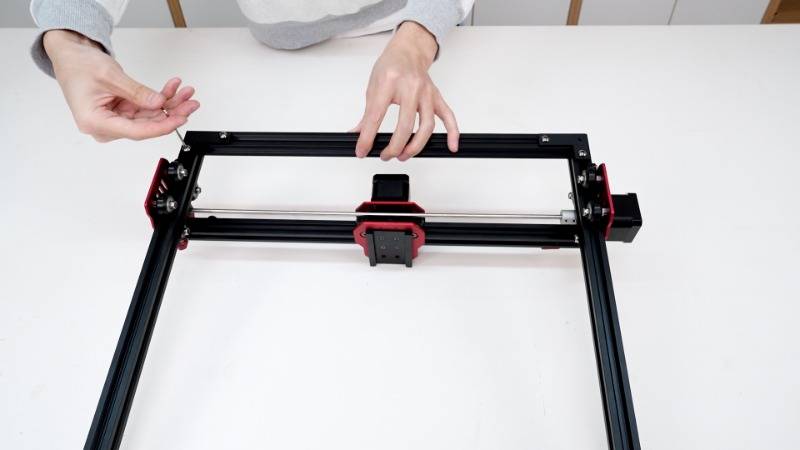
Step 2: Assembling the X-Axis Component
Next, it's time to install the X-Axis component. Carefully fit it into the Left Y-Axis Frame and Right Y-Axis Frame, ensuring precise alignment for smooth movement and accurate operation.
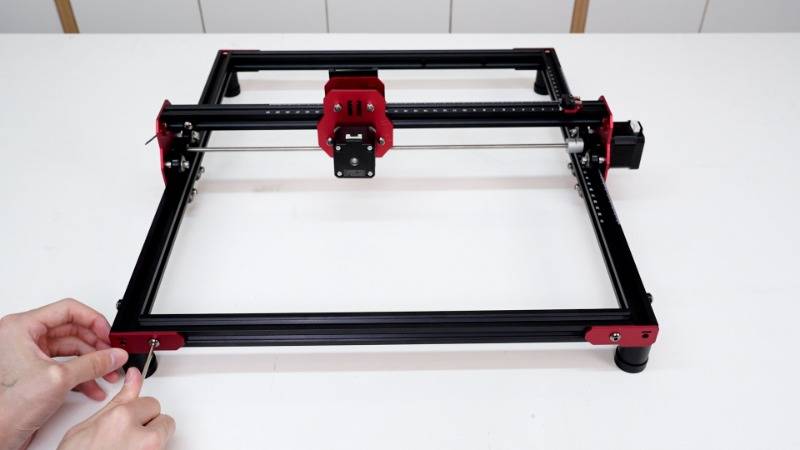
Step 3: Assembling the L-Bracket
Flip the laser engraver upside down, exposing the bottom side. Secure the L-brackets using M5X14 screws, employing the same method to install the remaining three brackets. This step lays the groundwork for stability and support throughout the assembly process.
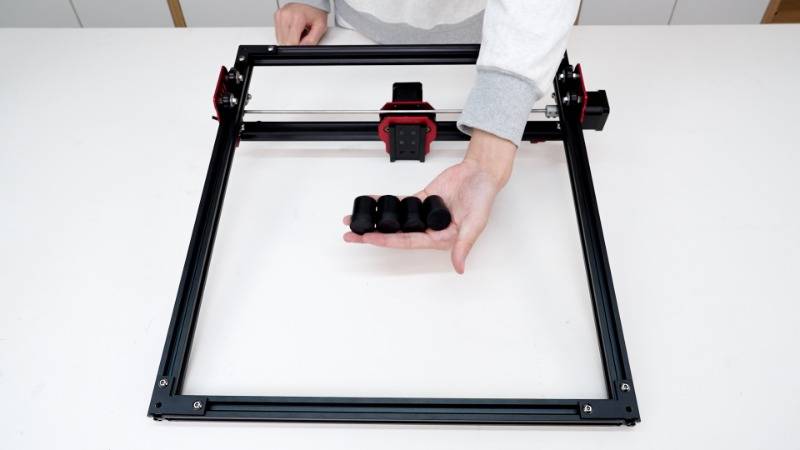
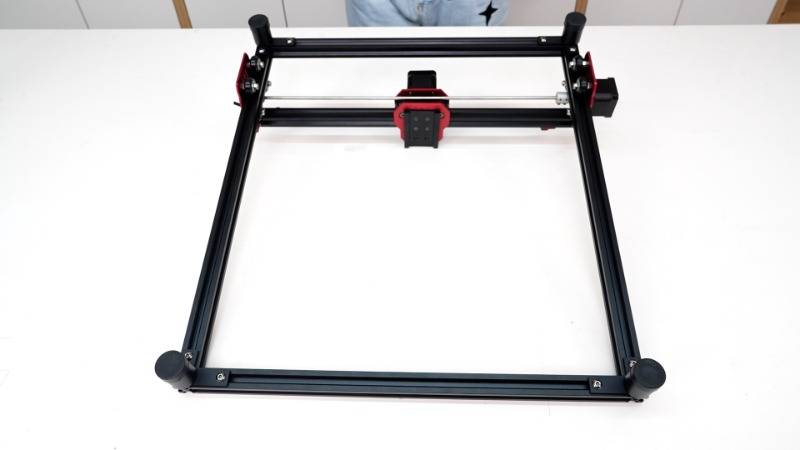
Step 4: Assembling the Support Feet
Enhance the stability of your AlgoLaser by attaching the Support Feet. Screw them into the corresponding mounting holes on the L-Brackets in a clockwise direction, ensuring even weight distribution for optimal performance.
Step 5: Assembling the End Plate
Flip the laser engraver upside down once again, this time with the top side facing upwards. Secure the End Plate using M5X14 screws, aligning it with the designated hole for seamless integration into the overall structure.
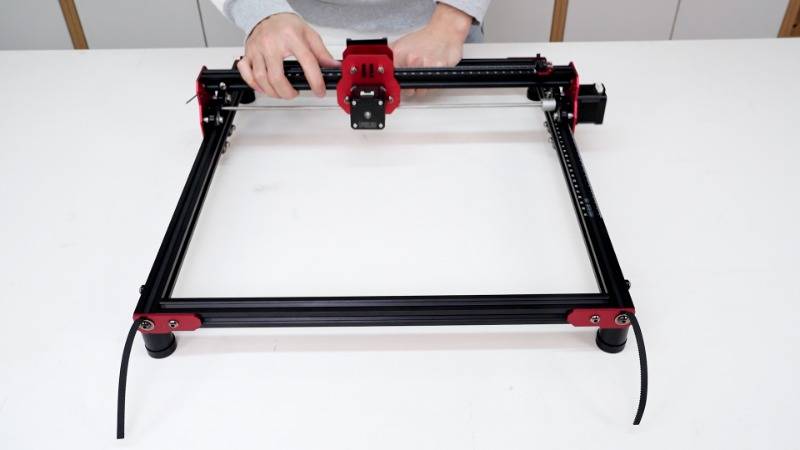
Step 6: Assembling the Belt
Precision is key when assembling the belt mechanism. With the serrated side facing down, thread one end through the E-axis (X-axis) bearing and then through the gear. Repeat the process for the other end, securing it with M5X8 screws and M5X15X1 washers. Ensure proper tension by gently moving the E (X-axis) and adjusting accordingly for optimal performance.
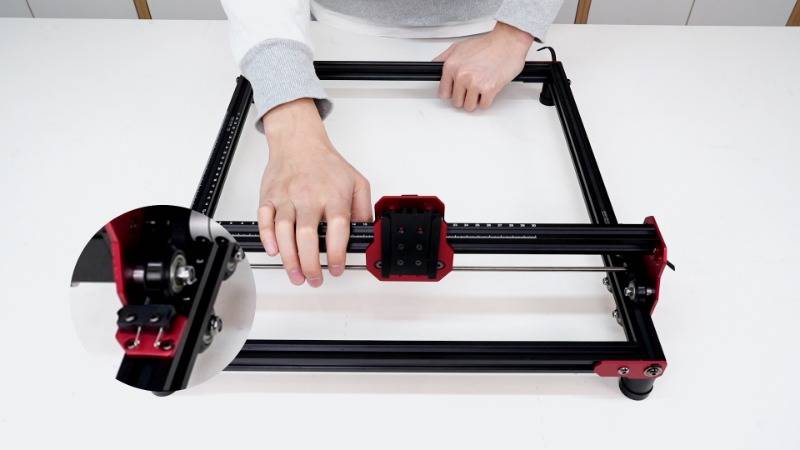
Step 7: Assembling the Limit Switch
Install the Limit Switch Mounting Plate and Limit Switch using M2.5X9 screws. Slide the X-axis to verify if the switch can be triggered, ensuring precise control and safety measures are in place.
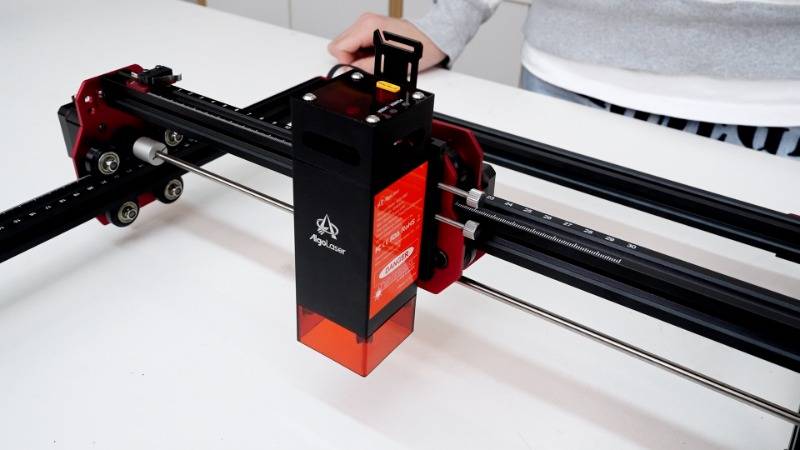
Step 8: Assembling the Laser Module
Insert the rear dovetail groove of the ALM-5BD(5W) Laser Module into the corresponding slot on the back panel. Tighten the Thumb Screw clockwise to secure it in place, ensuring accurate positioning for laser precision.
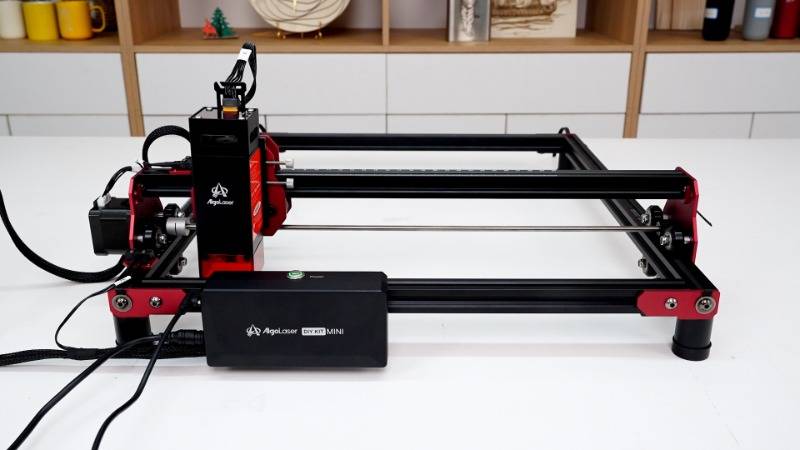
Step 9: Assembling the Control Box Component
Secure the Control Box using M4X18 screws, aligning the installation nut on the back of the Control Box with the mounting hole on the Front Frame. This step ensures seamless connectivity and accessibility for optimal functionality.

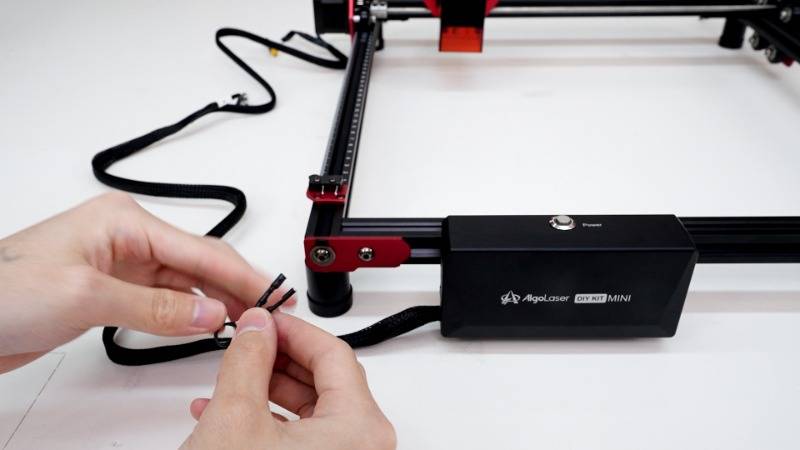
Step 10: Assembling the Main Cable
Complete the assembly process by plugging the cable connectors into the limit switch, motor, and laser module sockets in the specified order. This final step ensures proper communication and integration of essential components.
Congratulations! You've successfully assembled your AlgoLaser DIY KIT MINI, unlocking a world of possibilities in laser engraving and cutting. With careful attention to detail and precision in each step, you're now ready to unleash your creativity and bring your ideas to life with confidence and precision. Happy laser crafting!


