How to adjust Delta laser engraver to the best engraving performance?
This guide helps customers self-check their machine for unsatisfactory engraving results and resolve the issue efficiently as possible. Please refer the following steps:
1. When installing the X-axis gantry (circled in red), it must be ensured that the gantry is parallel to the front and rear frame, and that when homing, the left and right sides reach the limit screws (Green) at the same time.

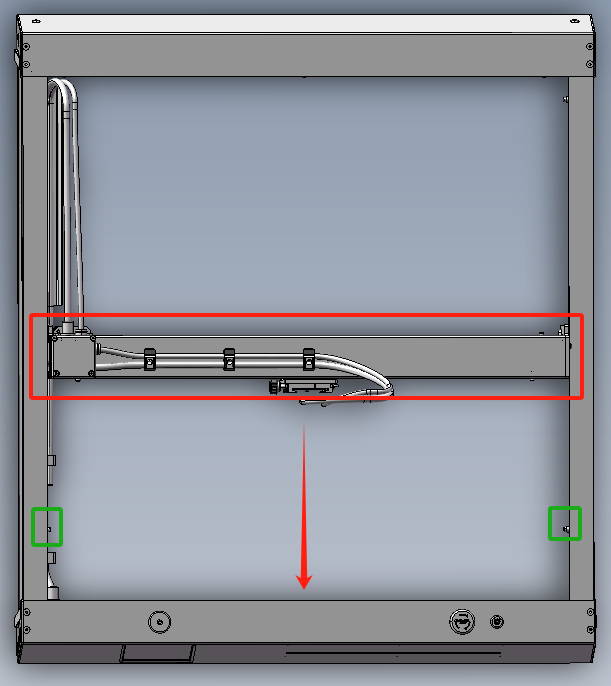
And the screws on the end of the X-axis near the right Y-axis must be tightly screwed into the nuts or they may be unstable.
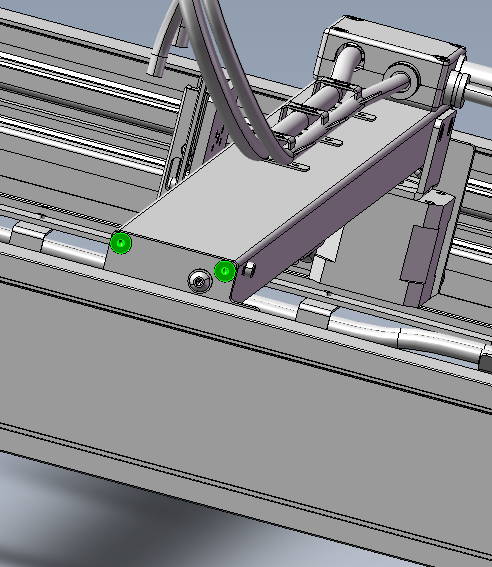
2. Ensure that the belt is installed properly. If the laser engraver need to be adjusted please refer to the video:
3. Adjust eccentric nuts
The eccentric nuts are responsible for the adjustment of the looseness or tightness between the rollers and the rail.
And the eccentric nuts need to be consistently tightened and loosened at the same time.

Eccentric nuts are divided into Y-axis eccentric nuts and X-axis eccentric nuts.
Their location
Y - axis: X - axis:
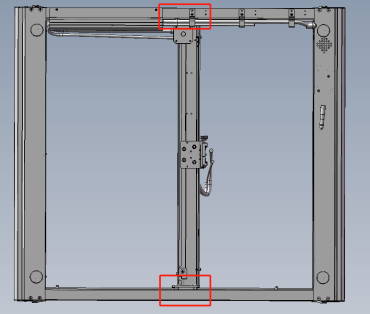
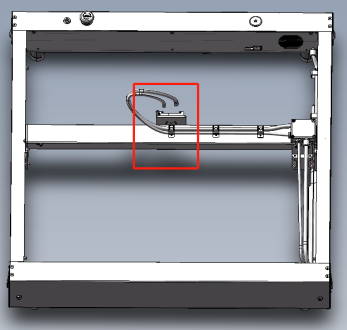
(Picture of the bottom of the machine)
Details of the Y-axis eccentric nut adjustment position.

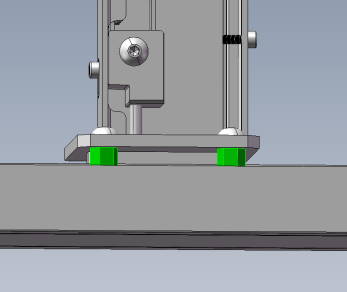
When adjust the left eccentric nut, please remember to move the cable for convenient operation.
Criteria for determining tightness:

By adjusting the eccentric screws in the lower rollers, you can ensure that the upper and lower rollers fit snugly onto the rail without causing any deformation or leaving any gaps to the rails.
When touching the lower roller, it should not slide even hand moves.
X-axis eccentric nut adjustment position
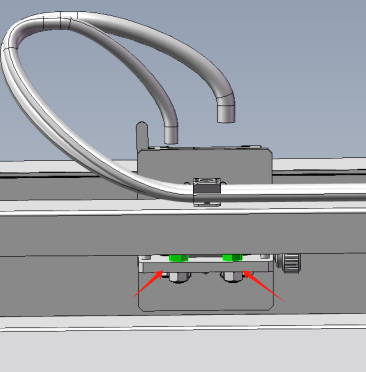
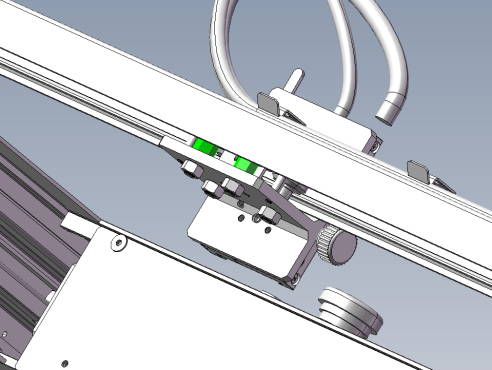
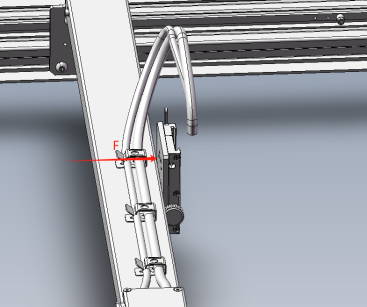
Criteria for determining tightness:
When the z-axis backplate is pushed by hand, no significant z-axis rotation can occur.
- Choosing a selection results in a full page refresh.


